File list
From Frack - Hackerspace Friesland
Jump to navigationJump to searchThis special page shows all uploaded files.
| Date | Name | Thumbnail | Size | Description | Versions |
|---|---|---|---|---|---|
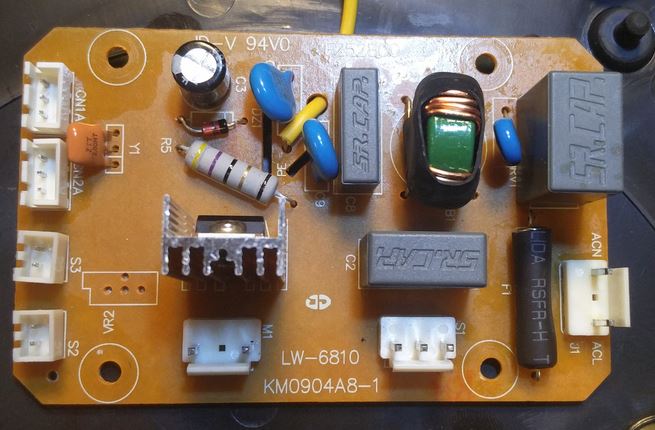
| 22:17, 26 July 2016 | LW-6810 mixer KM0904A8-1 board.JPG (file) |  |
60 KB | Het "moederbord" van deze mixer, KM0904A8-1, welke vermoedelijk de oorzaak van het probleem is. | 1 |
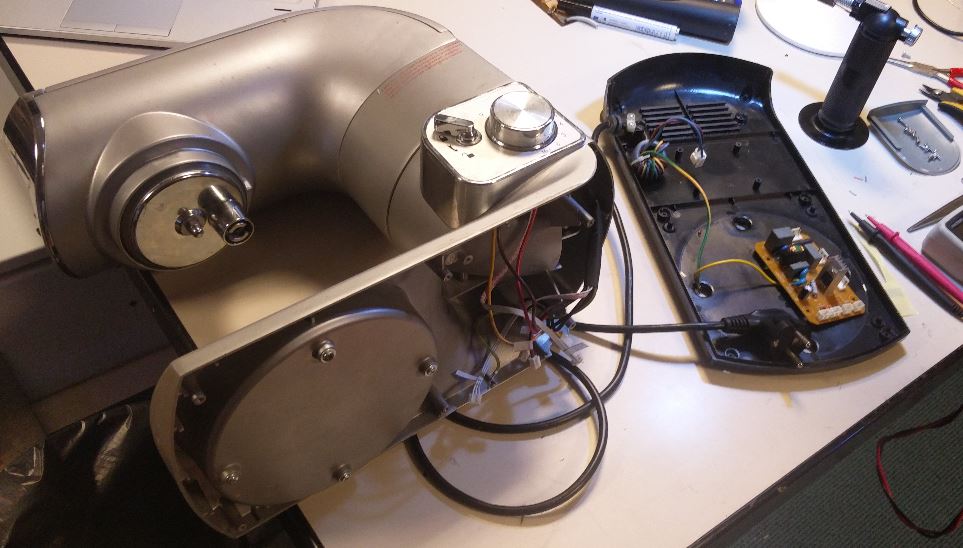
| 22:02, 26 July 2016 | LW-6810 mixer open.JPG (file) |  |
88 KB | Dit is de LW-6810 Mixer welke de aldi enkele jaren geleden verkocht. Hij heeft elektronica problemen. | 1 |
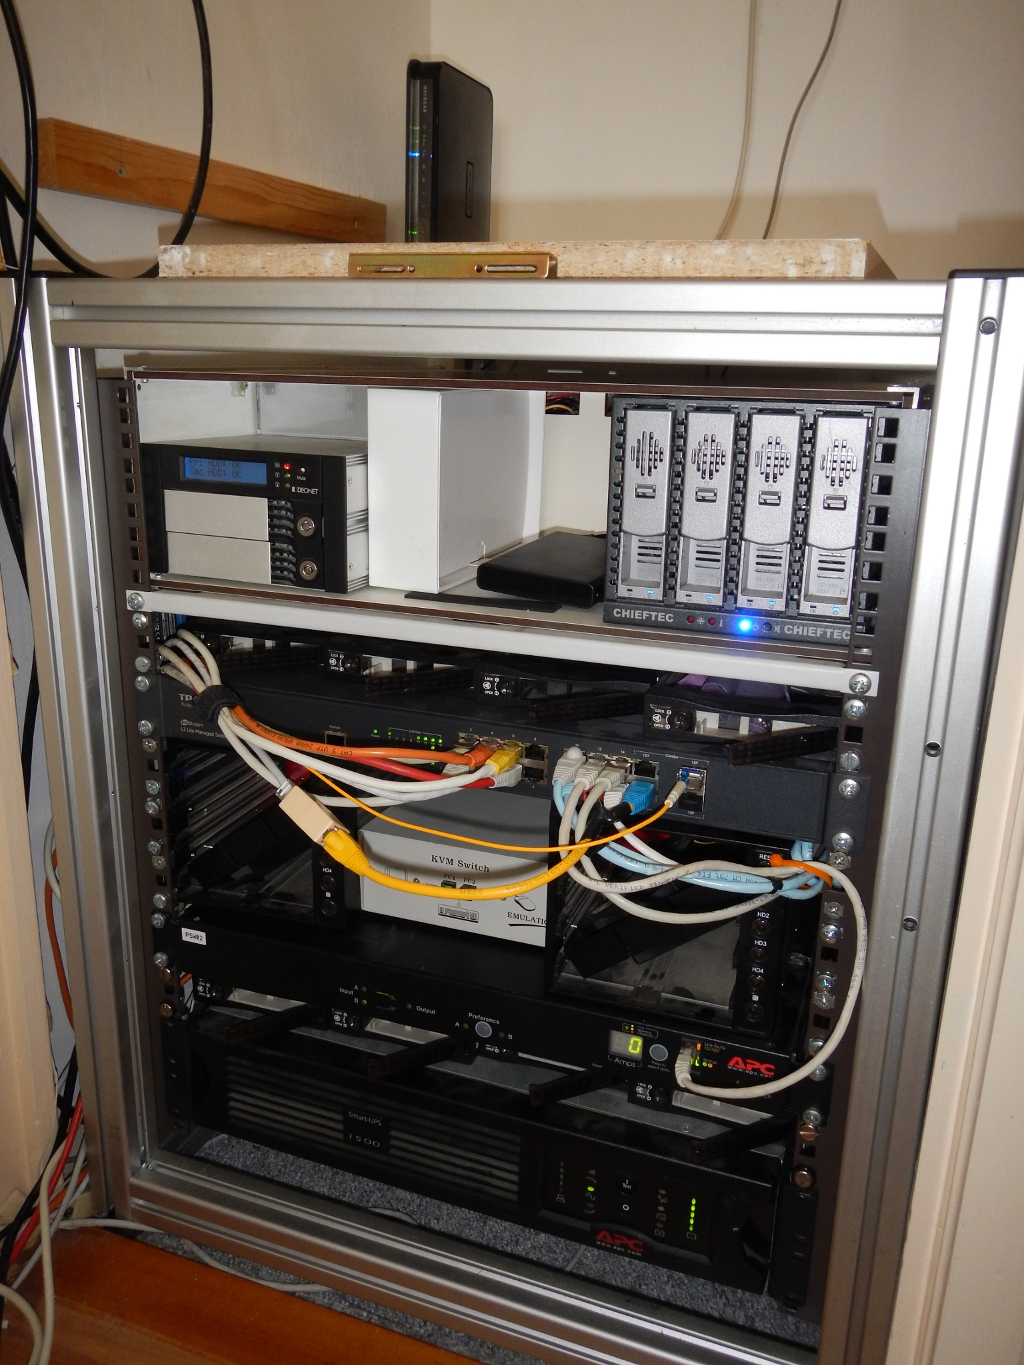
| 18:08, 11 October 2014 | 19-inch rack filled.jpg (file) |  |
859 KB | DYI Server rack filled. | 1 |
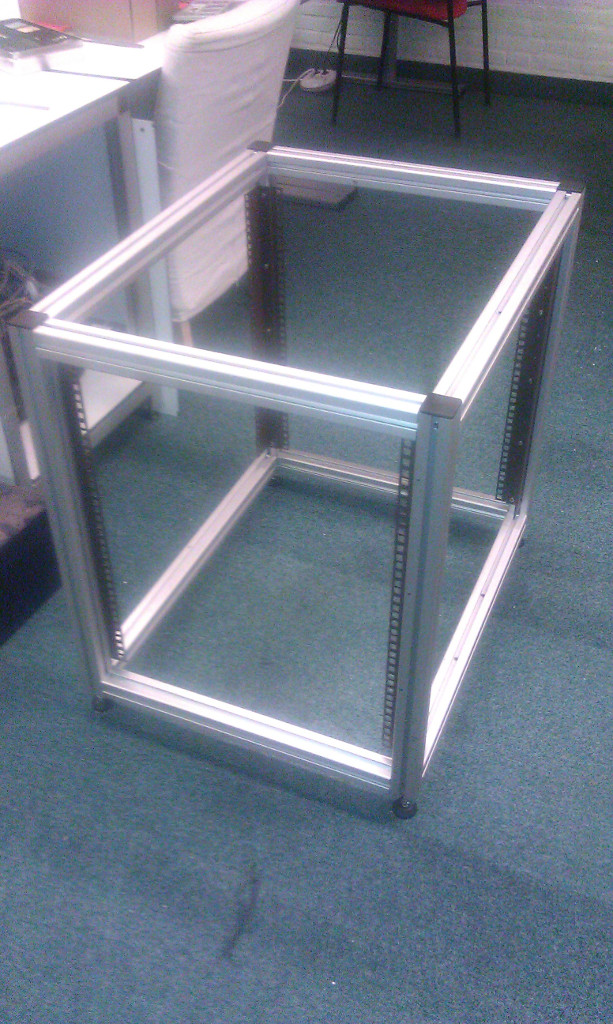
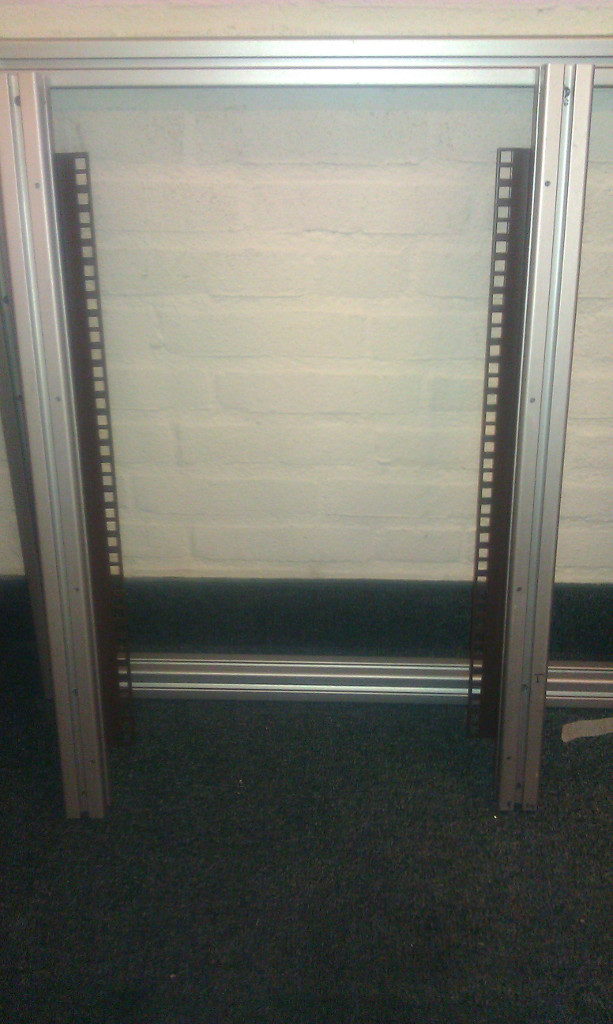
| 14:09, 11 July 2014 | 19-inch rack assembled.jpg (file) |  |
257 KB | DIY 12U 19" rack. | 1 |
| 14:09, 11 July 2014 | 19-inch rack assembling01.jpg (file) |  |
185 KB | Afkortzaag in actie om de Aluminium profielen op de juiste maat te zagen. | 1 |
| 14:08, 11 July 2014 | 19-inch rack assembling02.jpg (file) |  |
262 KB | Afkortzaag in actie om de Aluminium profielen op de juiste maat te zagen. | 1 |
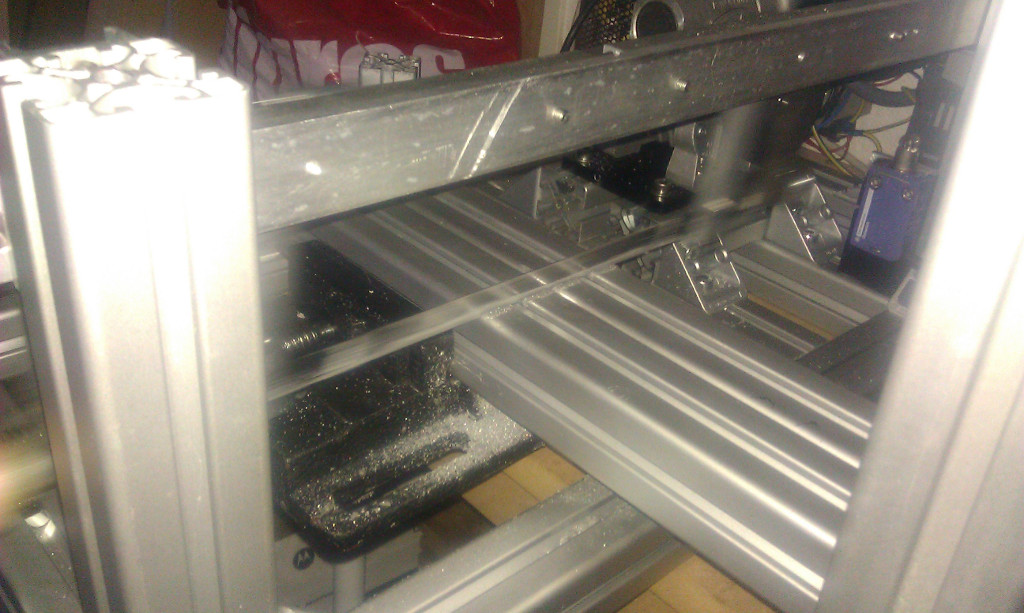
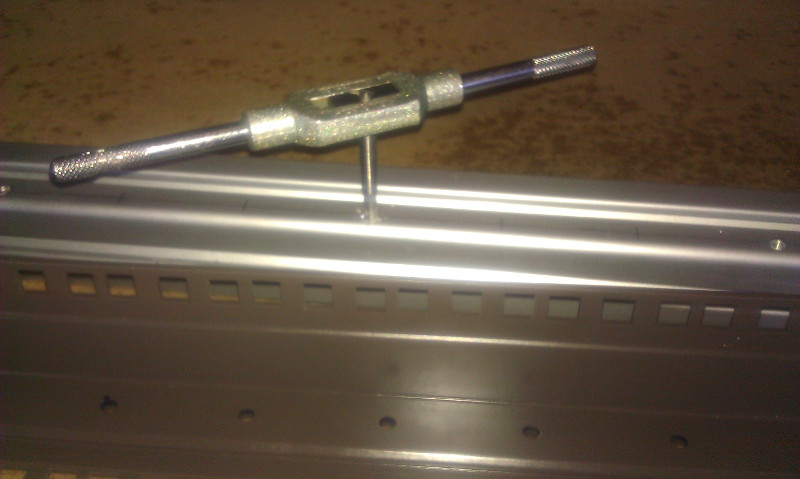
| 14:08, 11 July 2014 | 19-inch rack assembling03.jpg (file) |  |
91 KB | Gaten geboord en getapt in de verticale Alu profielen voor het monteren van de rackmount beugels. | 1 |
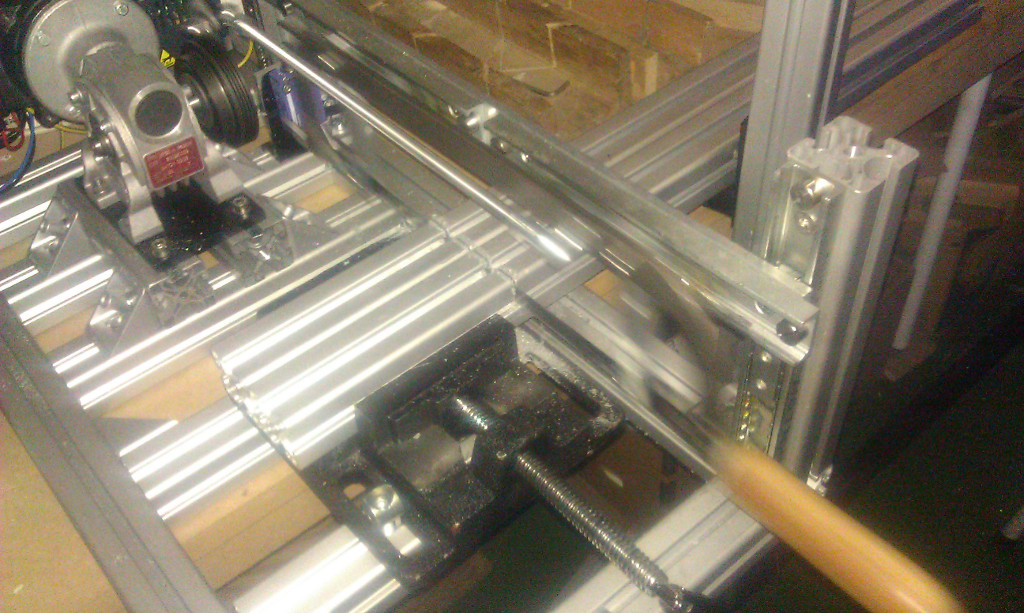
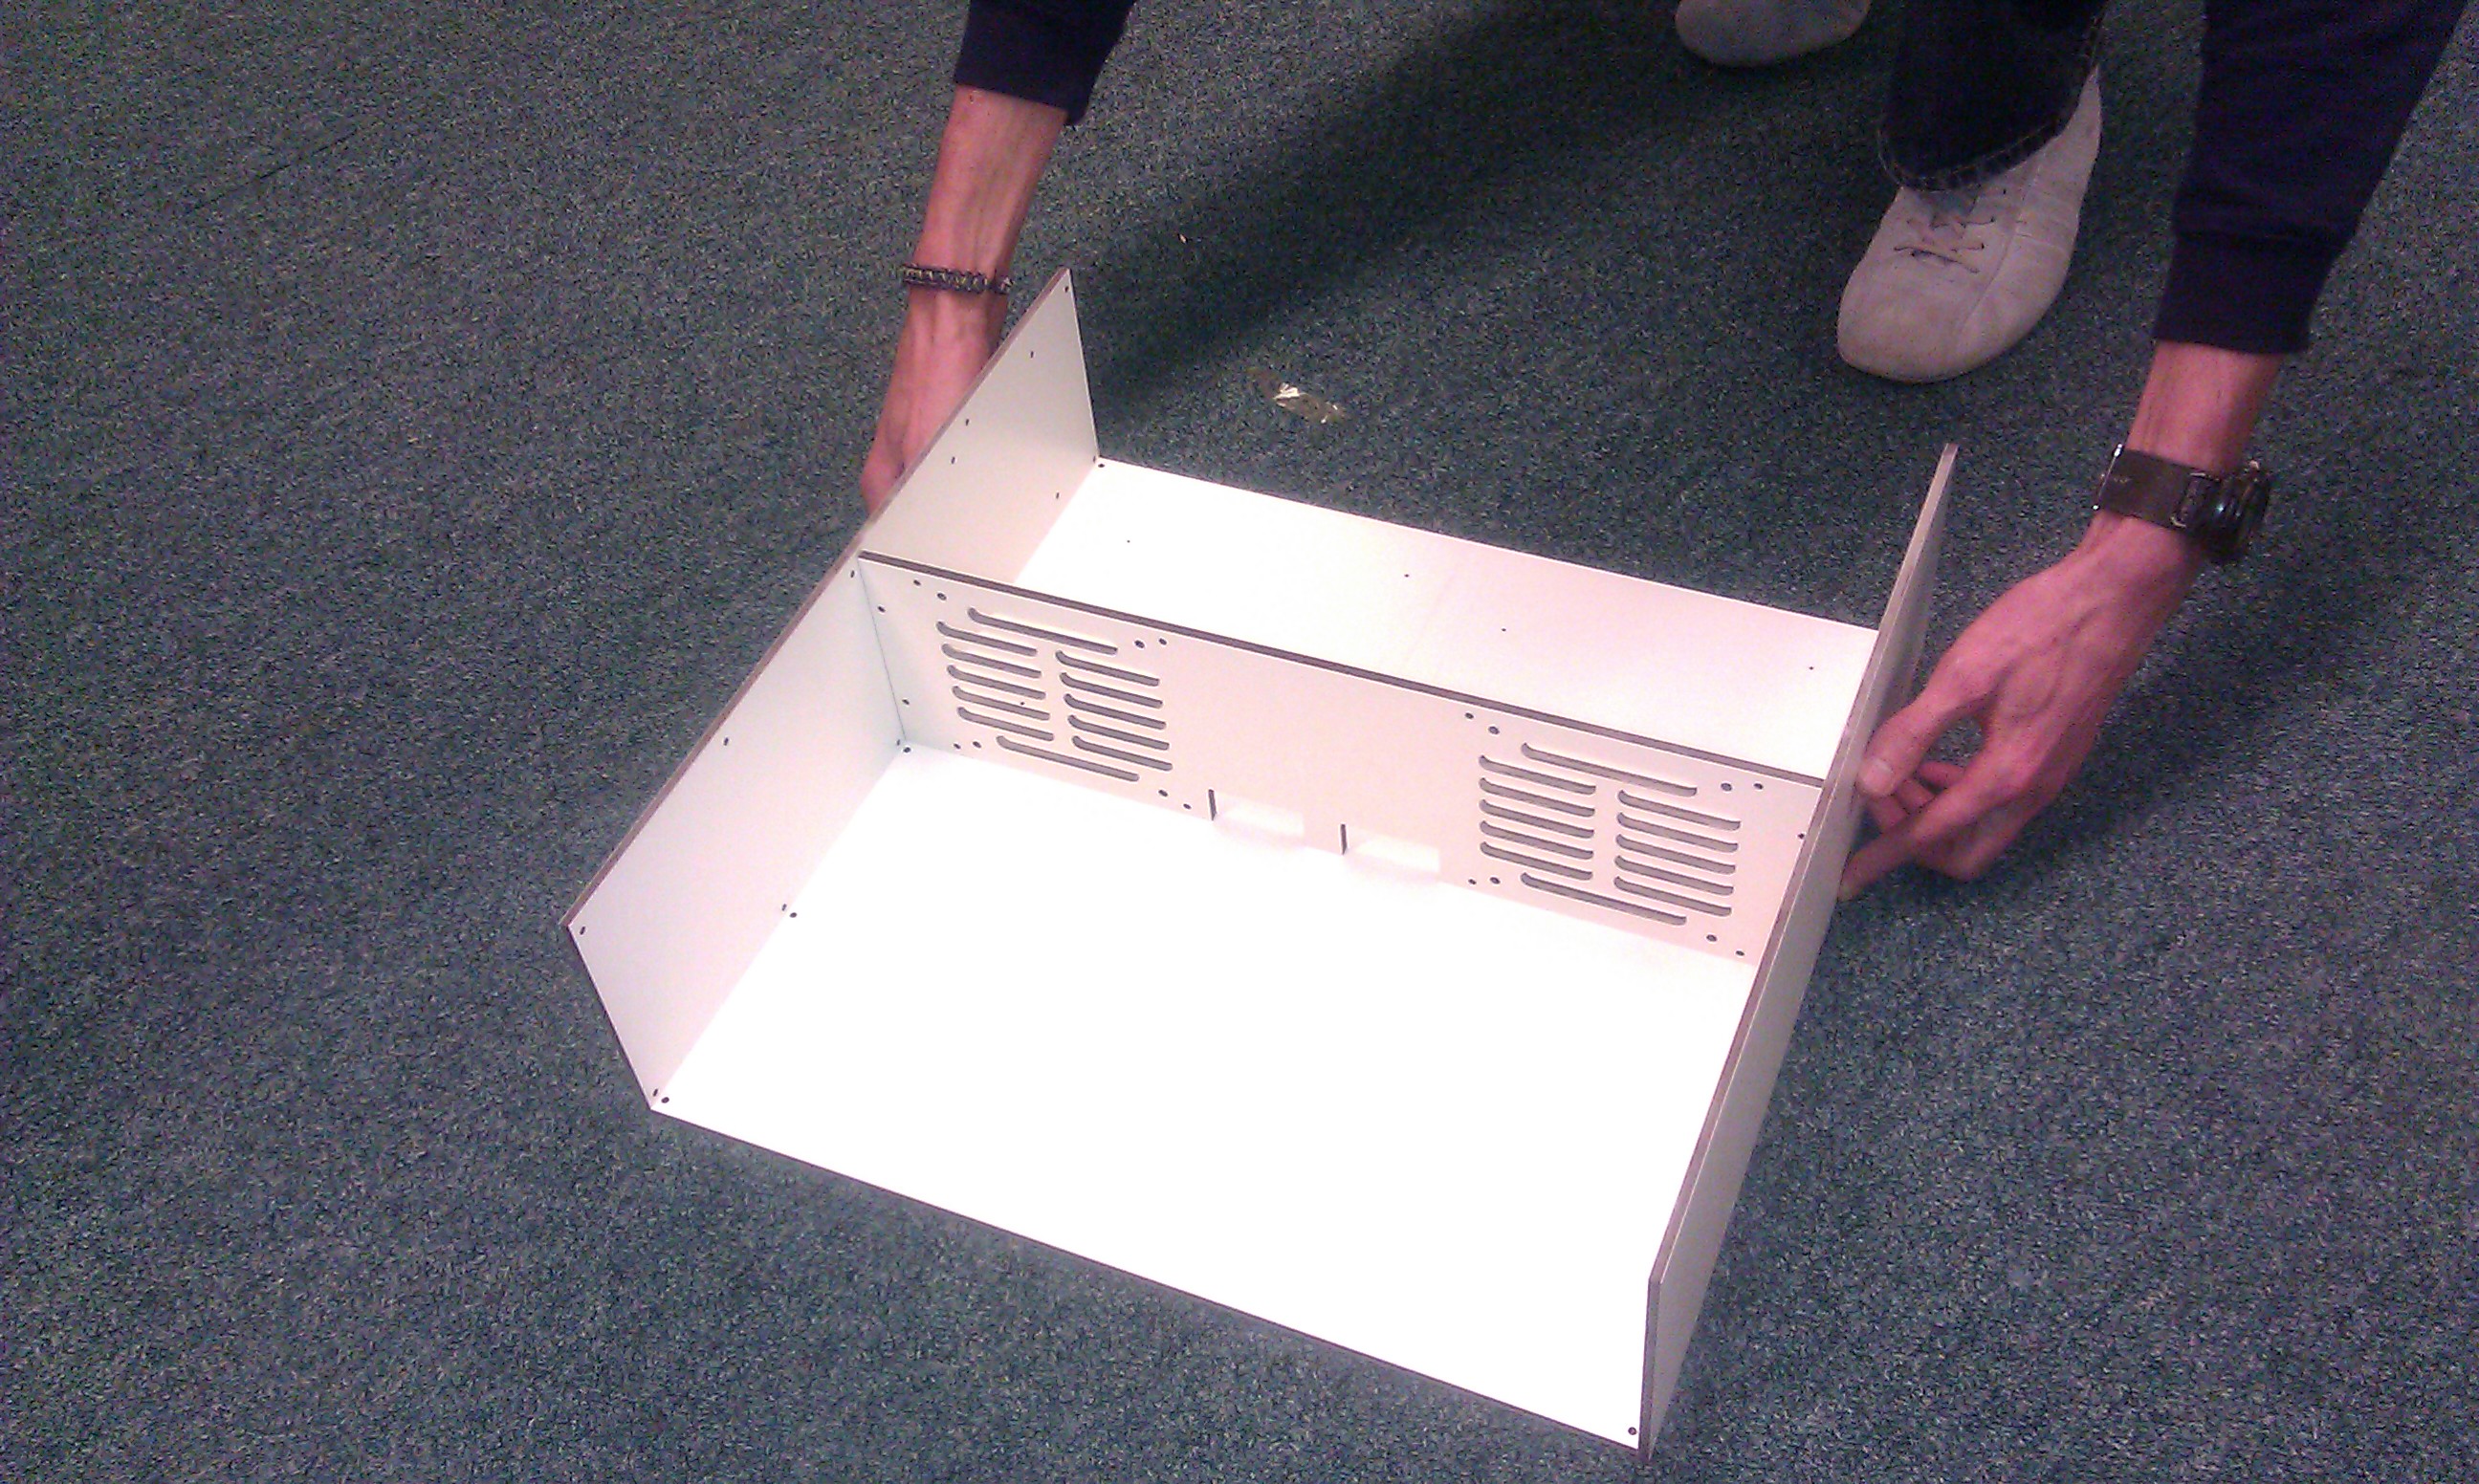
| 14:08, 11 July 2014 | 19-inch rack assembling04.jpg (file) |  |
130 KB | Monteren van de rackmount beugels op een verticaal profiel middels vijf M5 boutjes. | 1 |
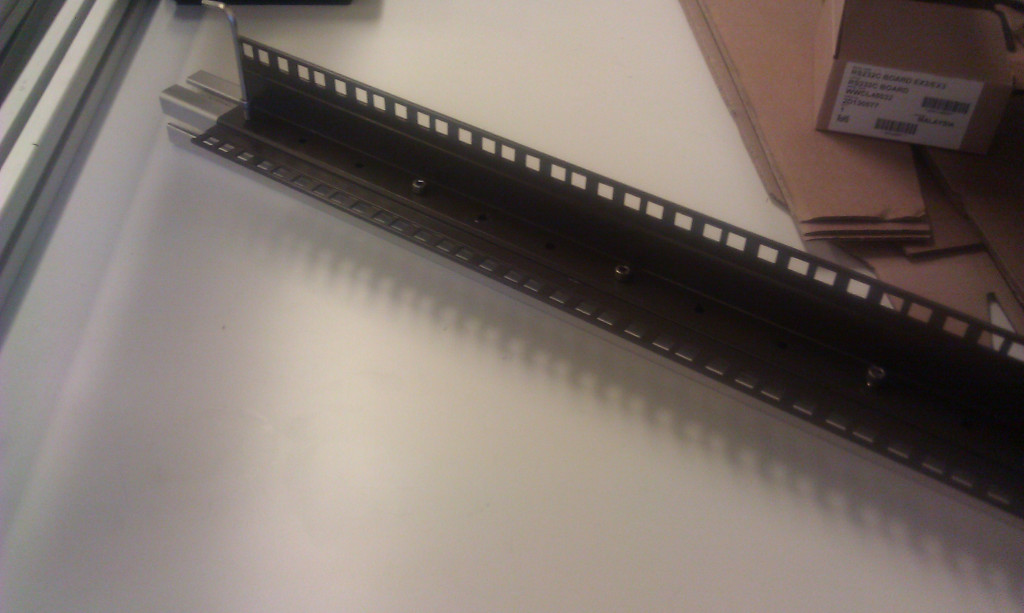
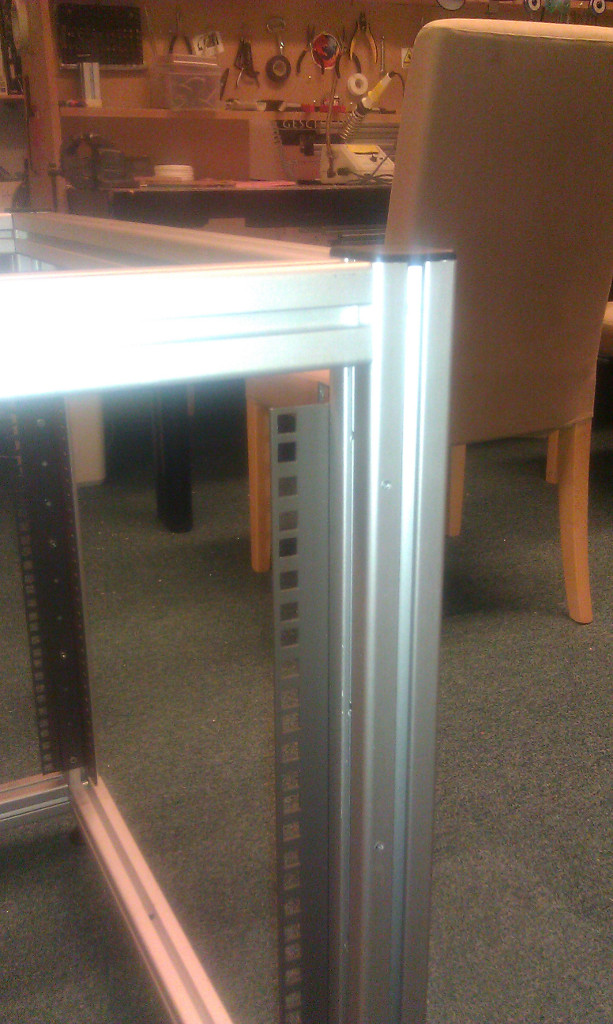
| 14:08, 11 July 2014 | 19-inch rack assembling05.jpg (file) |  |
185 KB | Twee van de vier verticale Alu profielen met de rackmount beugels gemonteerd. | 1 |
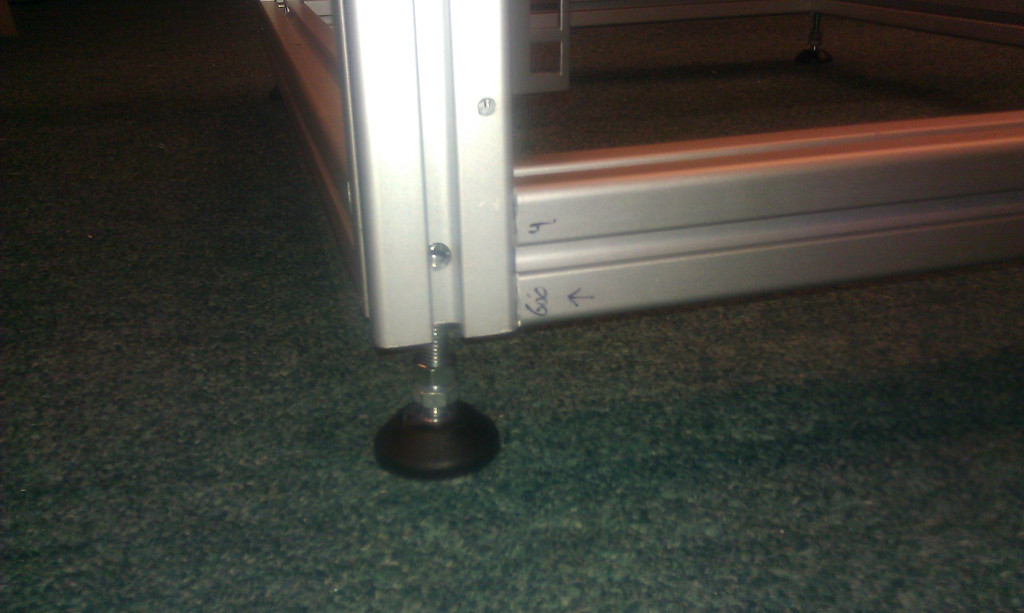
| 14:08, 11 July 2014 | 19-inch rack corner bottom.jpg (file) |  |
157 KB | Een van de hoeken van het rack met een M8 schroefdraad voetje eronder geschroeft. | 1 |
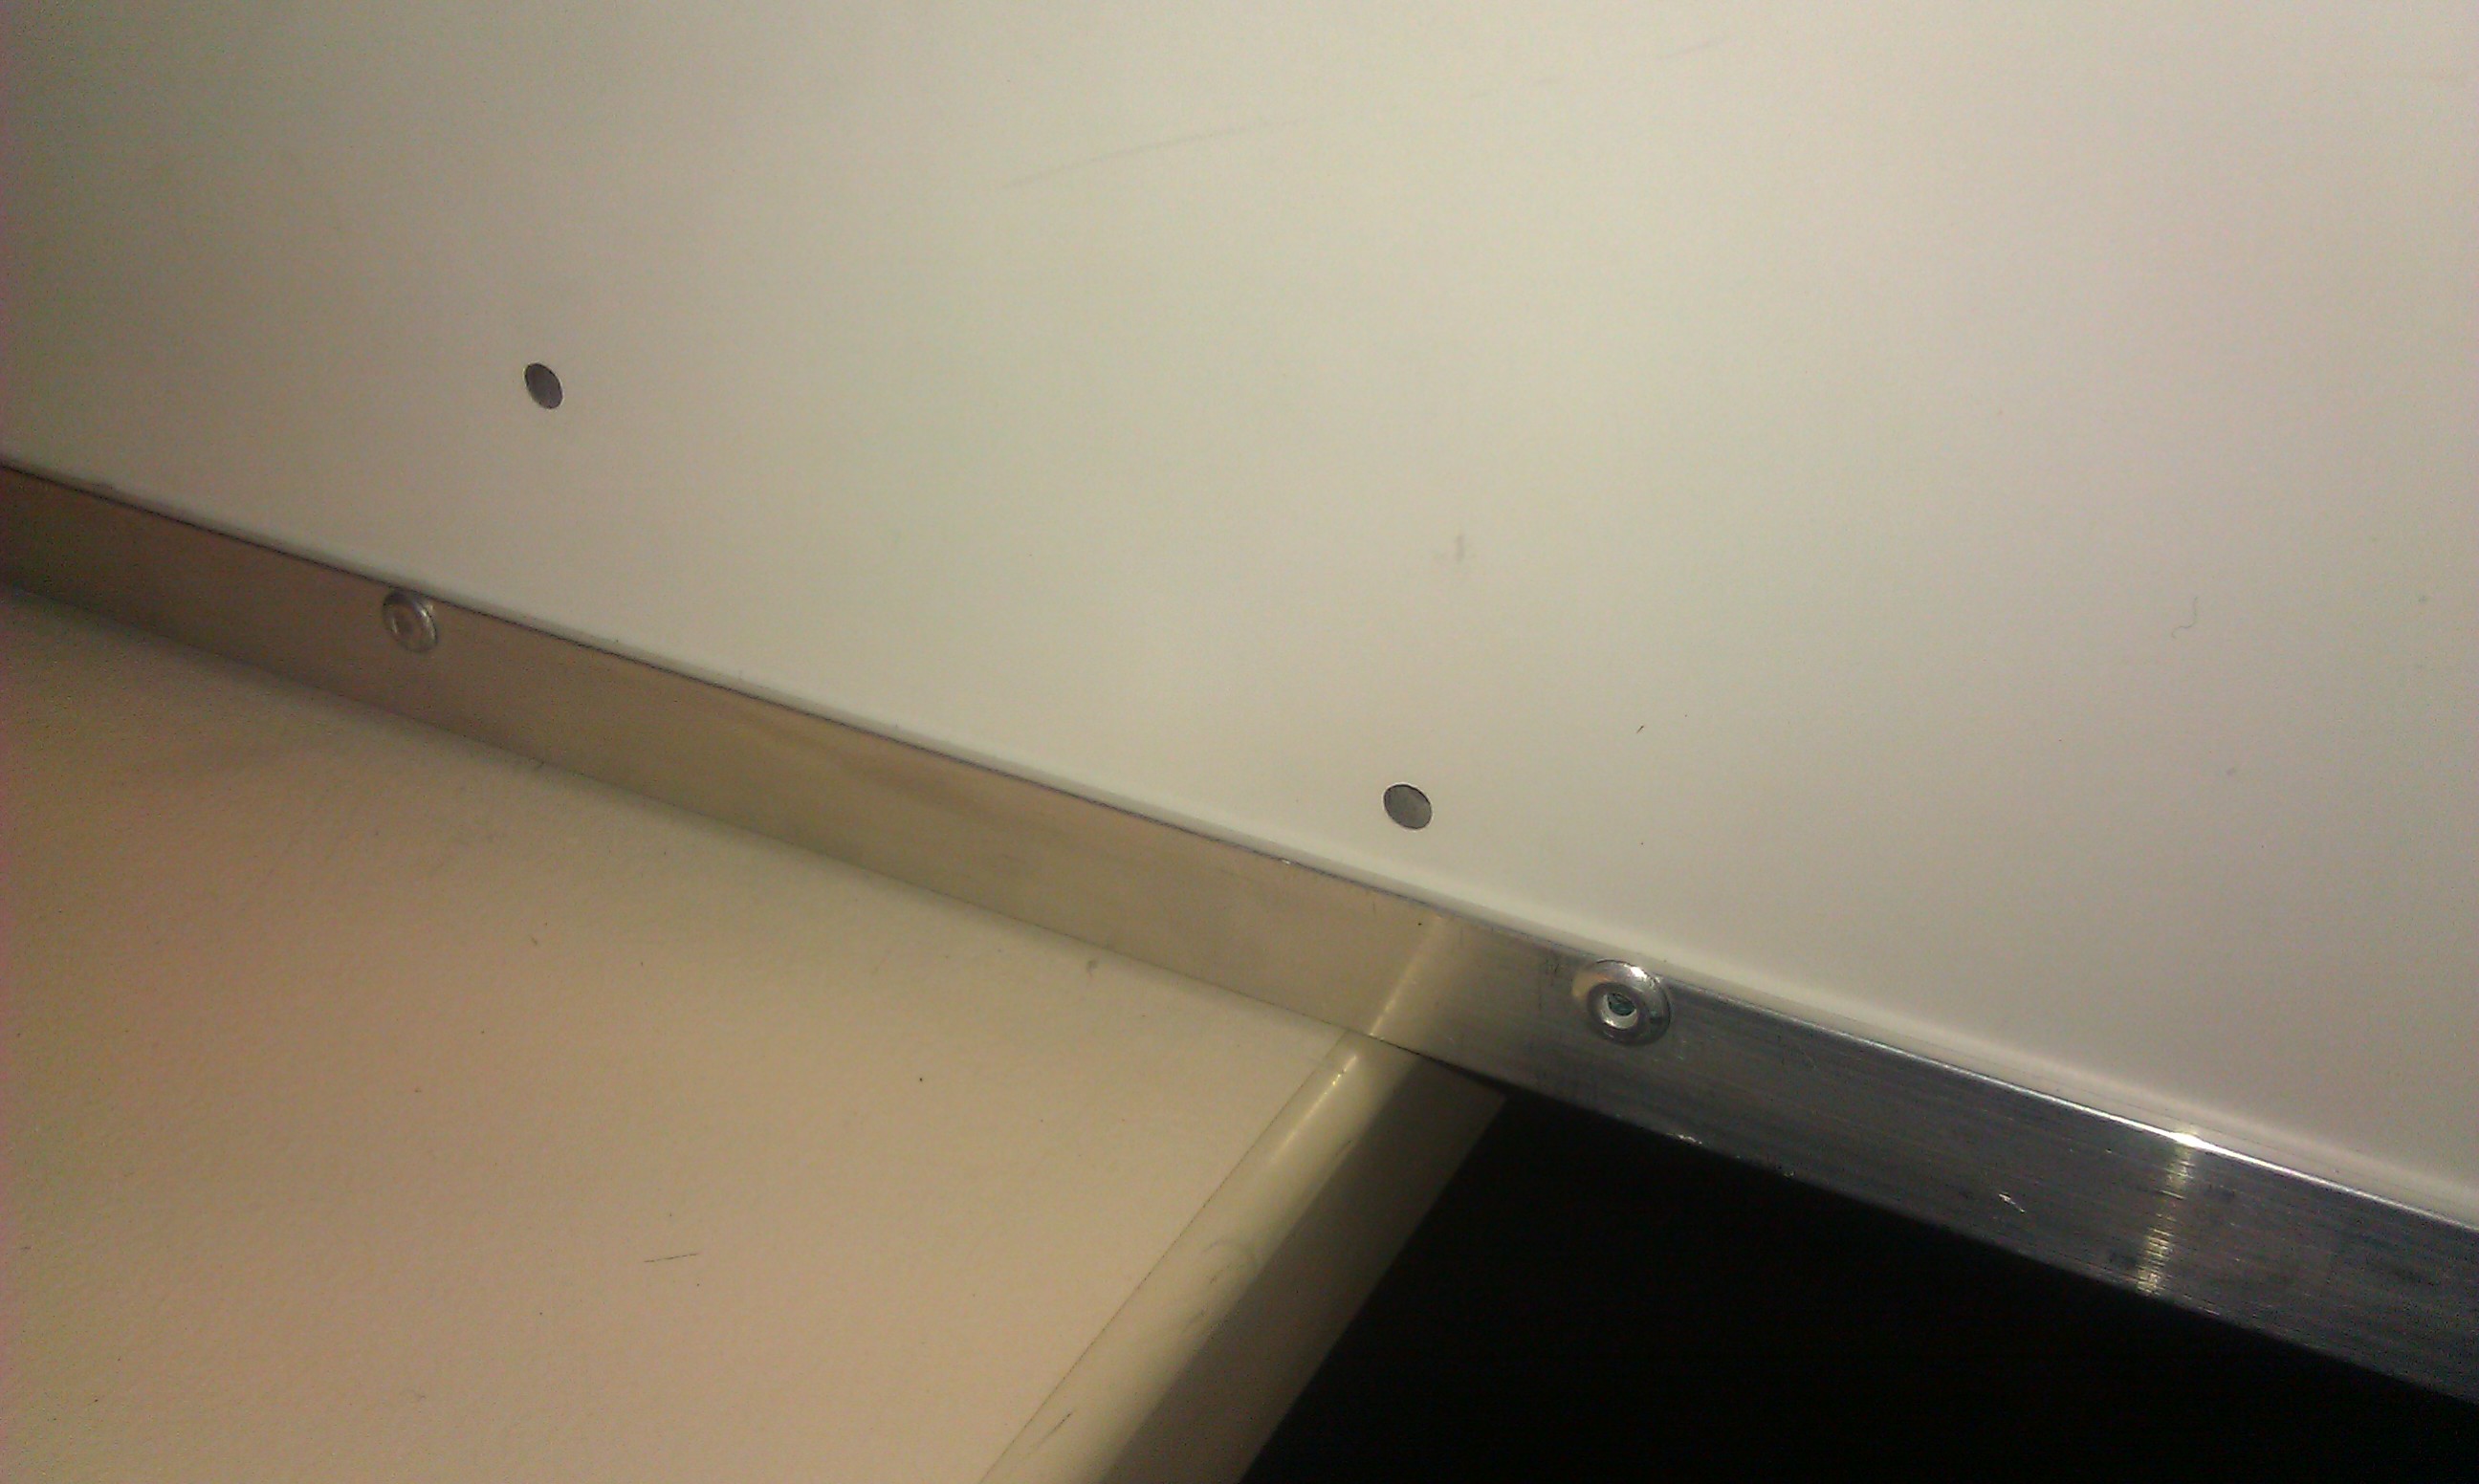
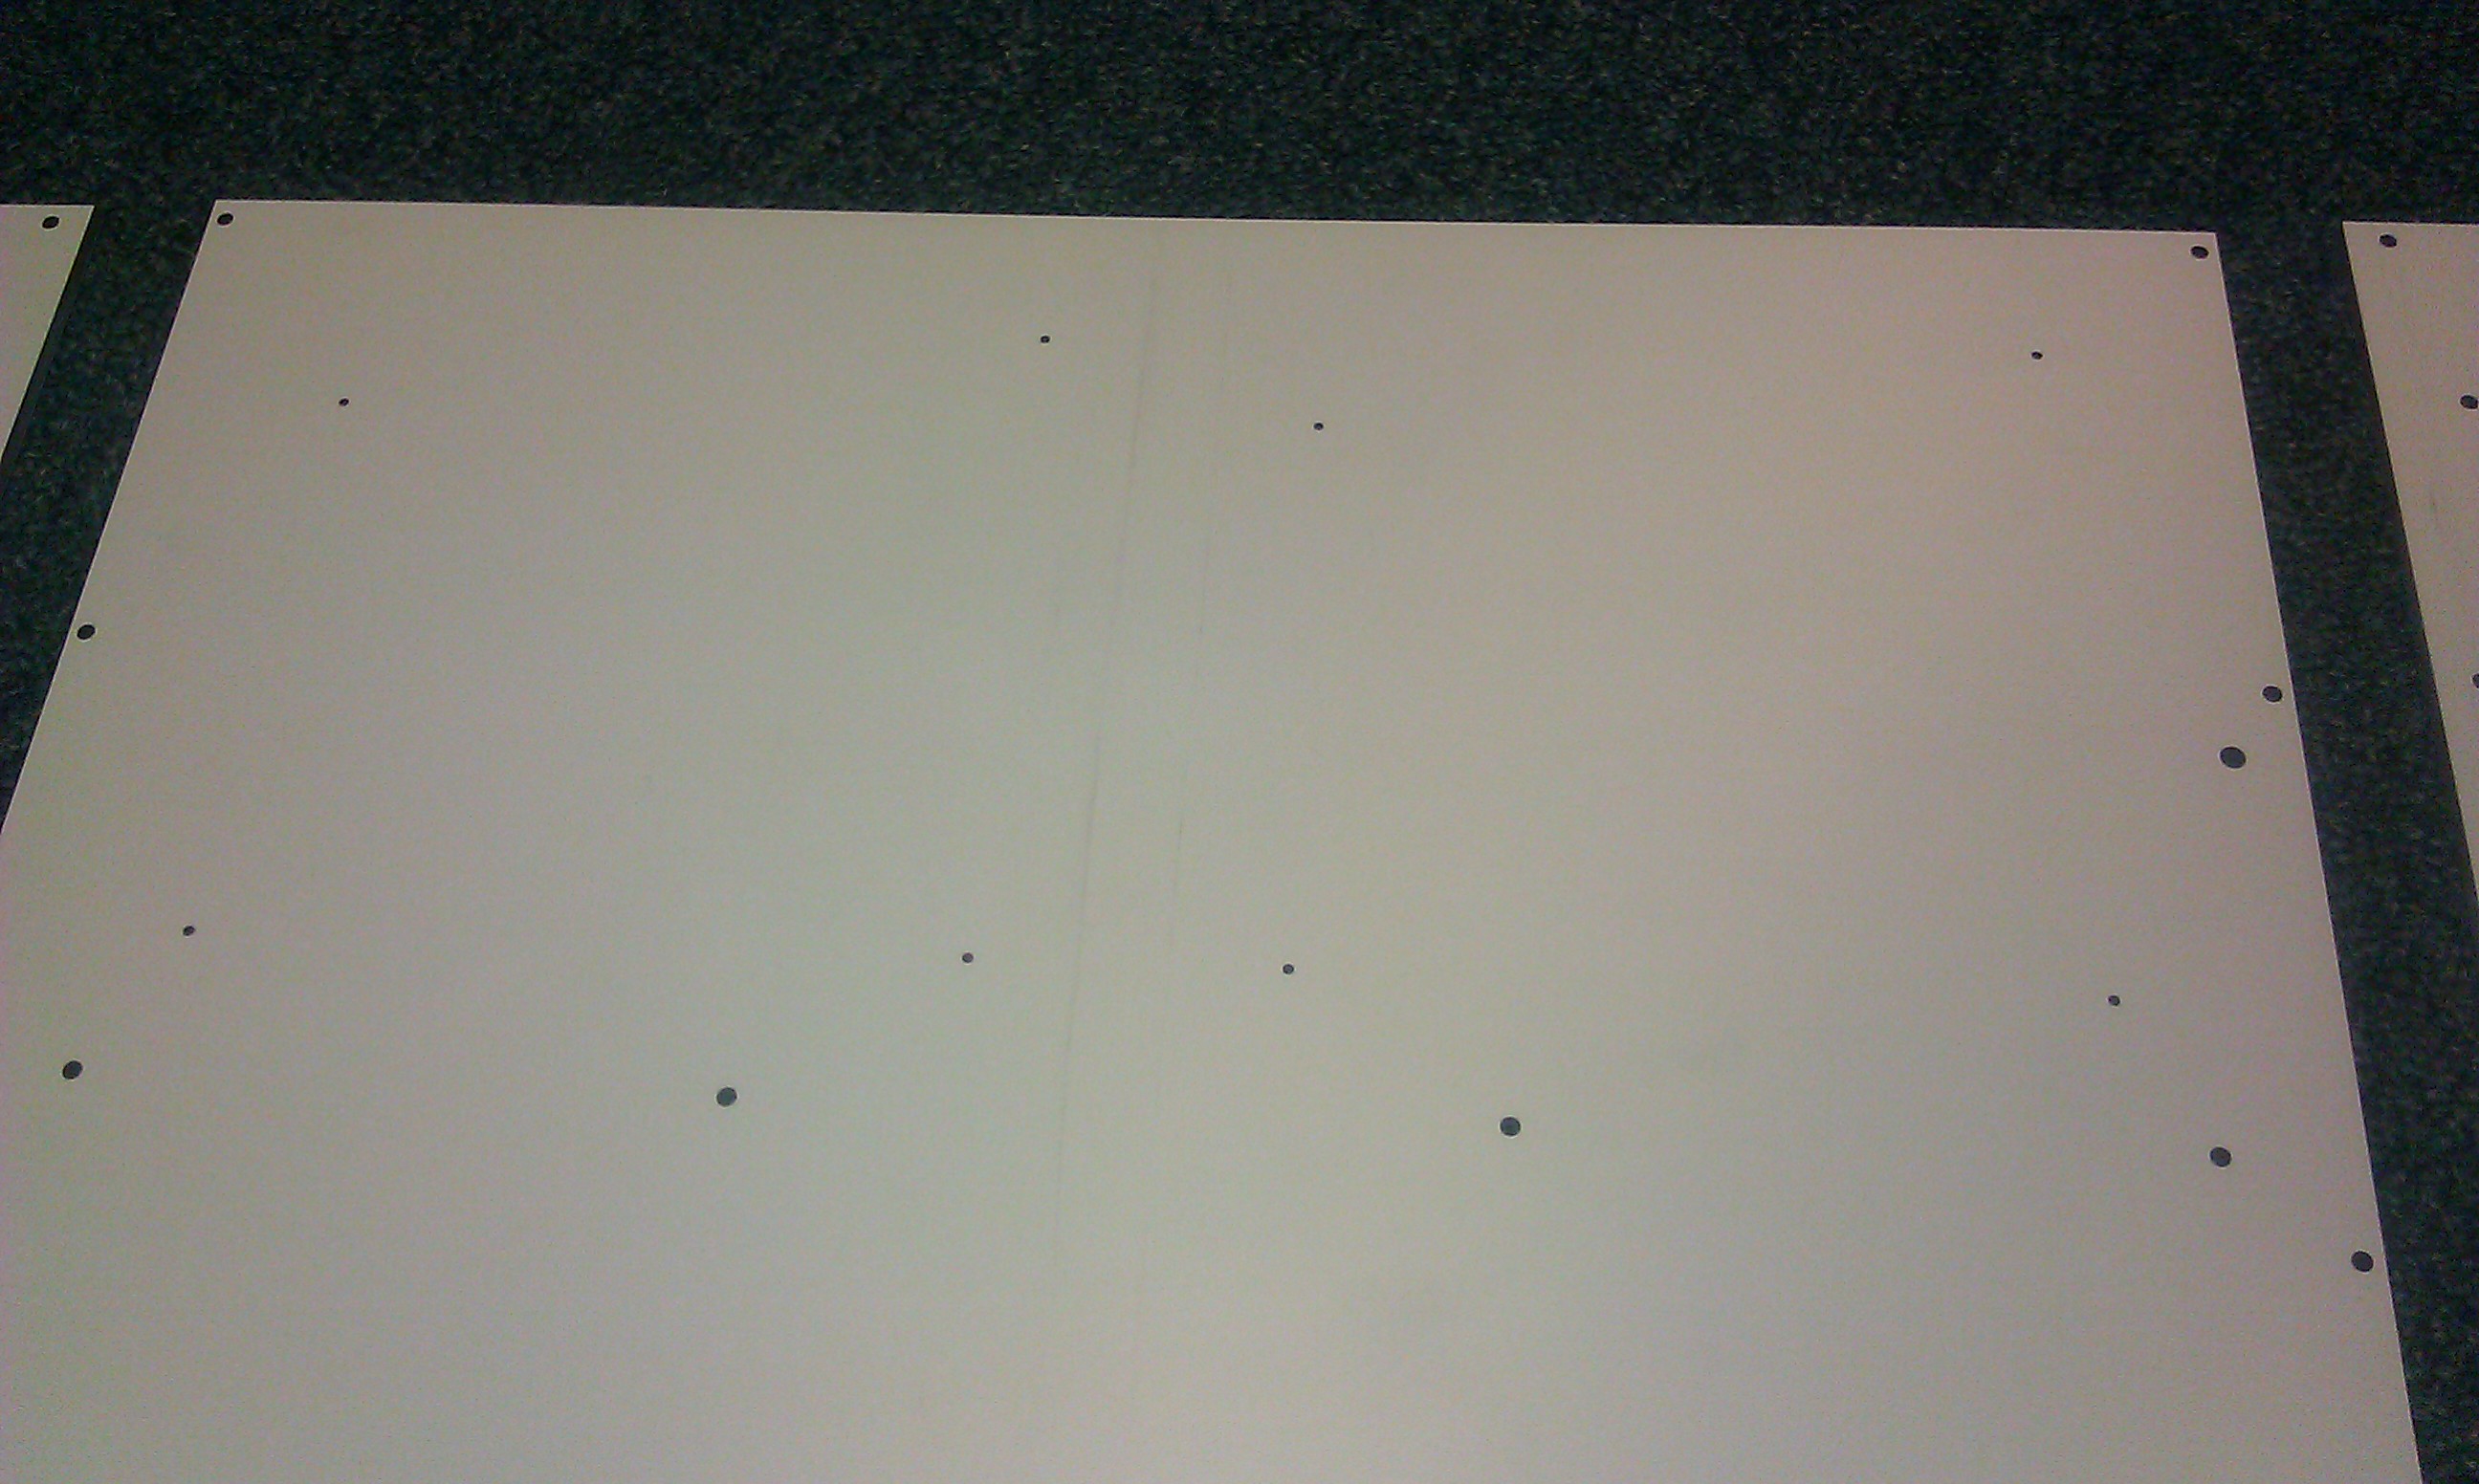
| 14:08, 11 July 2014 | 19-inch rack corner top.jpg (file) |  |
208 KB | Een van de bovenste hoeken met een afdekplaatje op het Alu profiel gedrukt. | 1 |
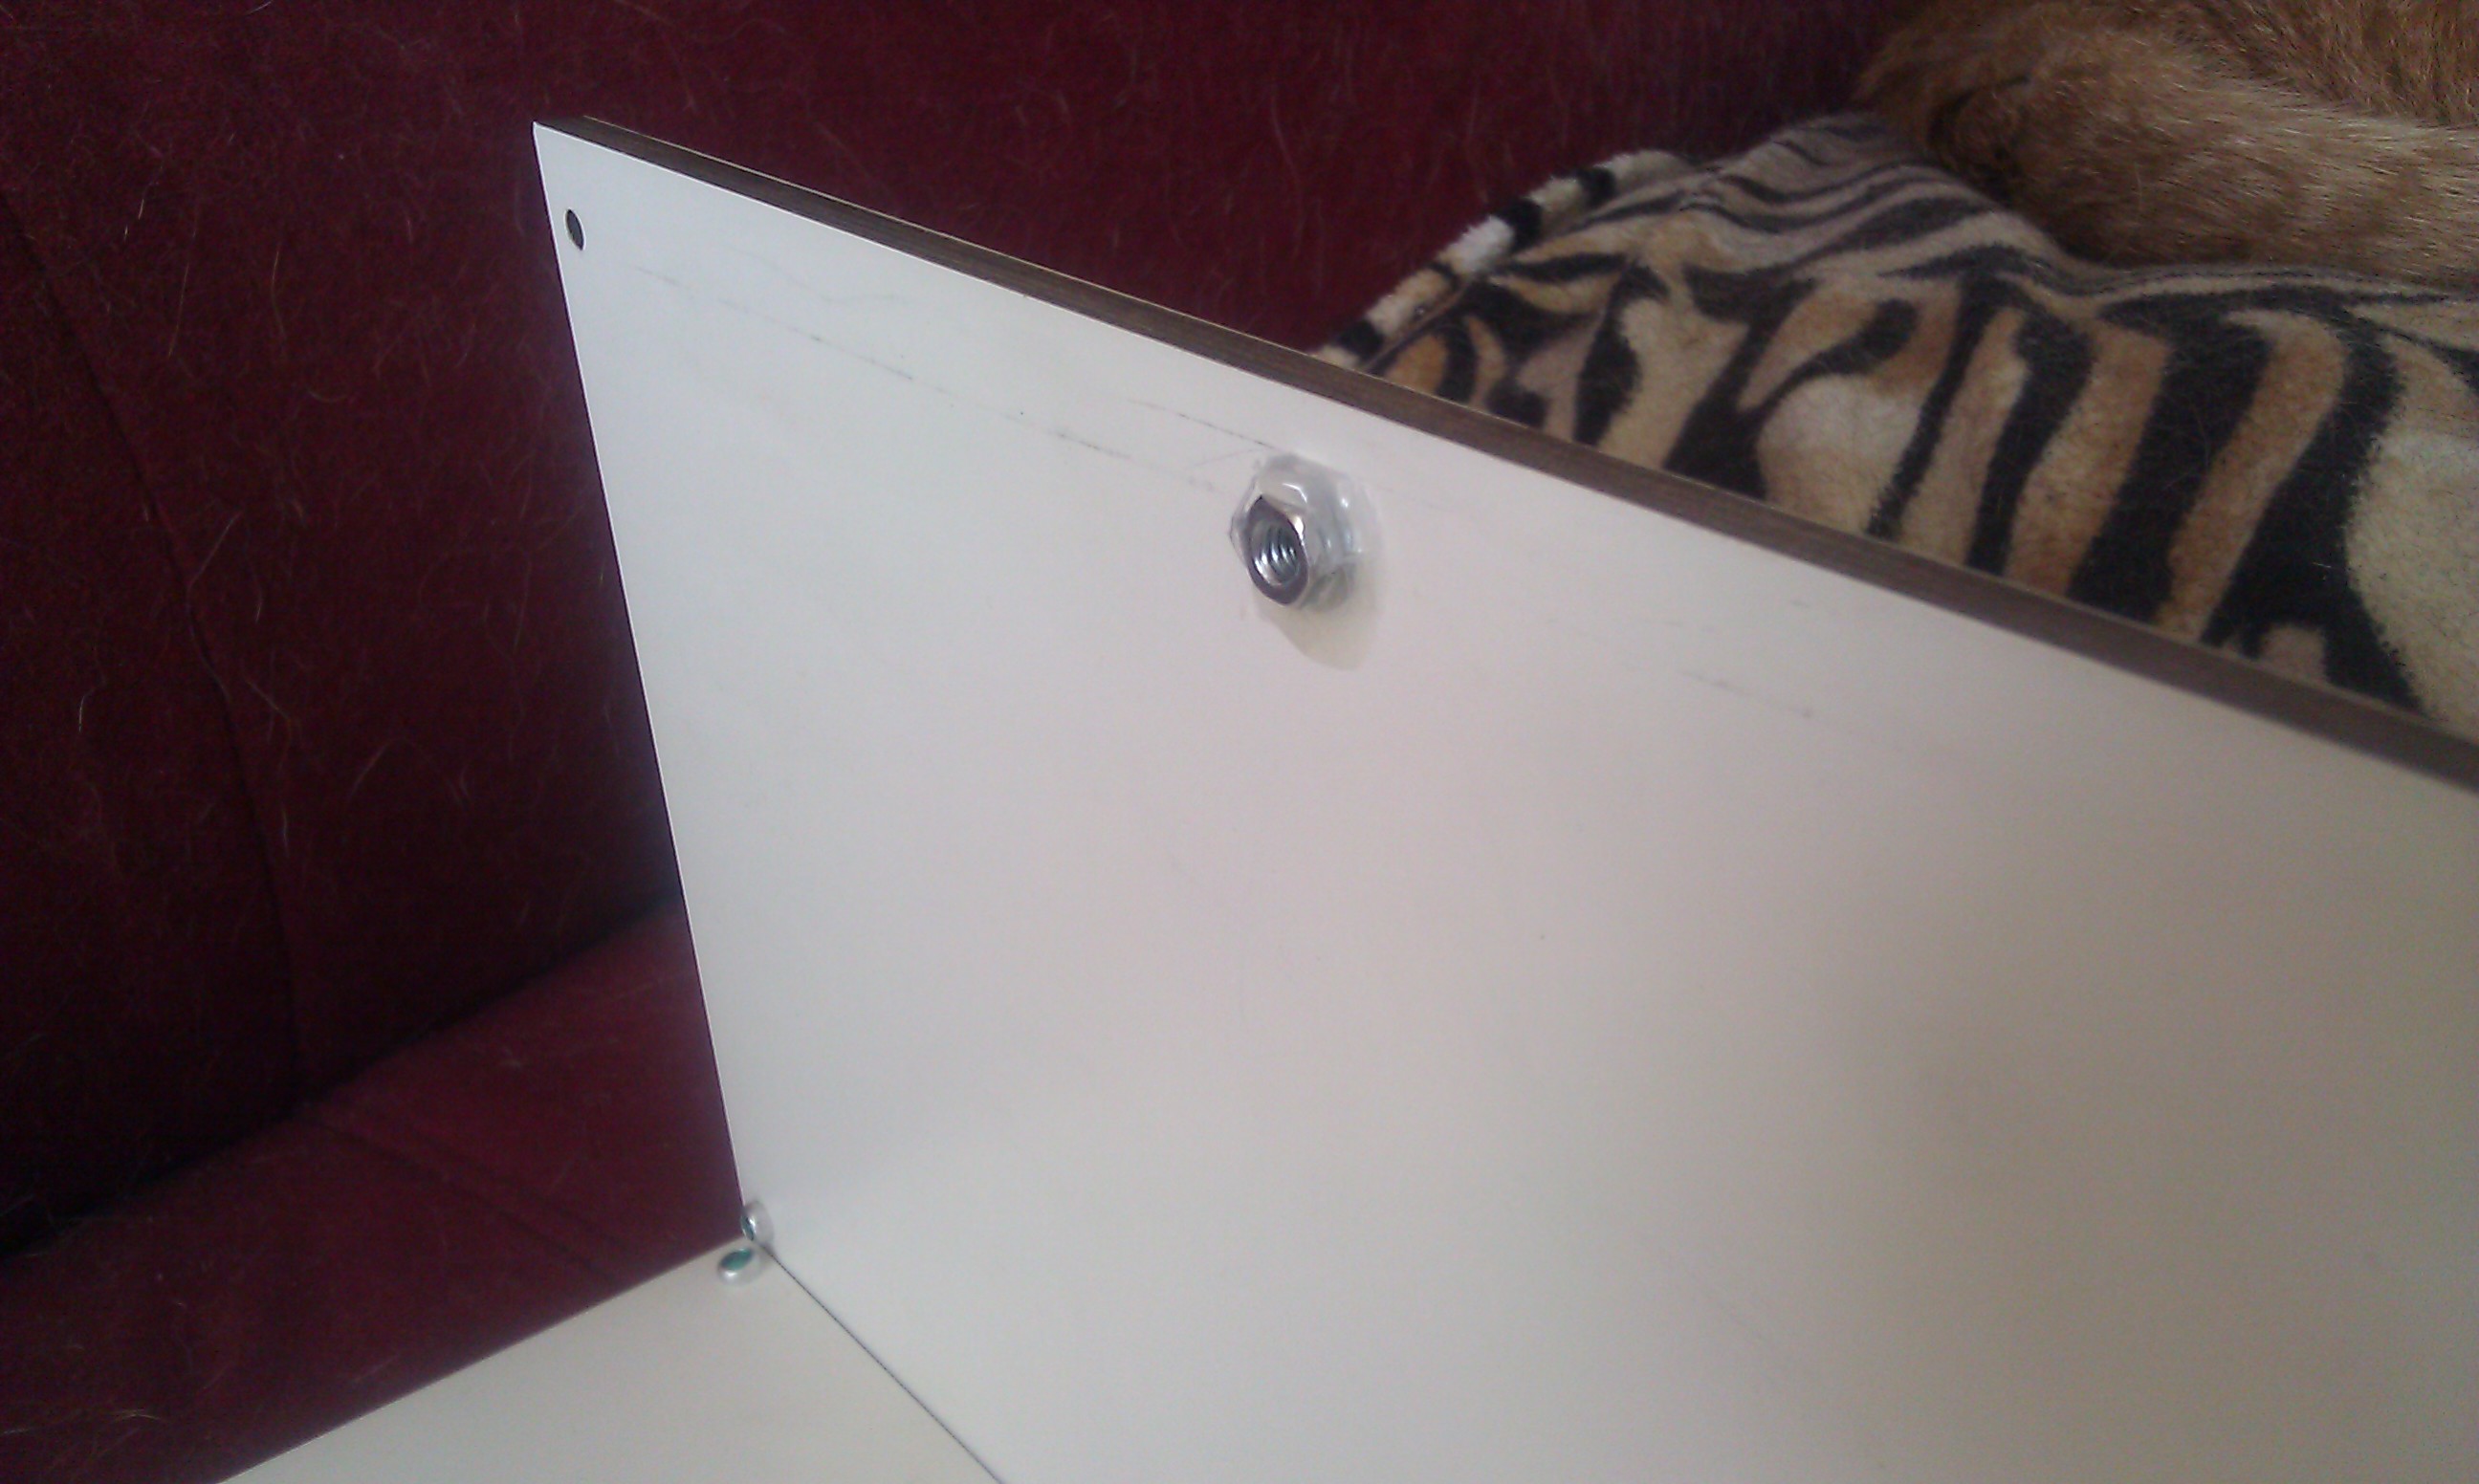
| 19:44, 10 March 2014 | Dualcase09.jpg (file) |  |
466 KB | Closing nut to secure the lid in place. | 1 |
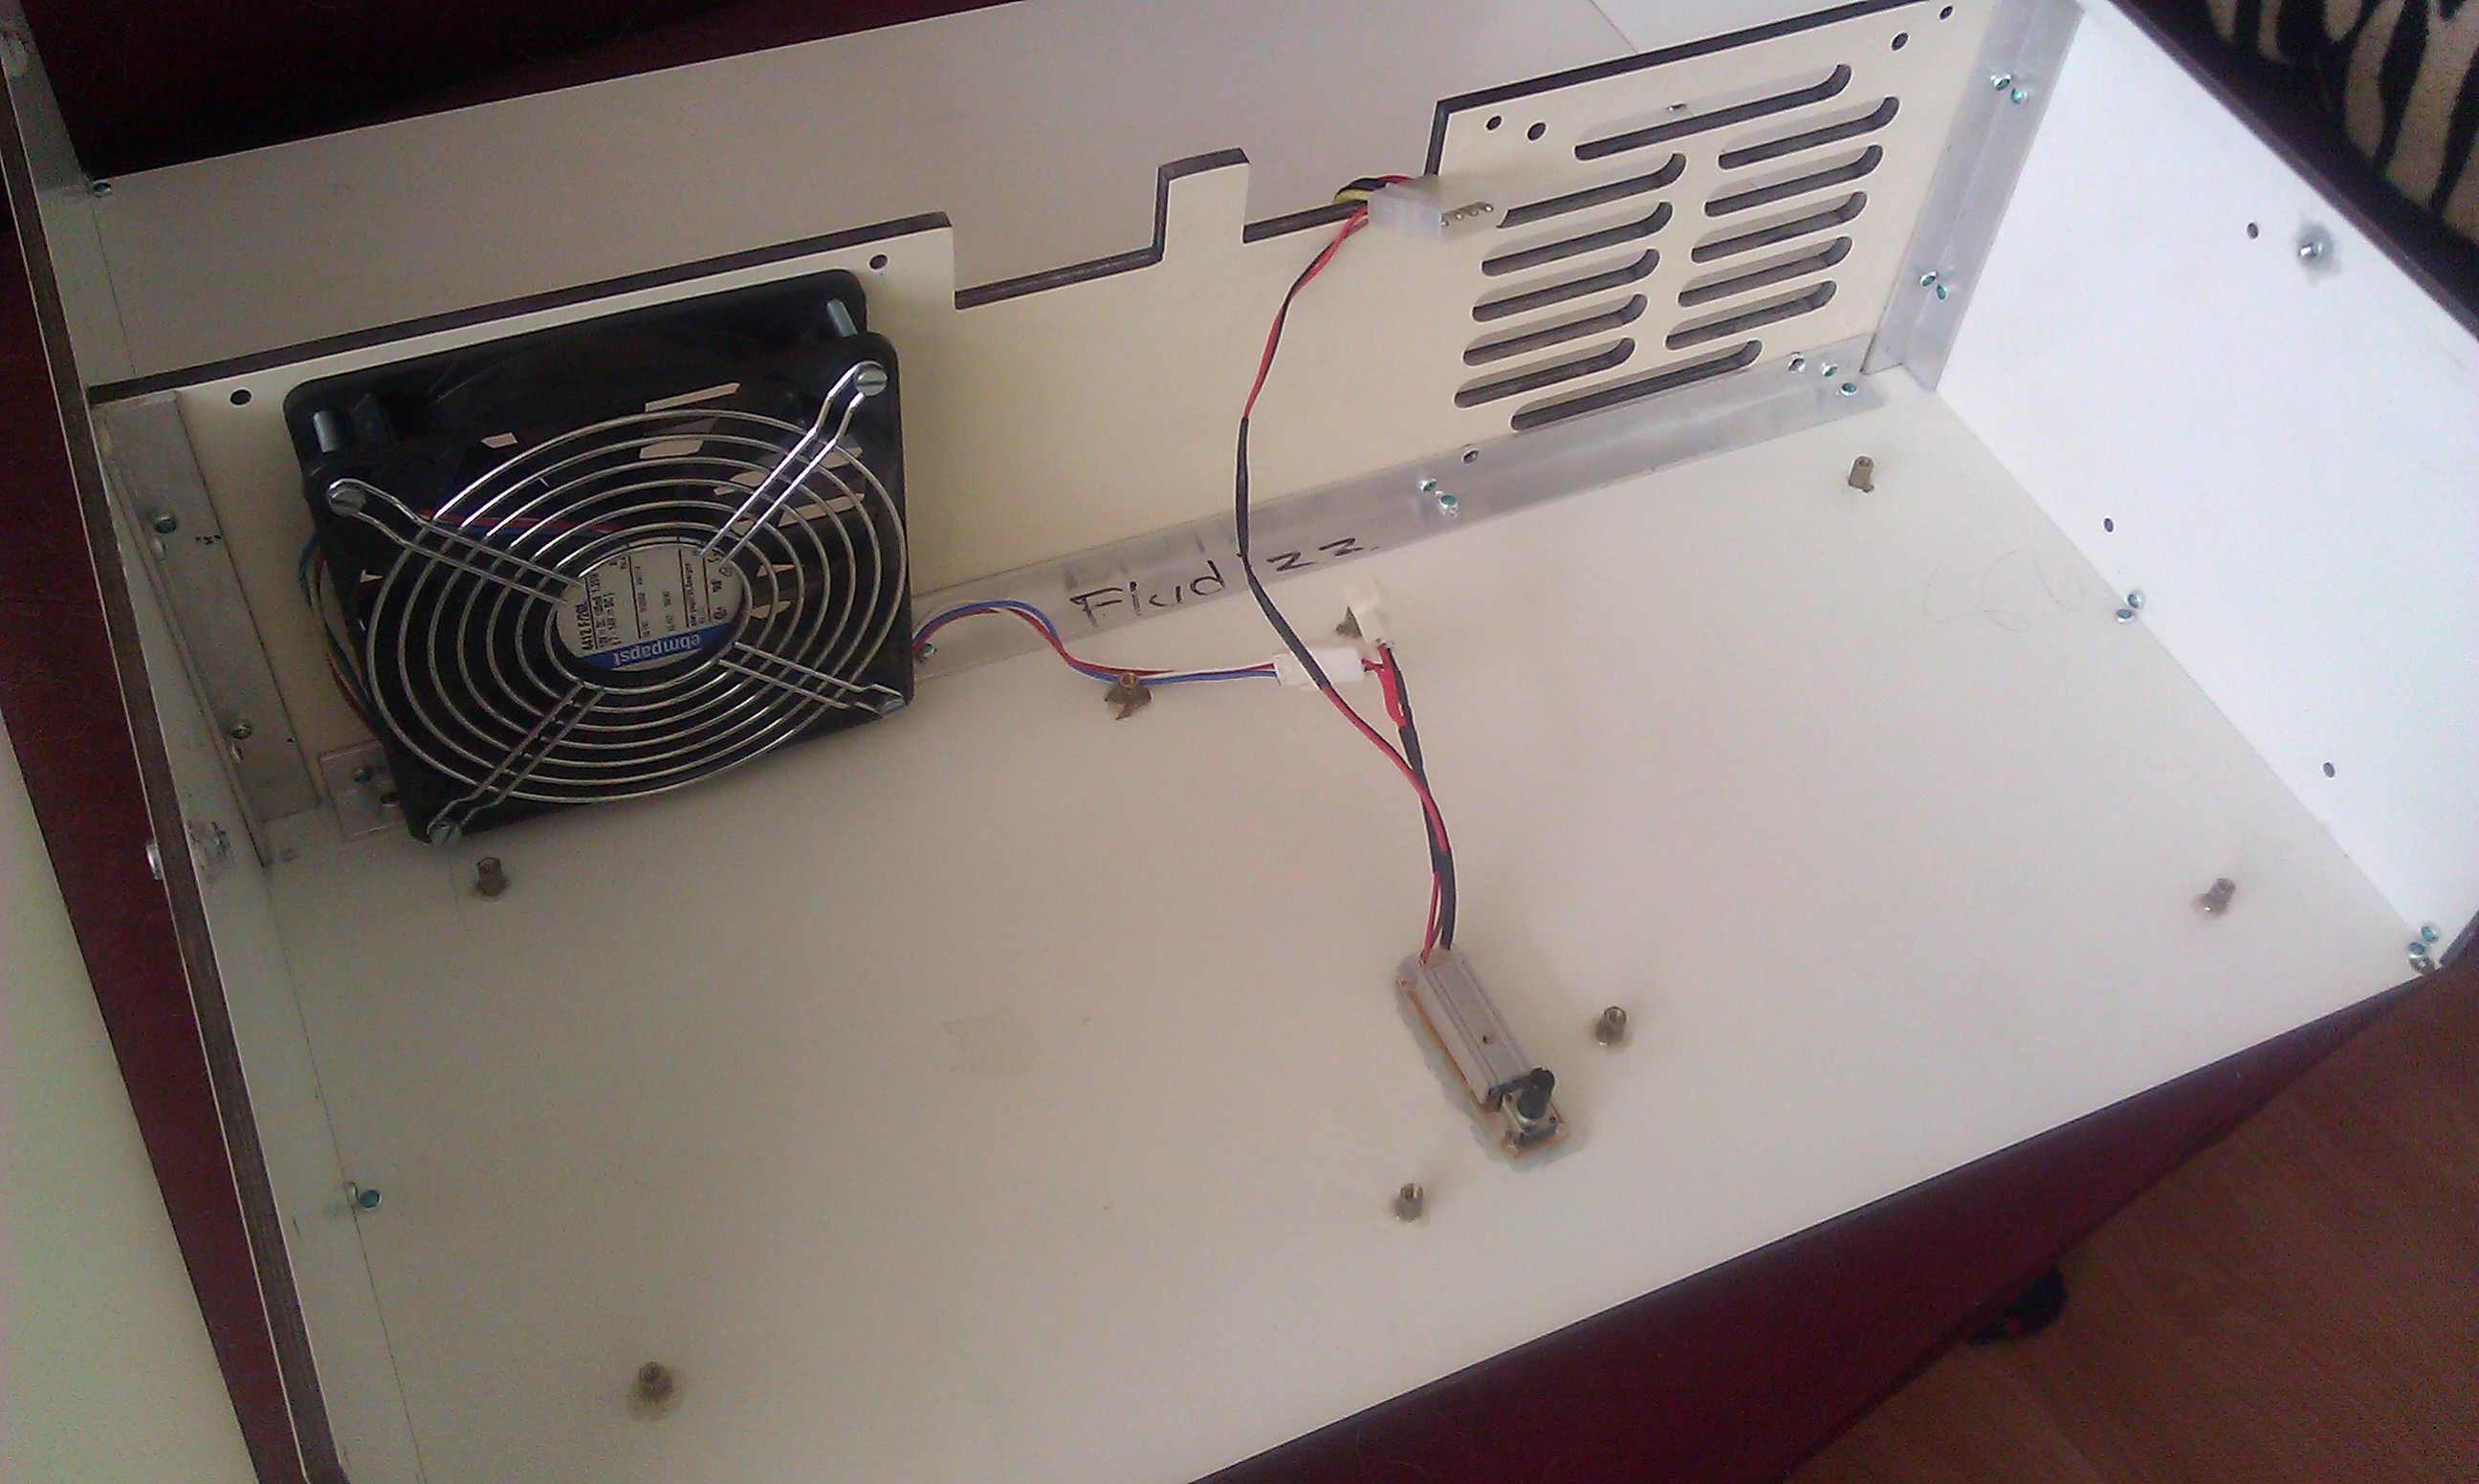
| 19:44, 10 March 2014 | Dualcase10.jpg (file) |  |
687 KB | First fan and fancontroller mounted in the case. | 1 |
| 19:44, 10 March 2014 | Dualcase11.jpg (file) |  |
819 KB | First server and disk-array mounted in the case! | 1 |
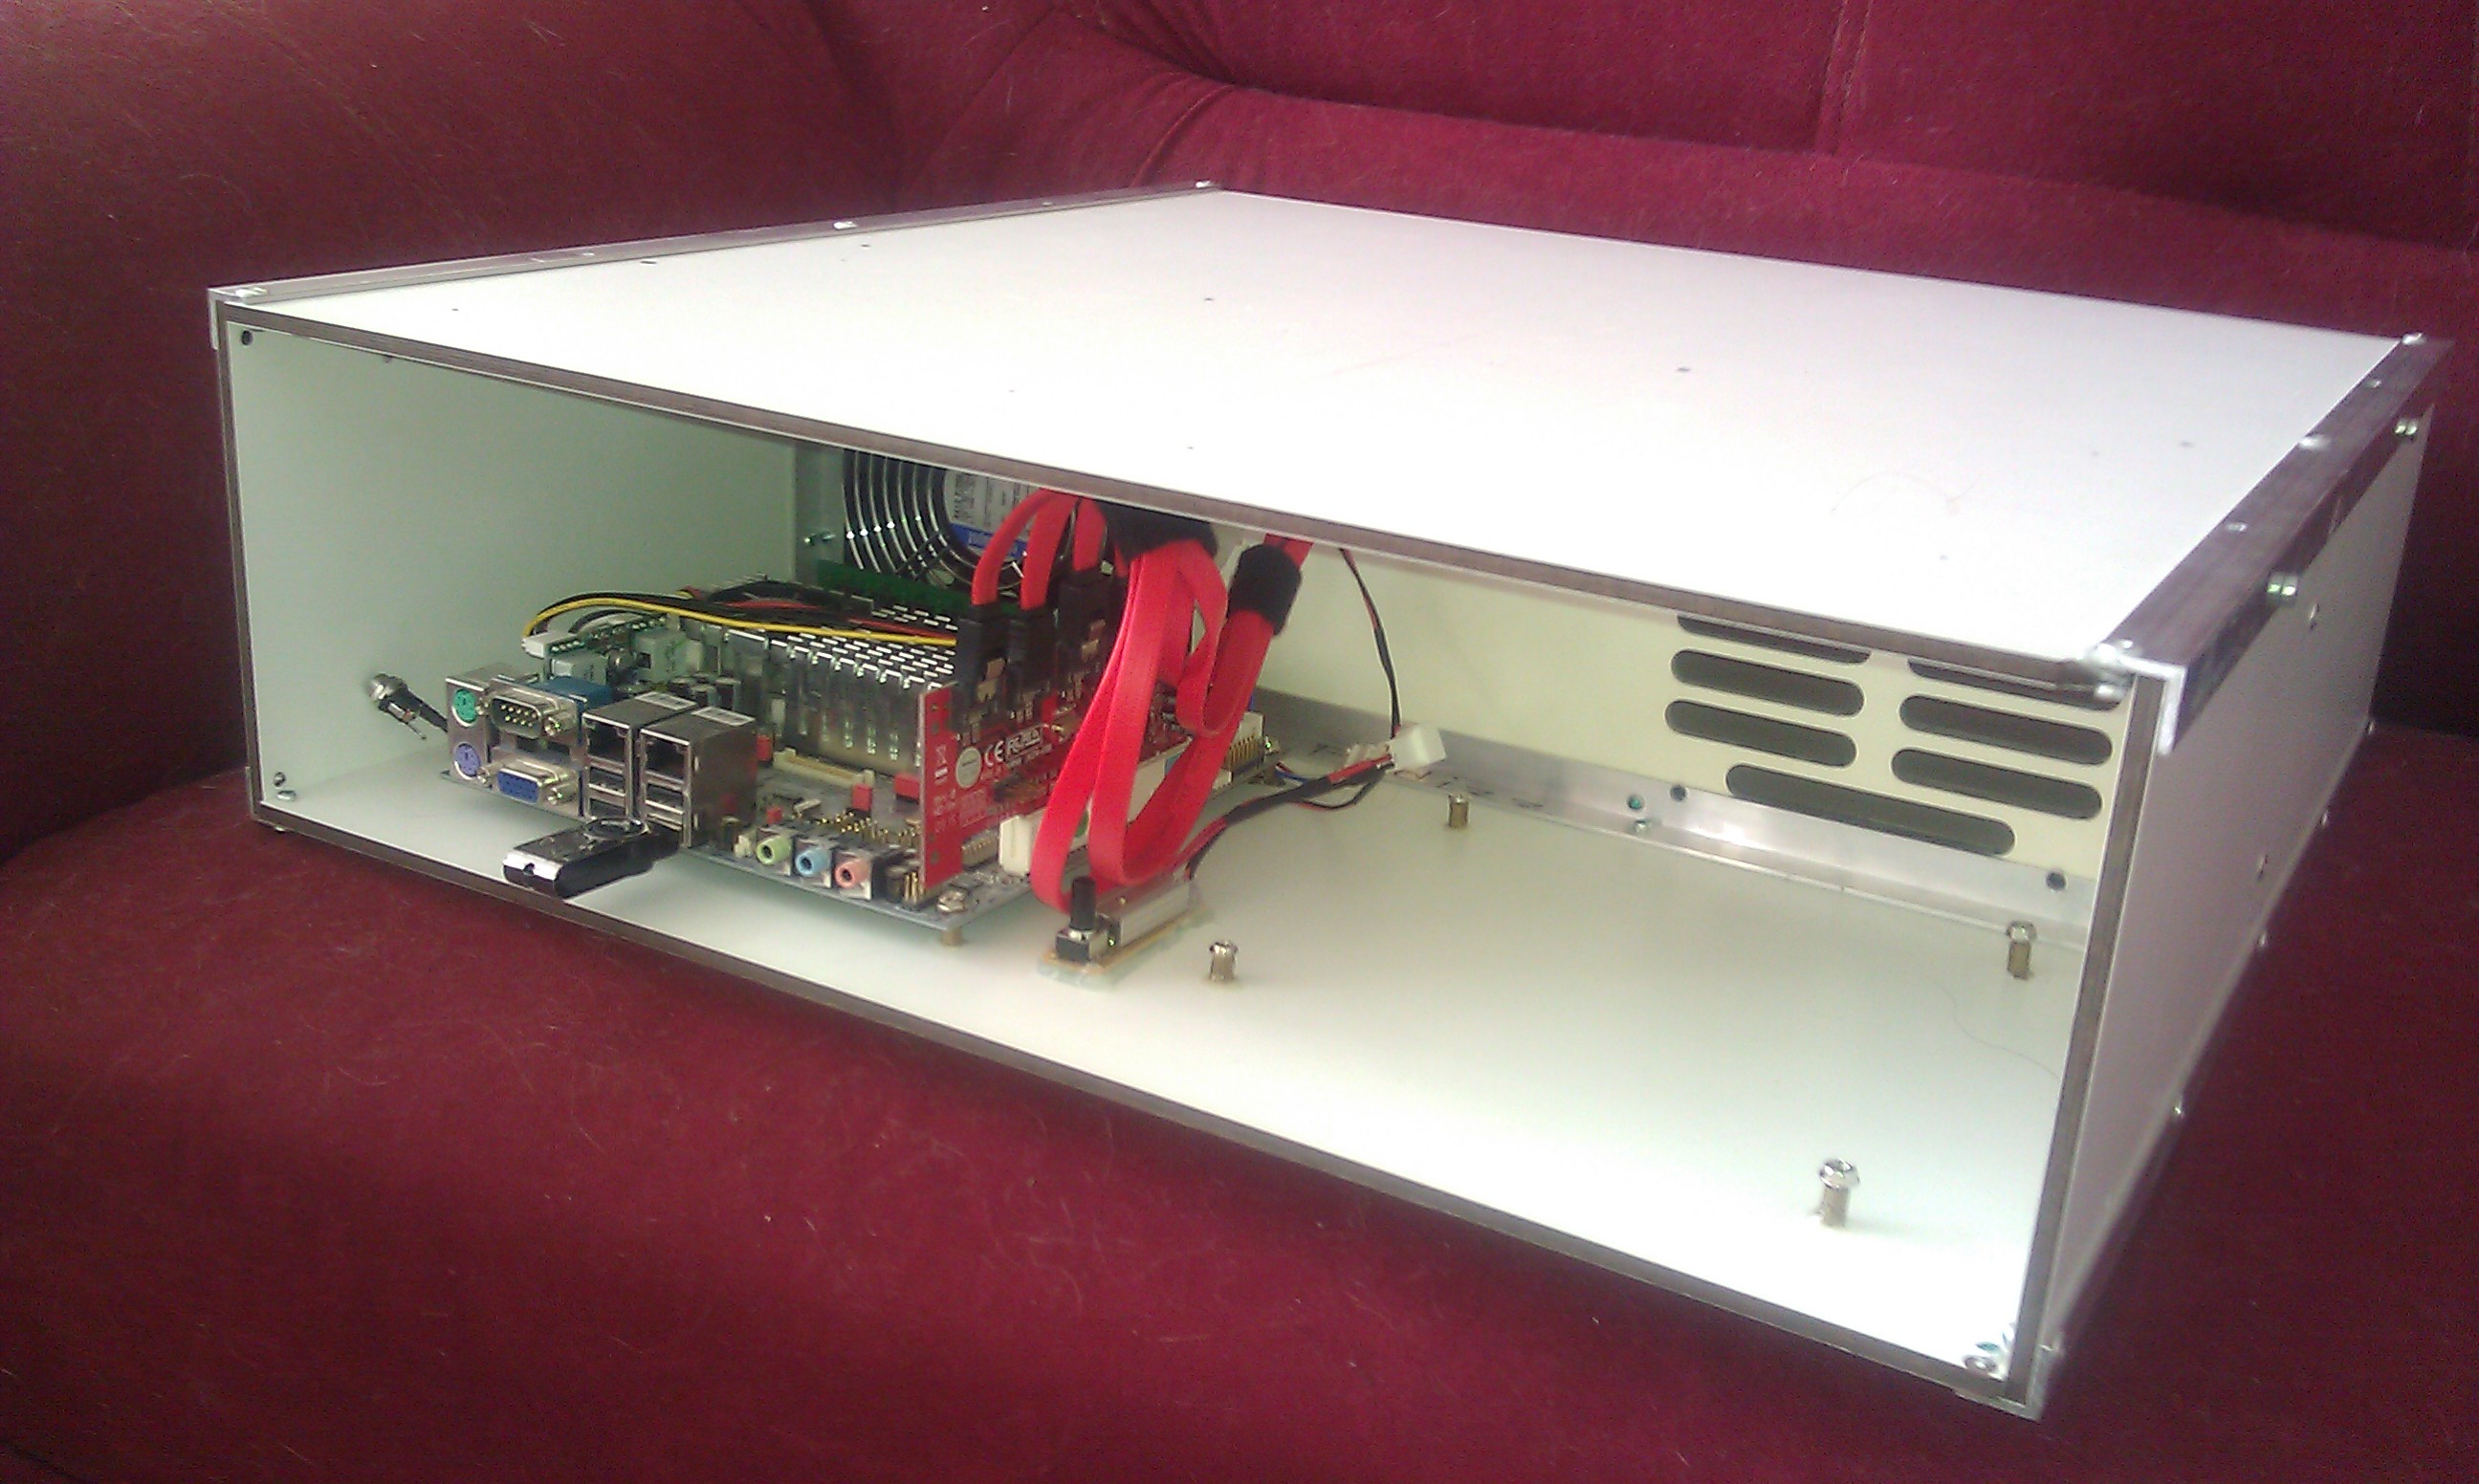
| 19:44, 10 March 2014 | Dualcase12.jpg (file) |  |
653 KB | Rear view of the dual-server case with the first server installed. | 1 |
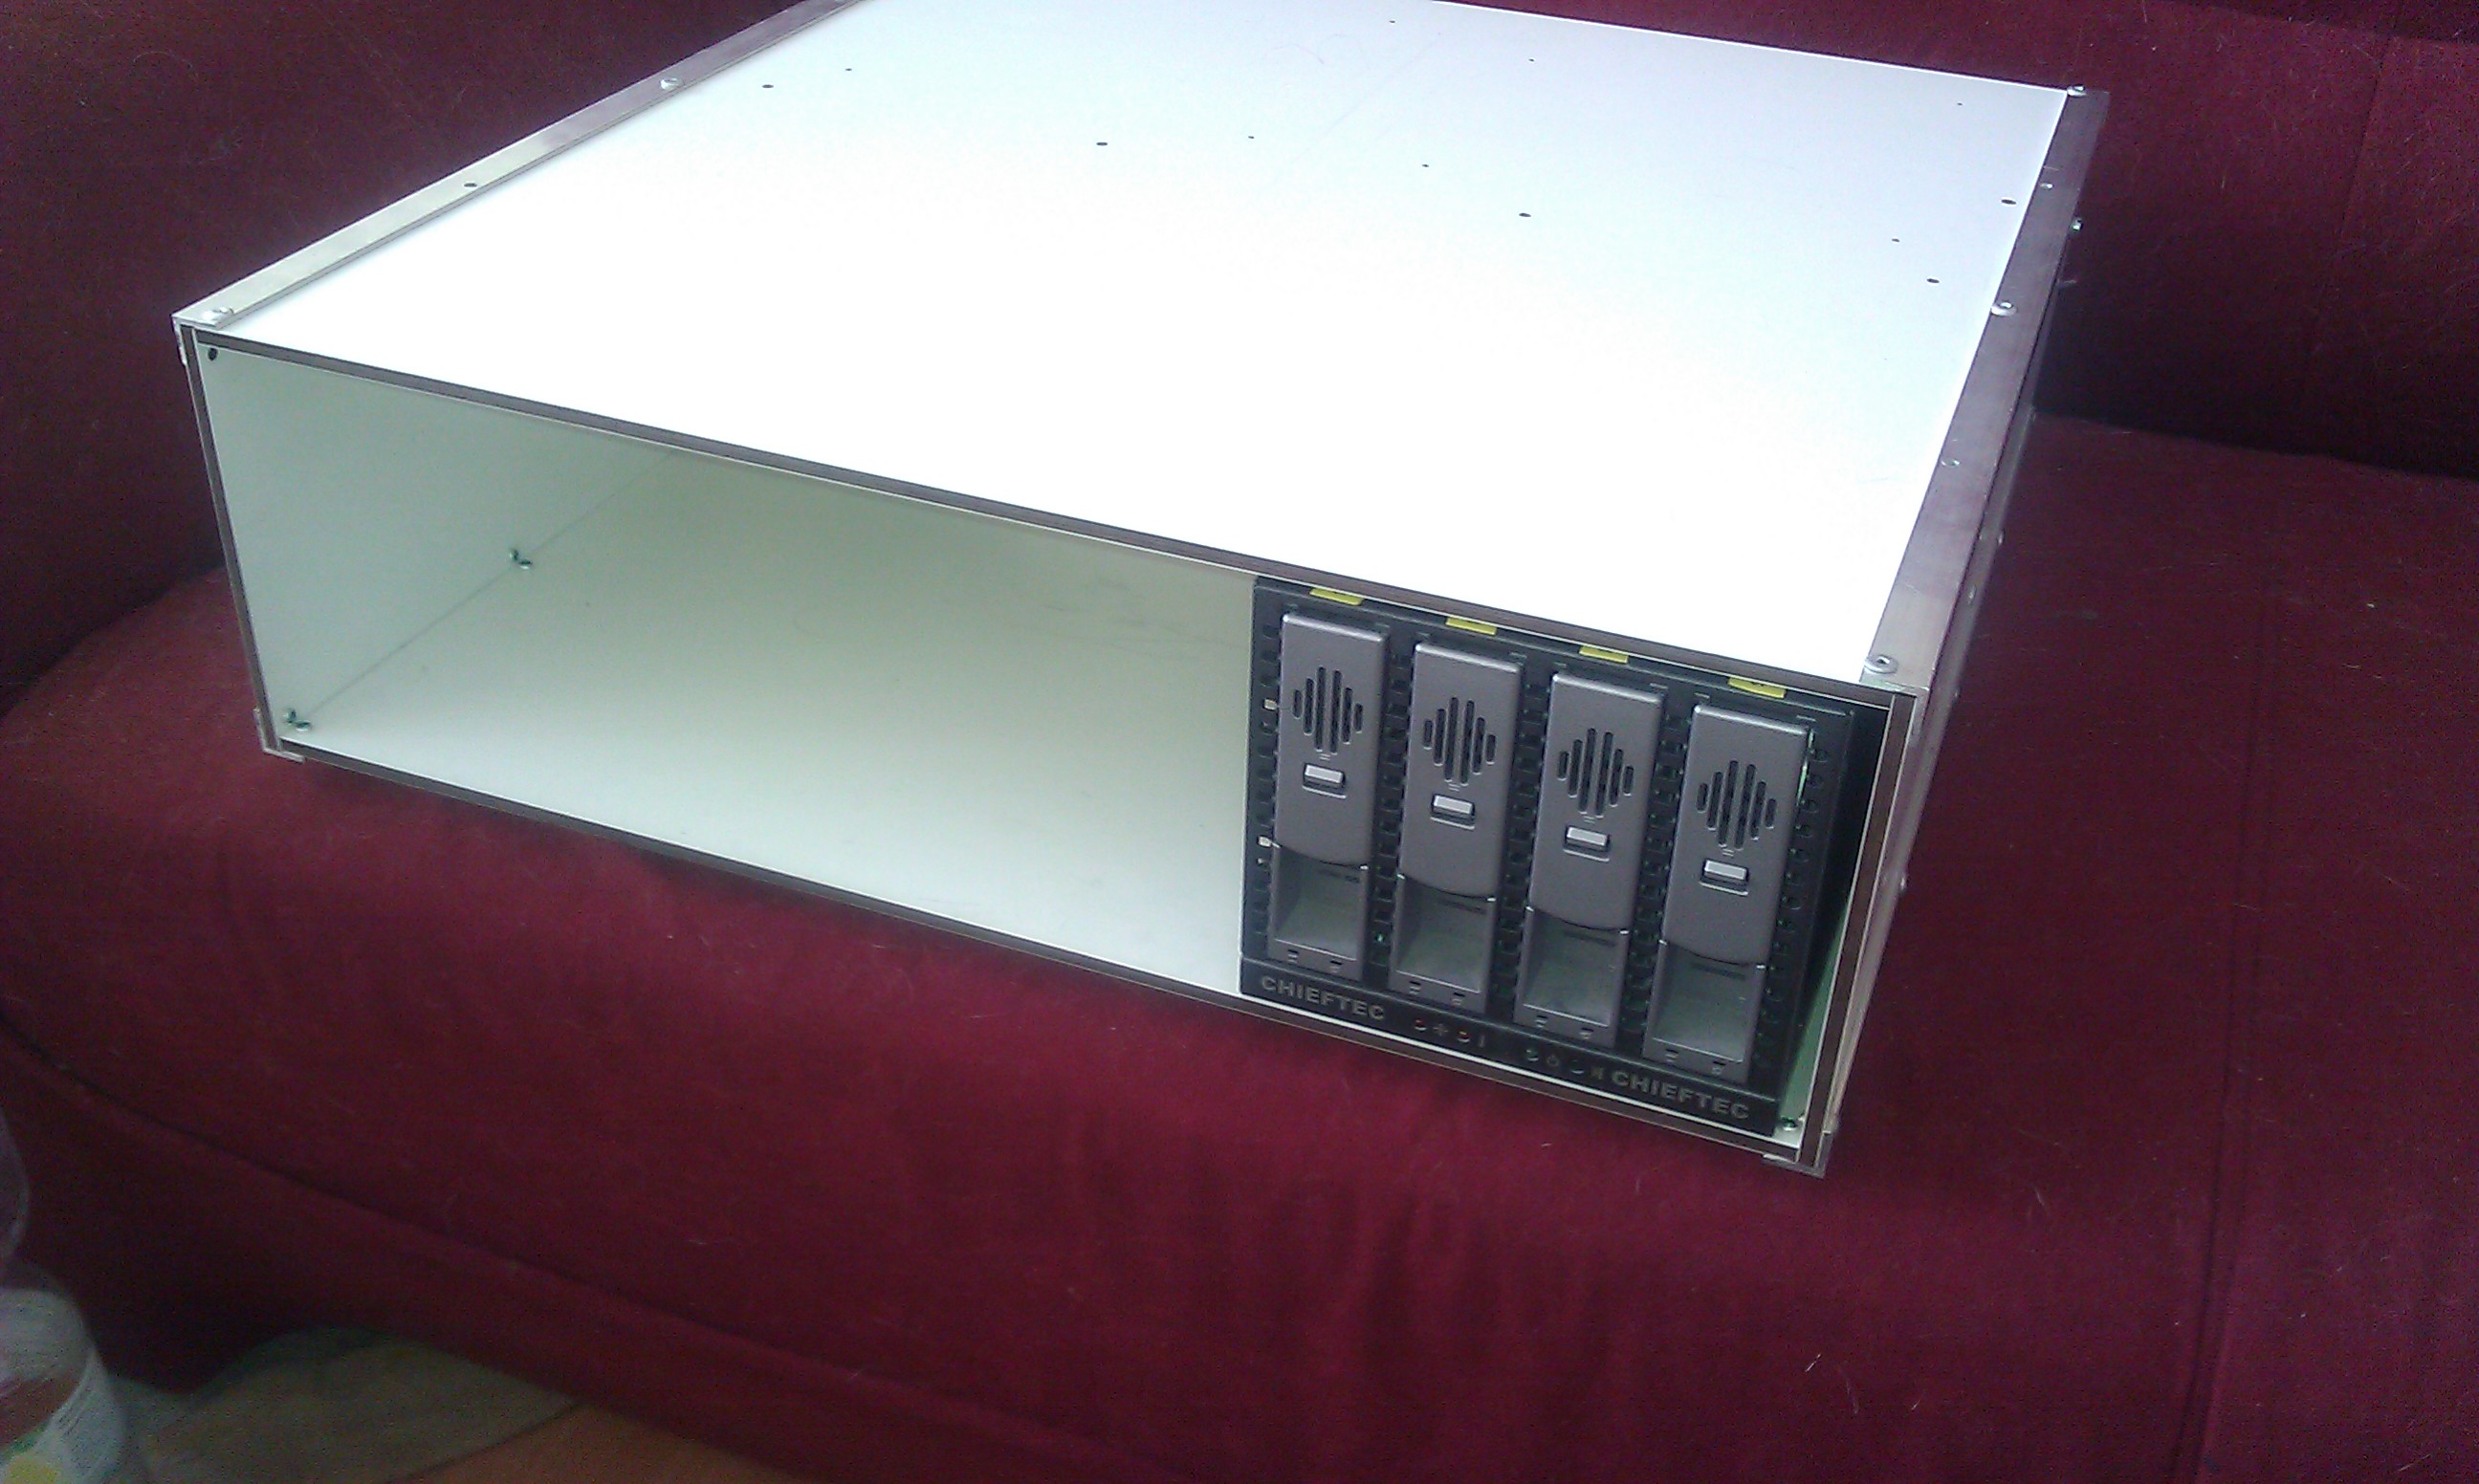
| 19:44, 10 March 2014 | Dualcase13.jpg (file) |  |
592 KB | Front view of the server case, showing the first disk set. | 1 |
| 16:18, 1 March 2014 | Dualcase06.jpg (file) |  |
661 KB | Overview with both side panels riveted to the bottom panel | 1 |
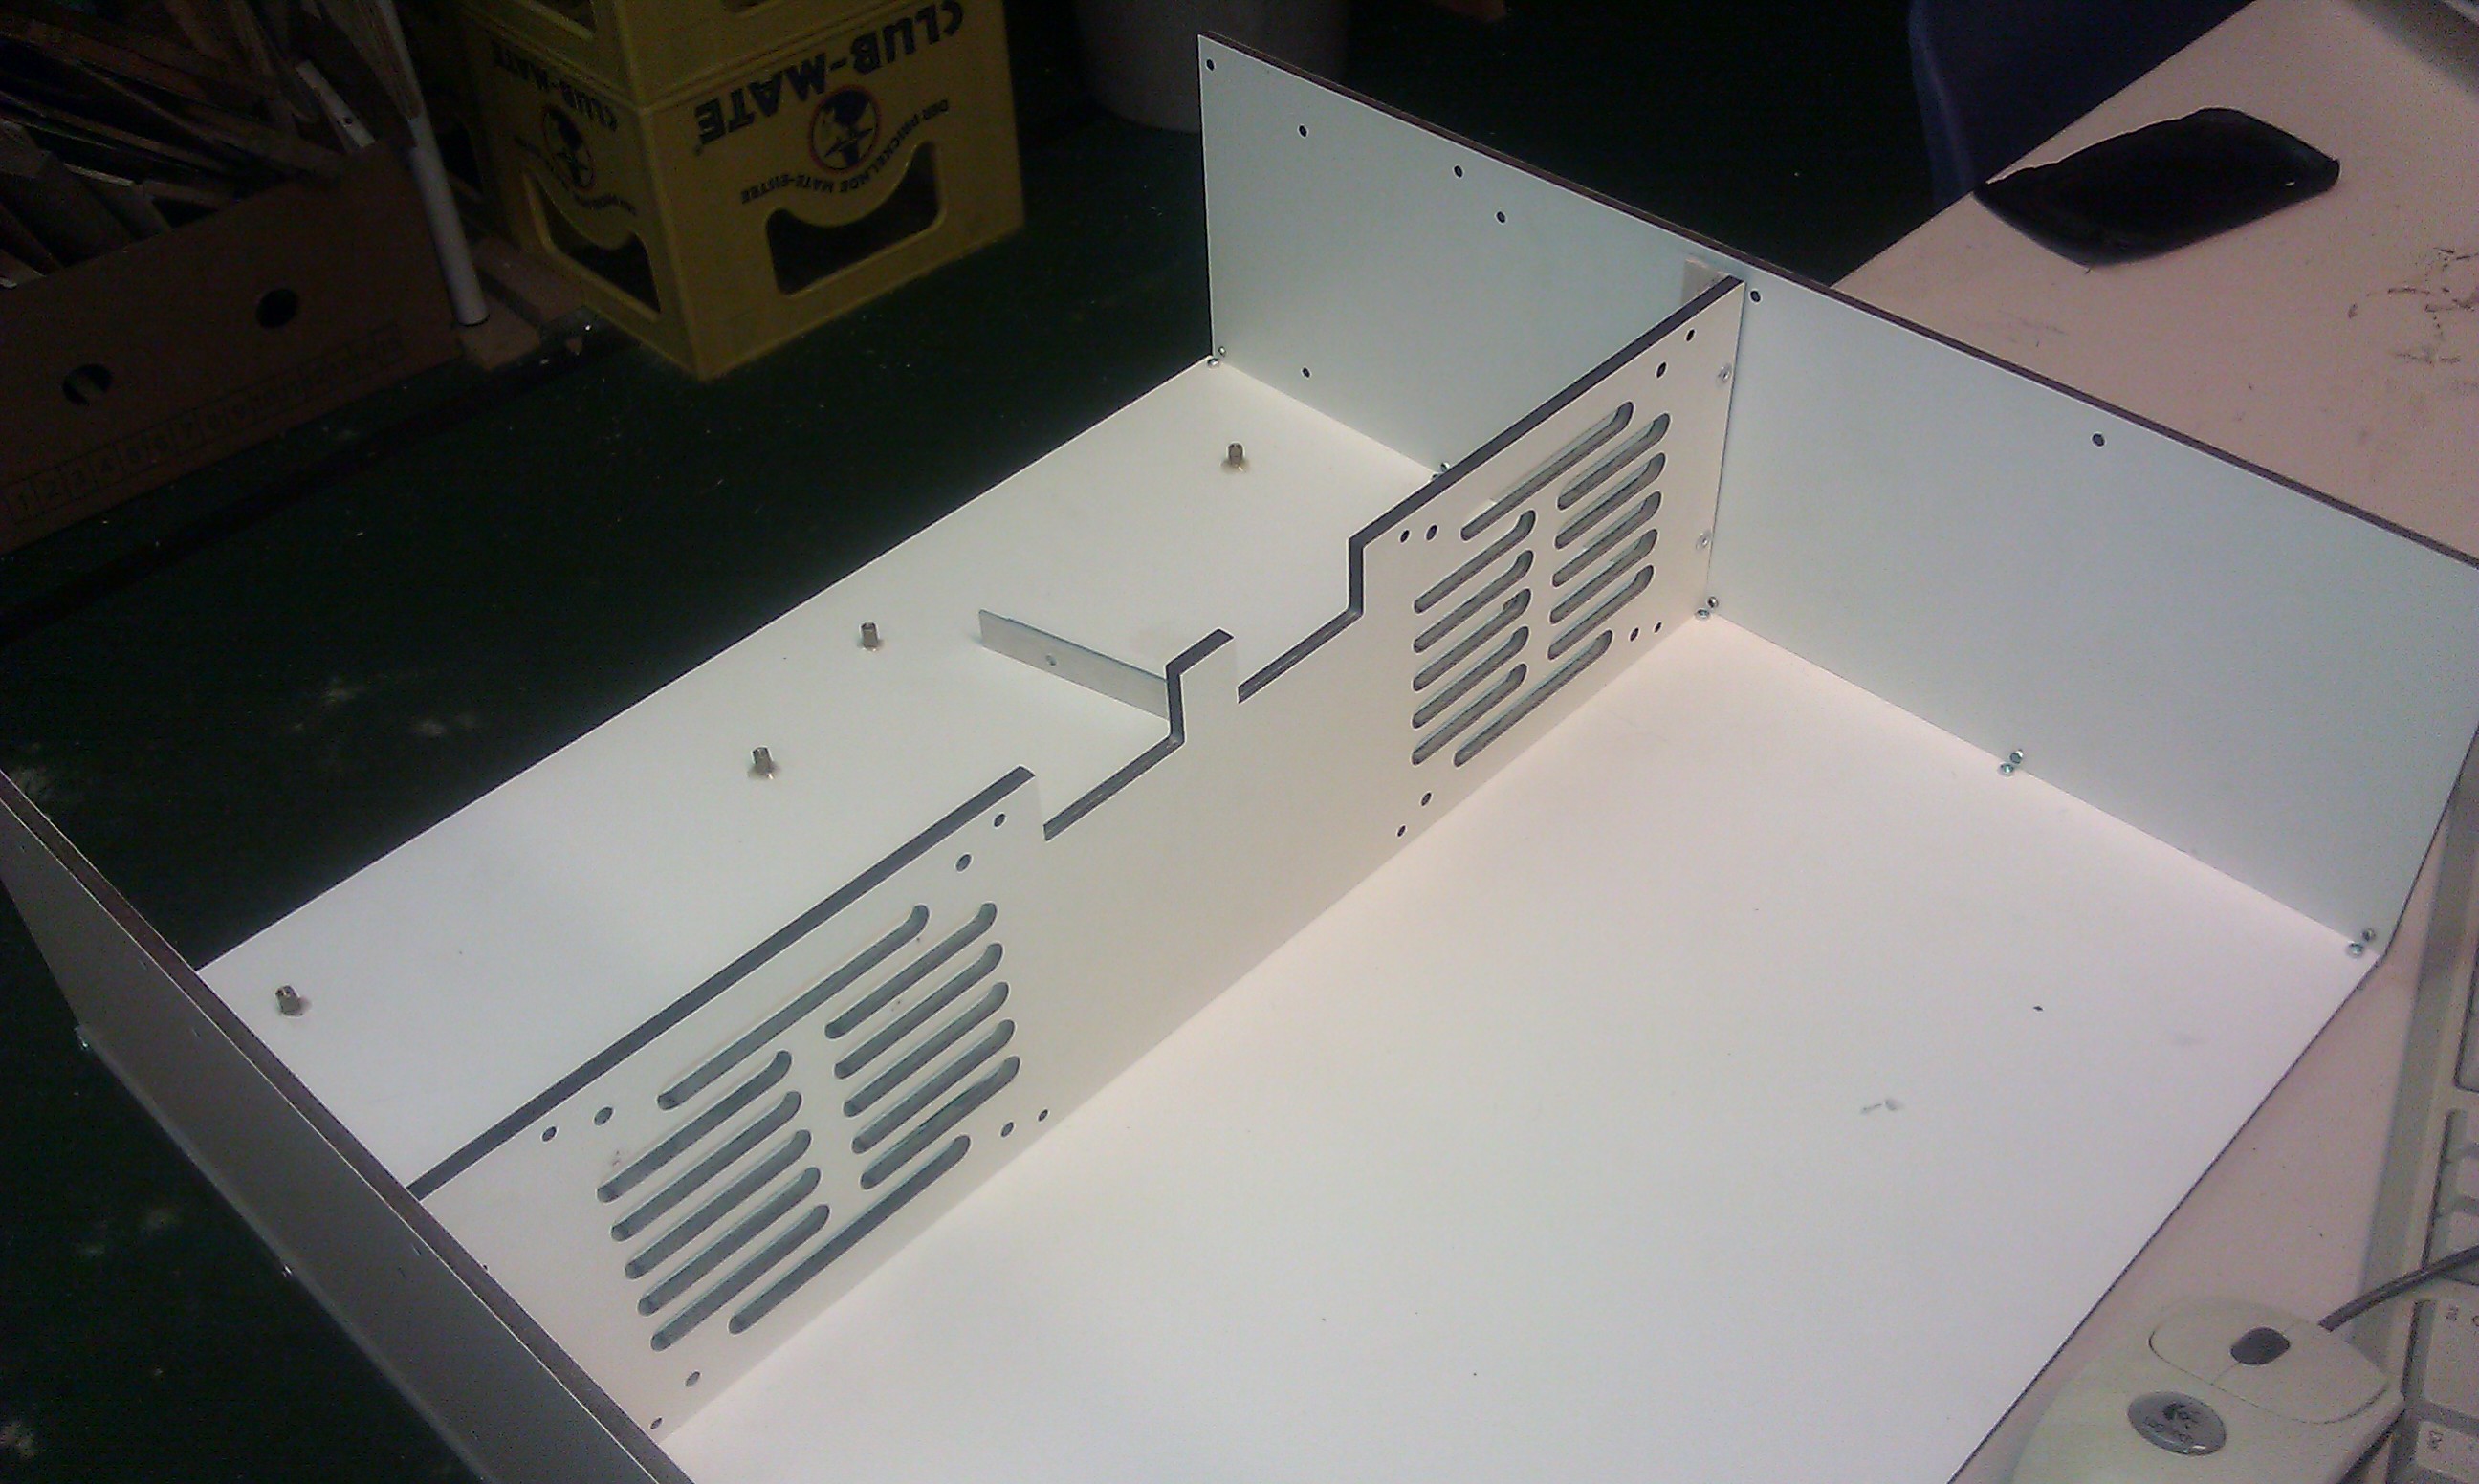
| 16:18, 1 March 2014 | Dualcase04.jpg (file) |  |
470 KB | Rivet details inside the case before aligning the center panel. | 1 |
| 16:18, 1 March 2014 | Dualcase05.jpg (file) |  |
469 KB | Details of the rivets on the outside edge after riveting the side panel to the bottom panel. | 1 |
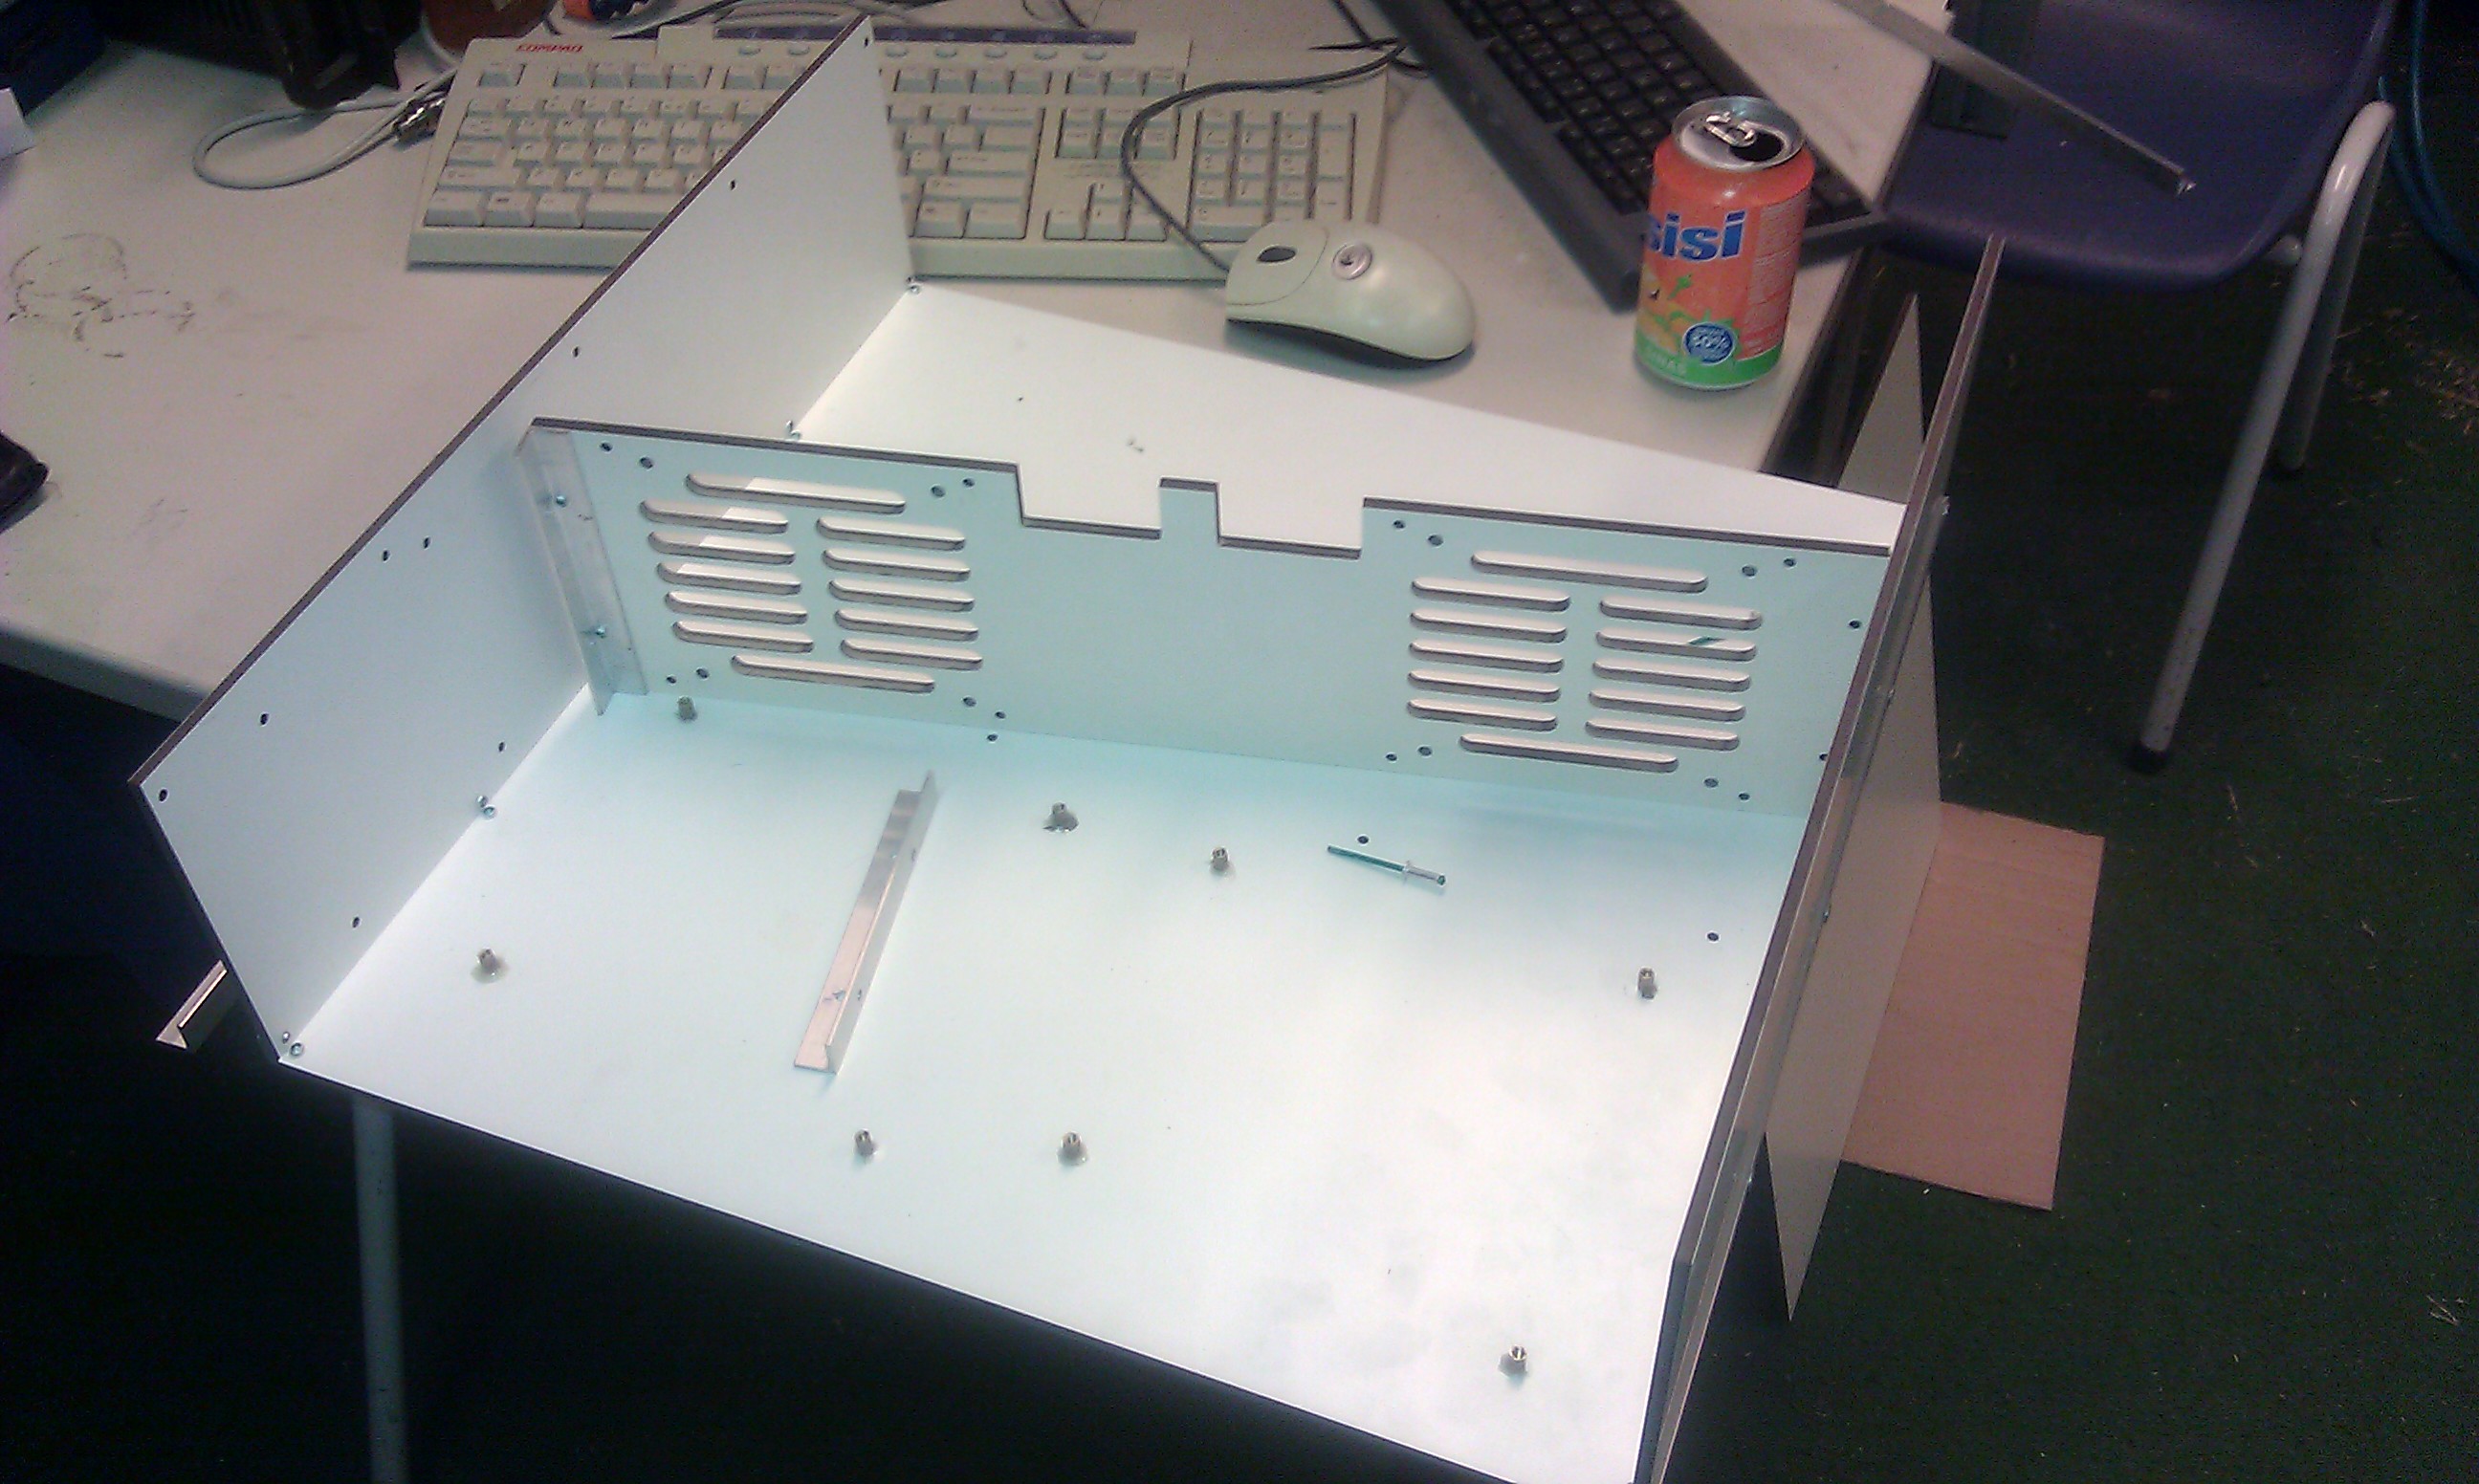
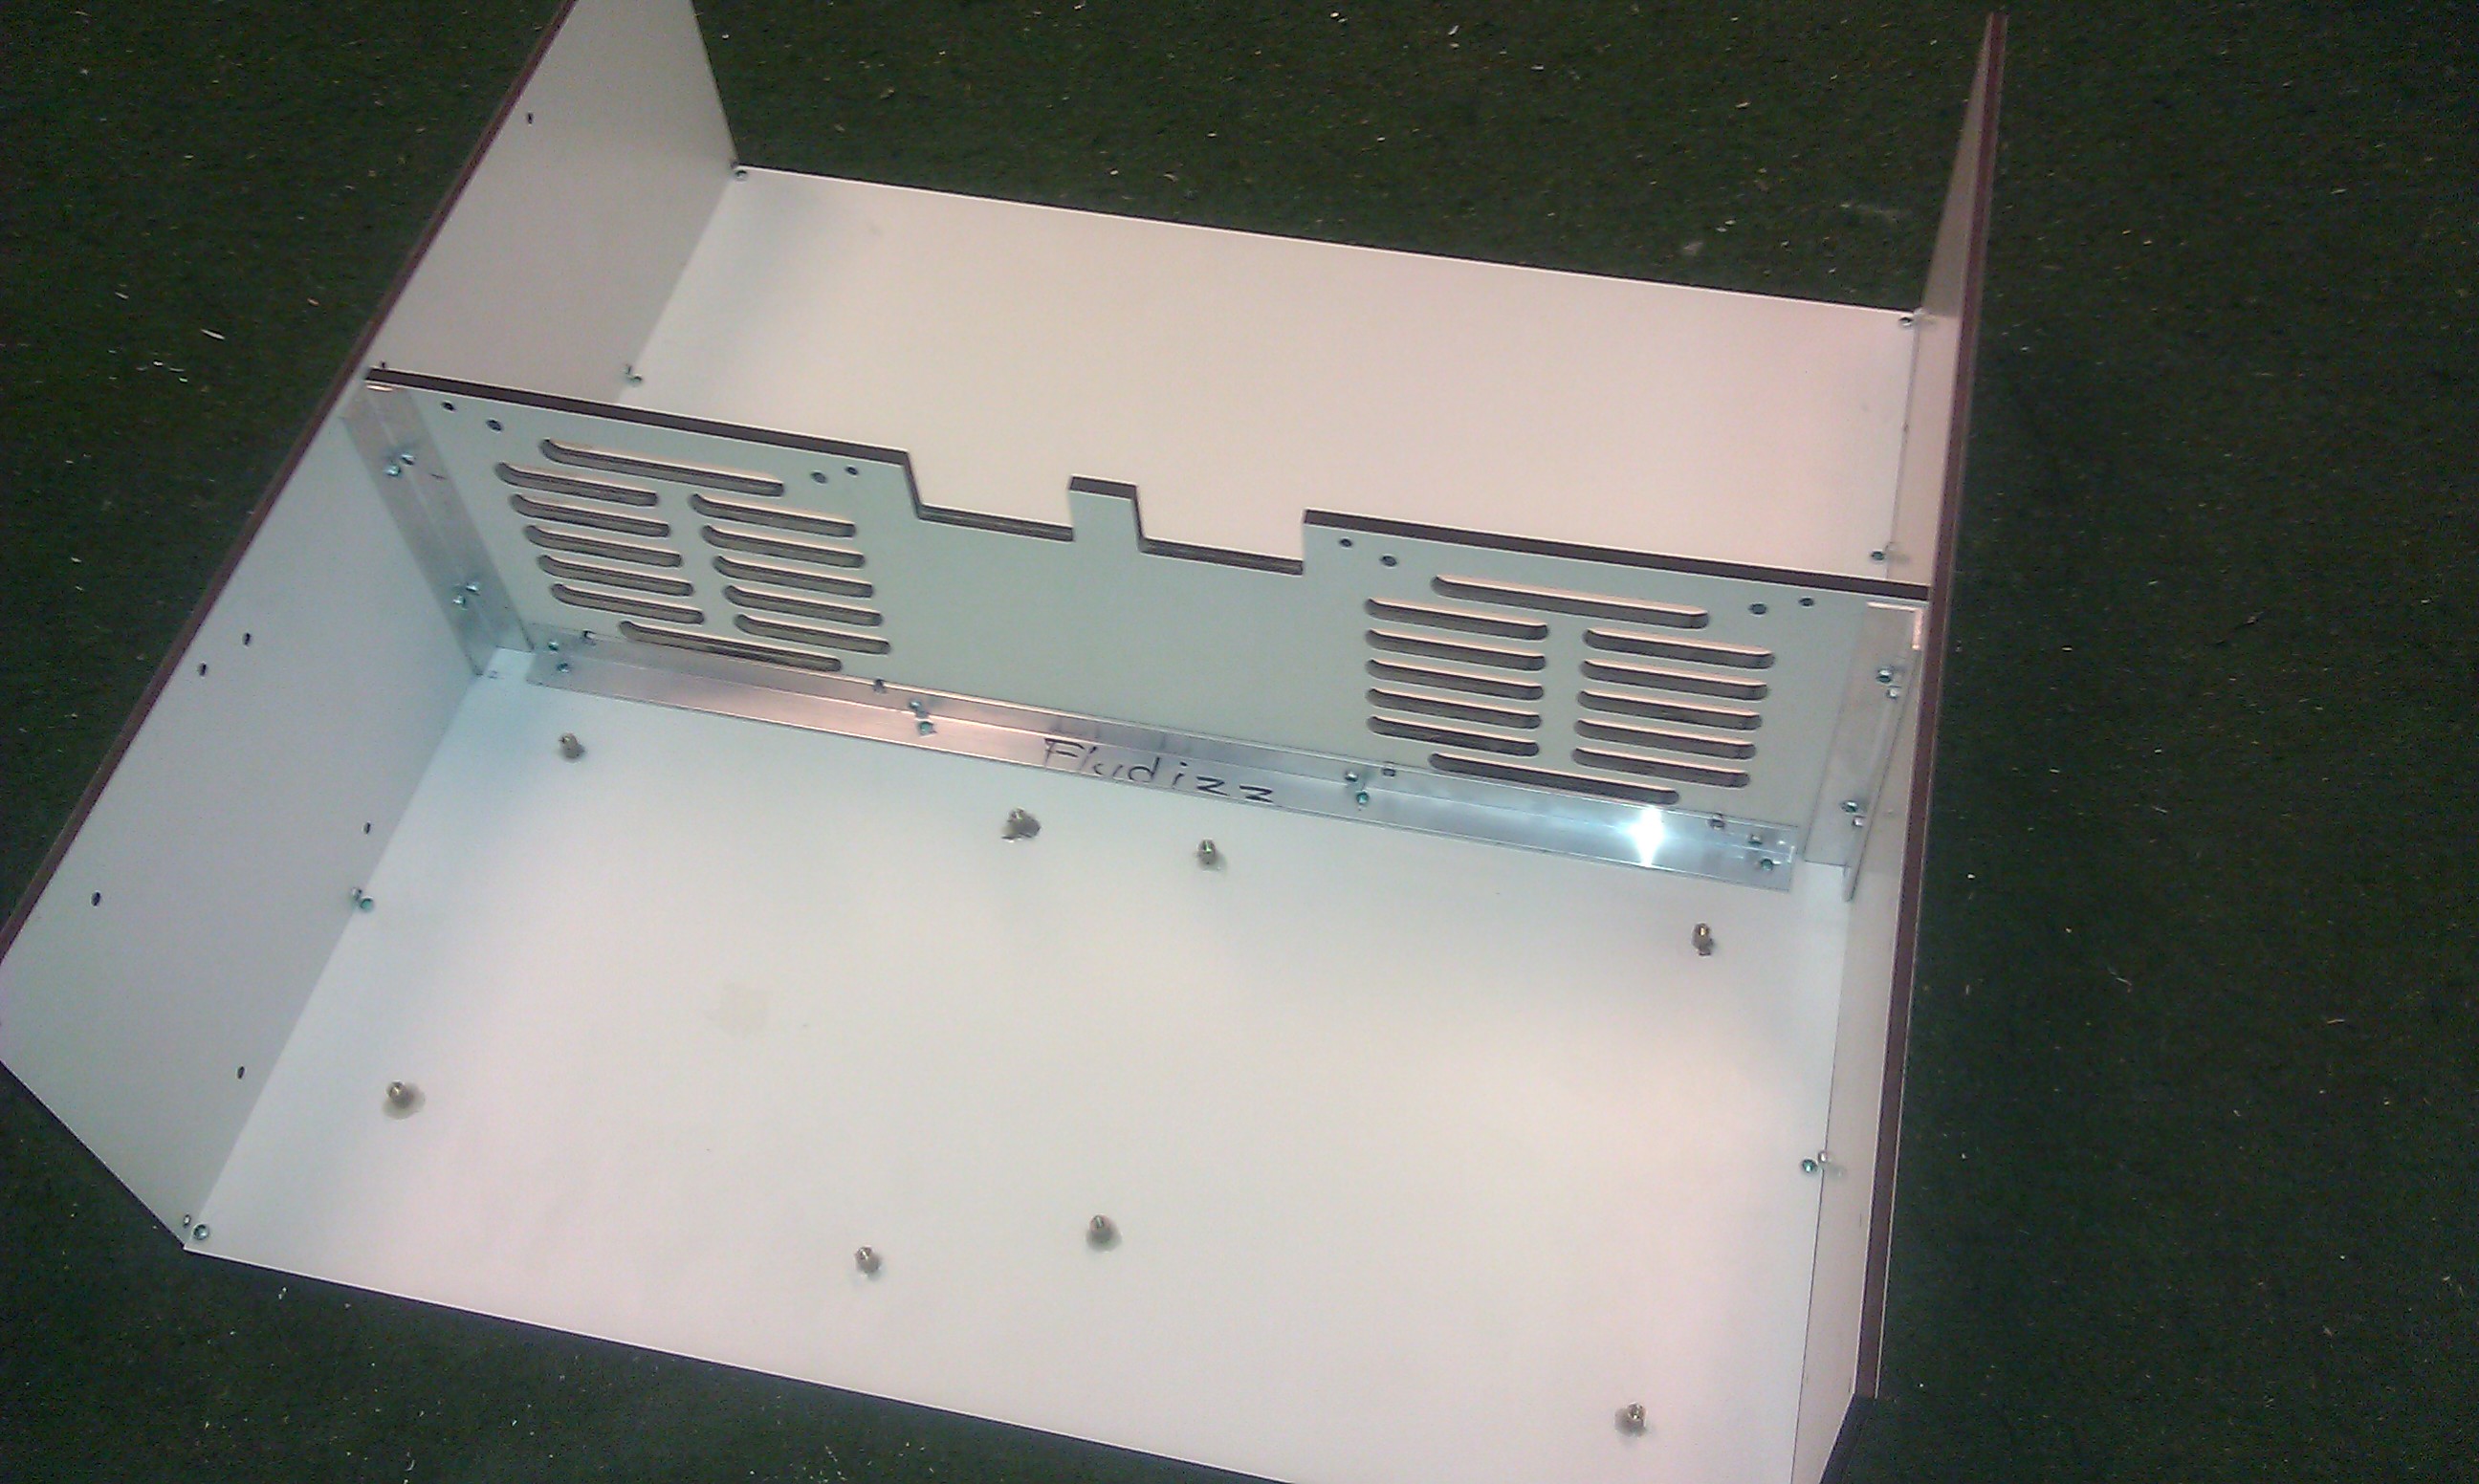
| 16:18, 1 March 2014 | Dualcase07.jpg (file) |  |
601 KB | Positioning the center panel to align the rivetting holes on the side panels | 1 |
| 16:18, 1 March 2014 | Dualcase08.jpg (file) |  |
647 KB | Overview with the centerpanel riveted to the bottom and side panels. | 1 |
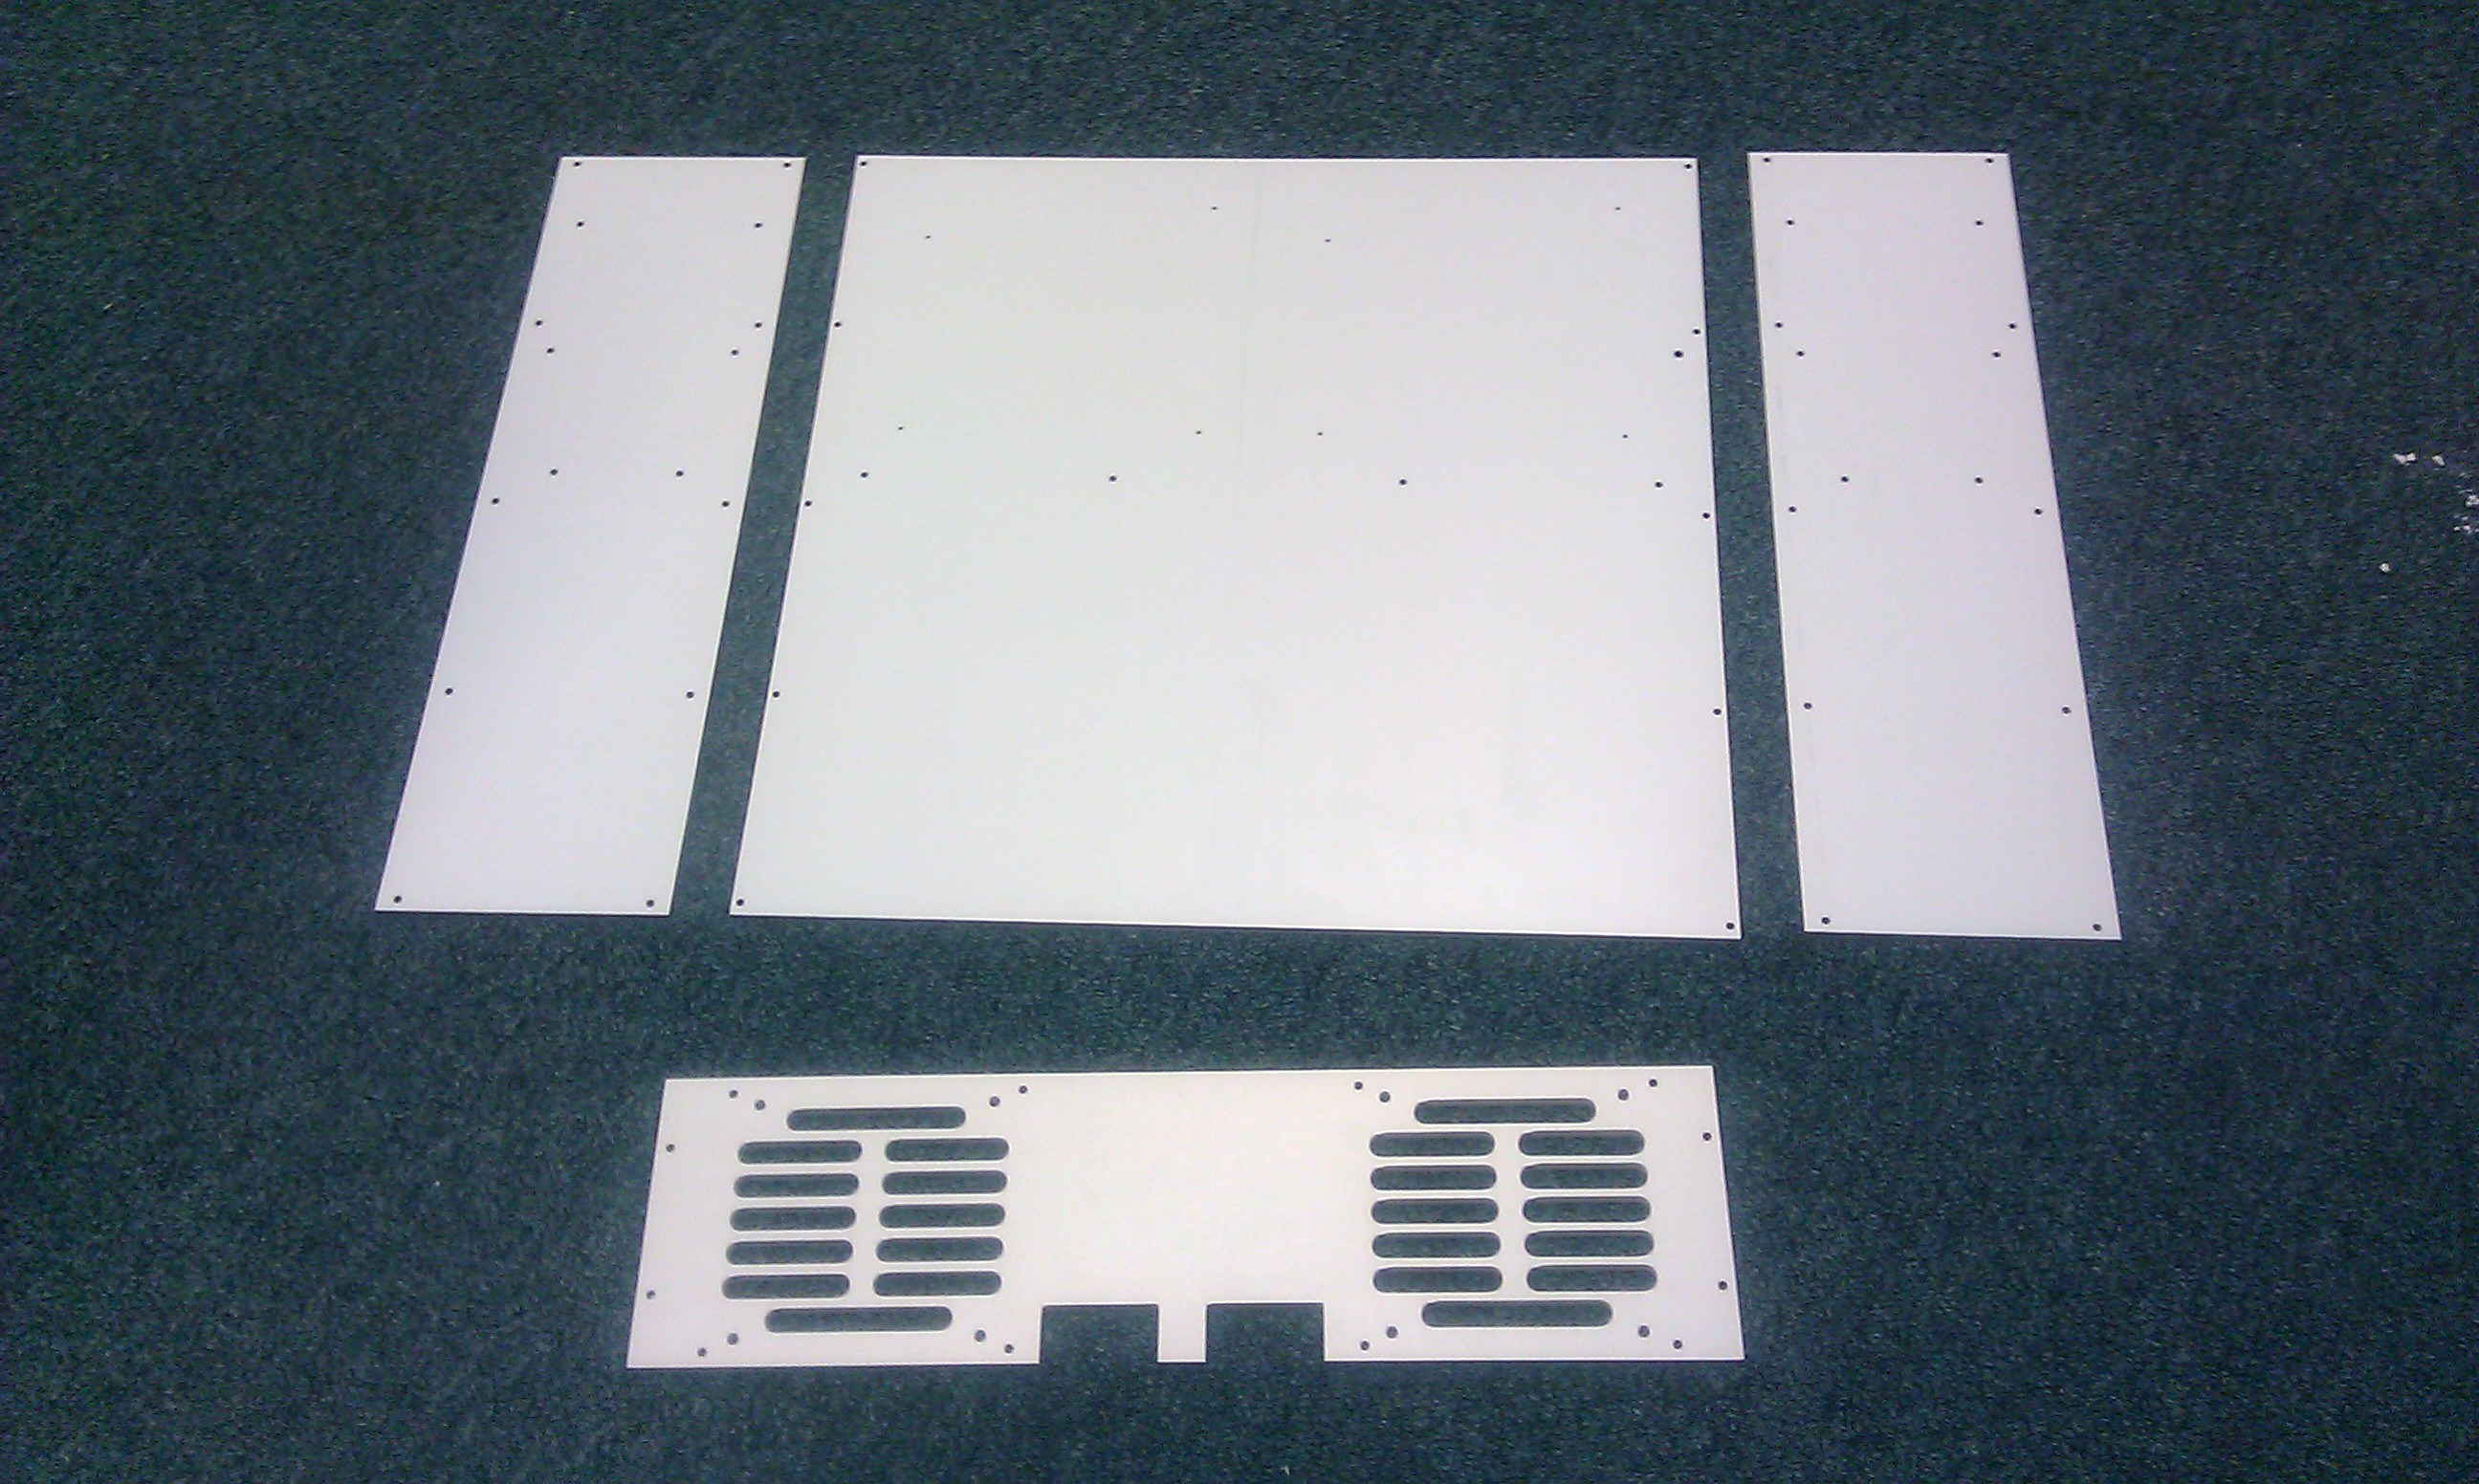
| 19:22, 9 February 2014 | Dualcase02.jpg (file) |  |
869 KB | Bodemplaat, zijplaten en middenplaat los van elkaar. | 1 |
| 19:22, 9 February 2014 | Dualcase03.jpg (file) |  |
1.15 MB | Design indicatief in elkaar gehouden zonder de bovenplaat erop. Dit is grofweg hoe de kast er van binnen uit ziet. | 1 |
| 19:22, 9 February 2014 | Dualcase sides.svg (file) |  |
17 KB | SVG File van de beide zijplaten. Controller alle maten voor gebruik en pas deze aan op eventuele frees/tool afmetingen. | 1 |
| 19:22, 9 February 2014 | Dualcase center.svg (file) |  |
16 KB | SVG File van de middenplaat. Controller alle maten voor gebruik en pas deze aan op eventuele frees/tool afmetingen. | 1 |
| 19:22, 9 February 2014 | Dualcase bottom.svg (file) |  |
13 KB | SVG File van de onder/bovenplaat. Controller alle maten voor gebruik en pas deze aan op eventuele frees/tool afmetingen. | 1 |
| 19:21, 9 February 2014 | Dualcase01.jpg (file) |  |
590 KB | Bodemplaat met de twee sets MiniITX montage gaten uitgelicht. | 1 |
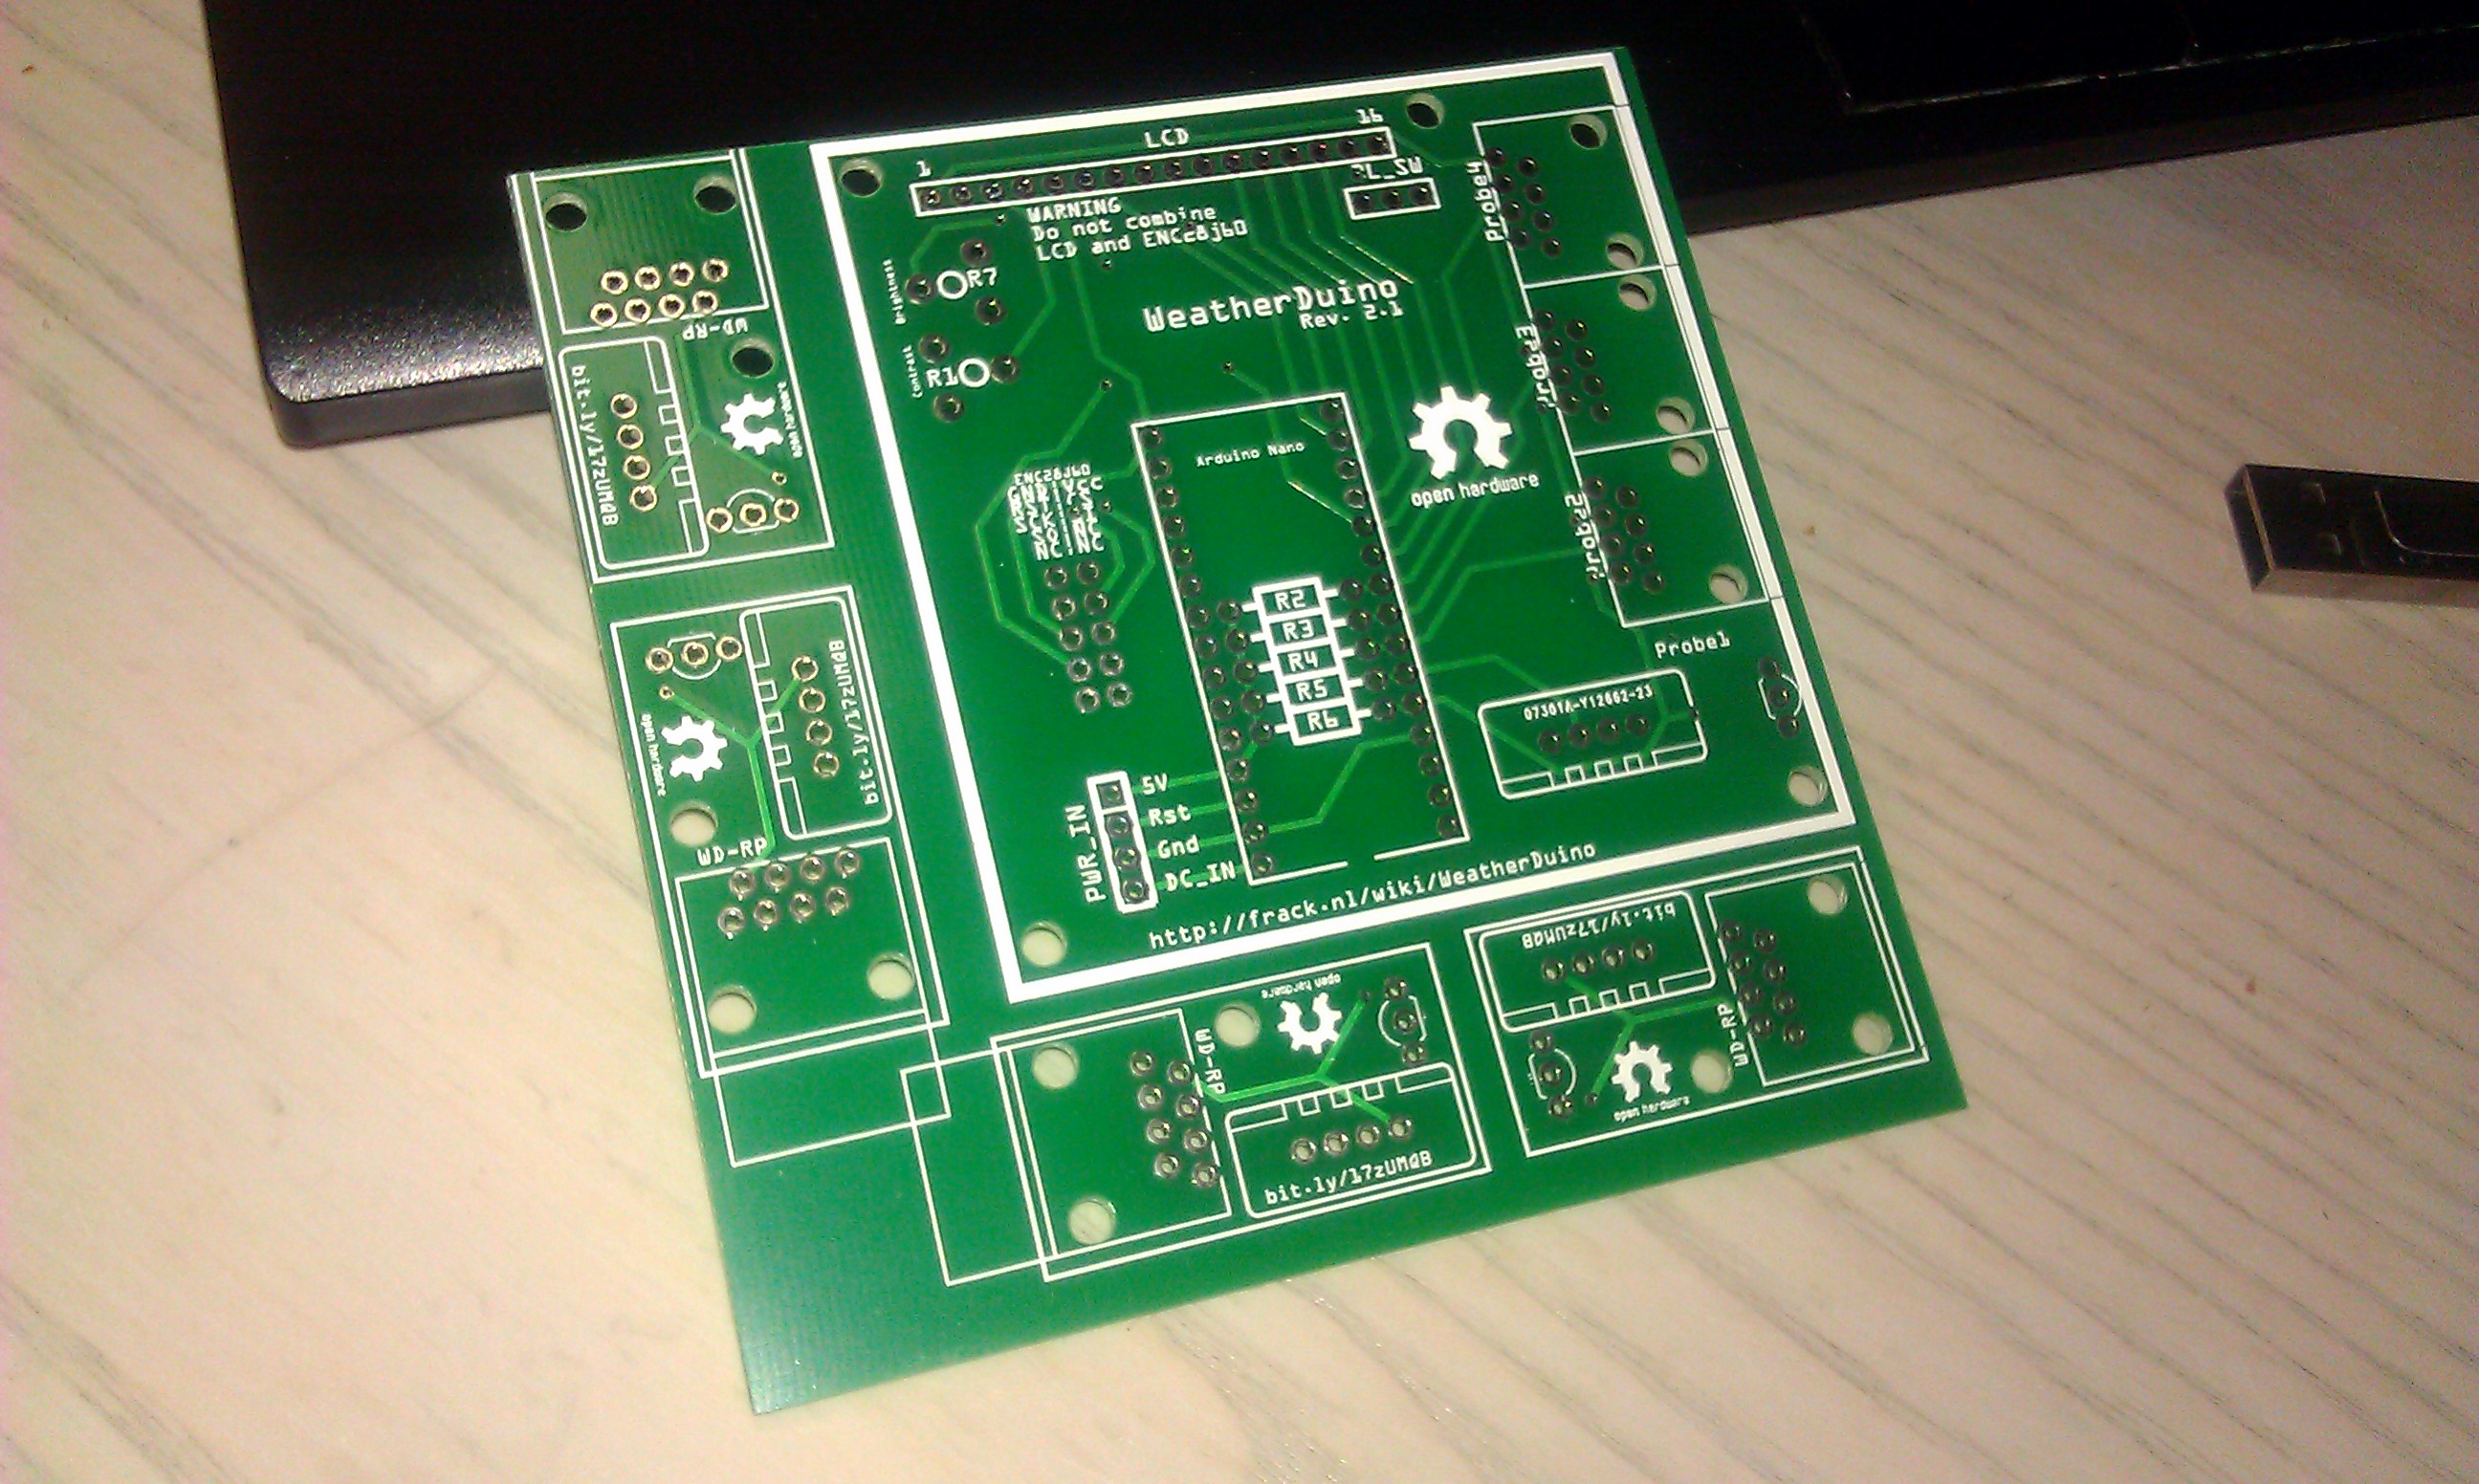
| 16:07, 6 February 2014 | WeatherDuino rev2.1 uncut.jpg (file) |  |
846 KB | WeatherDuino board revisie 2.1: Dual Layer design. Probes en mainboard op 1 PCB. Moet alleen zelf gesneden worden! | 1 |
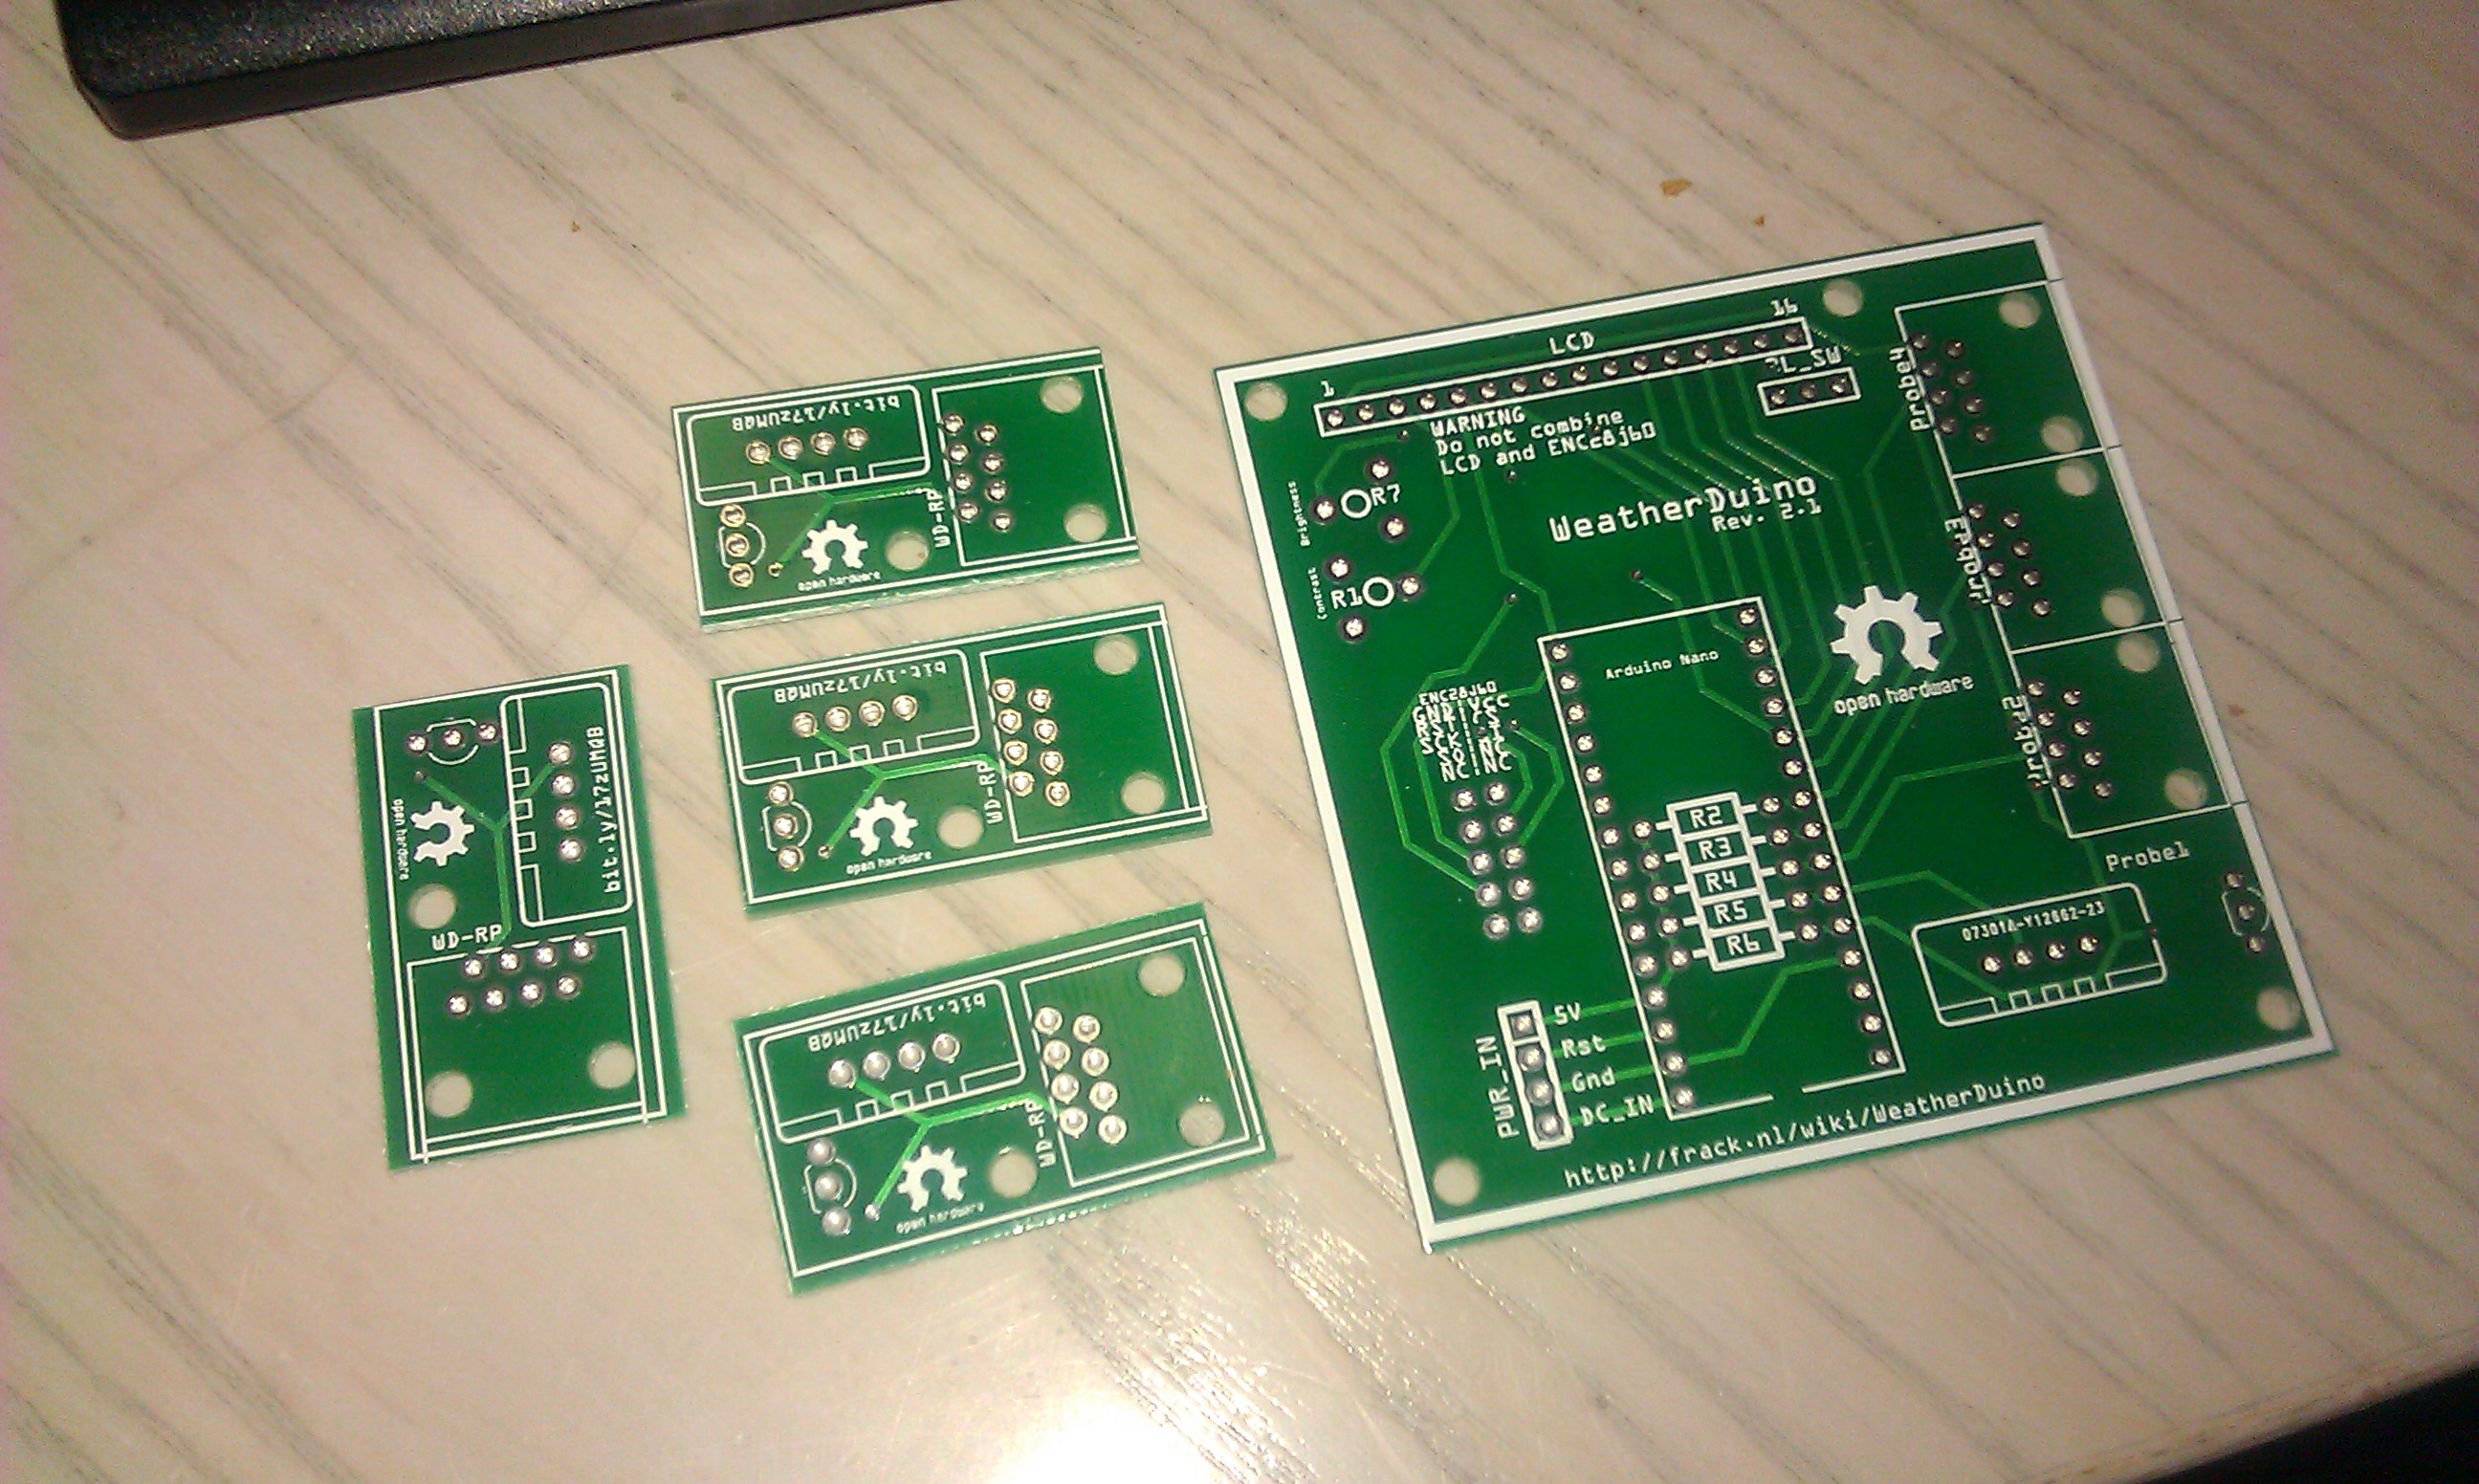
| 16:07, 6 February 2014 | WeatherDuino rev2.1 cut.jpg (file) |  |
874 KB | Revisie 2.1 bordje na het lossnijden van de verschillende PCB'tjes. | 1 |
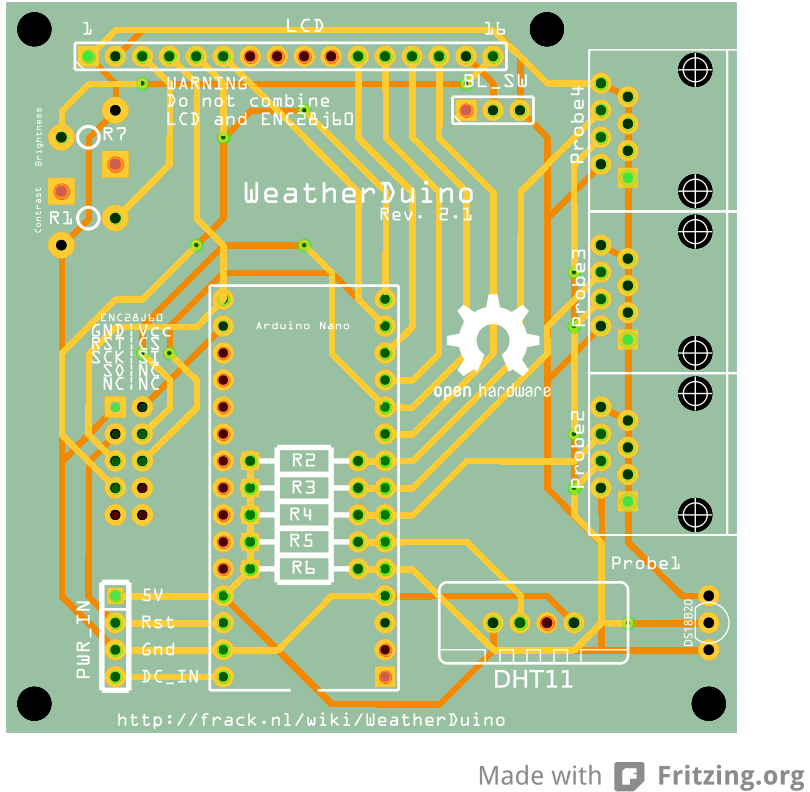
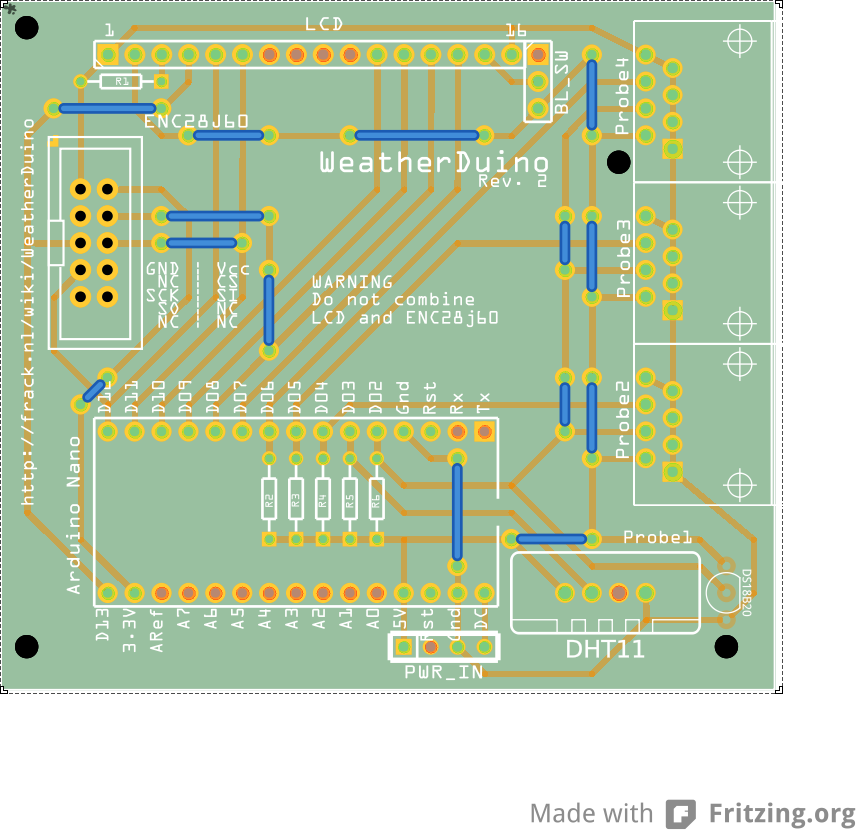
| 16:06, 6 February 2014 | WeatherDuino Rev2.1 main.png (file) |  |
168 KB | WeatherDuino Rev2.1 PCB design | 1 |
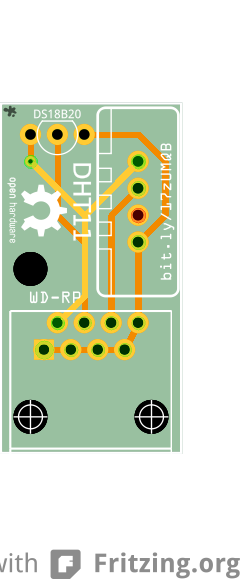
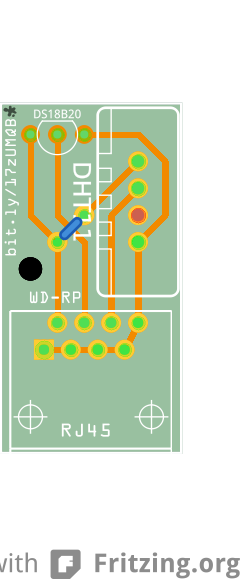
| 16:06, 6 February 2014 | WeatherDuino Rev2.1 probe pcb.png (file) |  |
32 KB | WeatherDuino probe Rev2.1 PCB design | 1 |
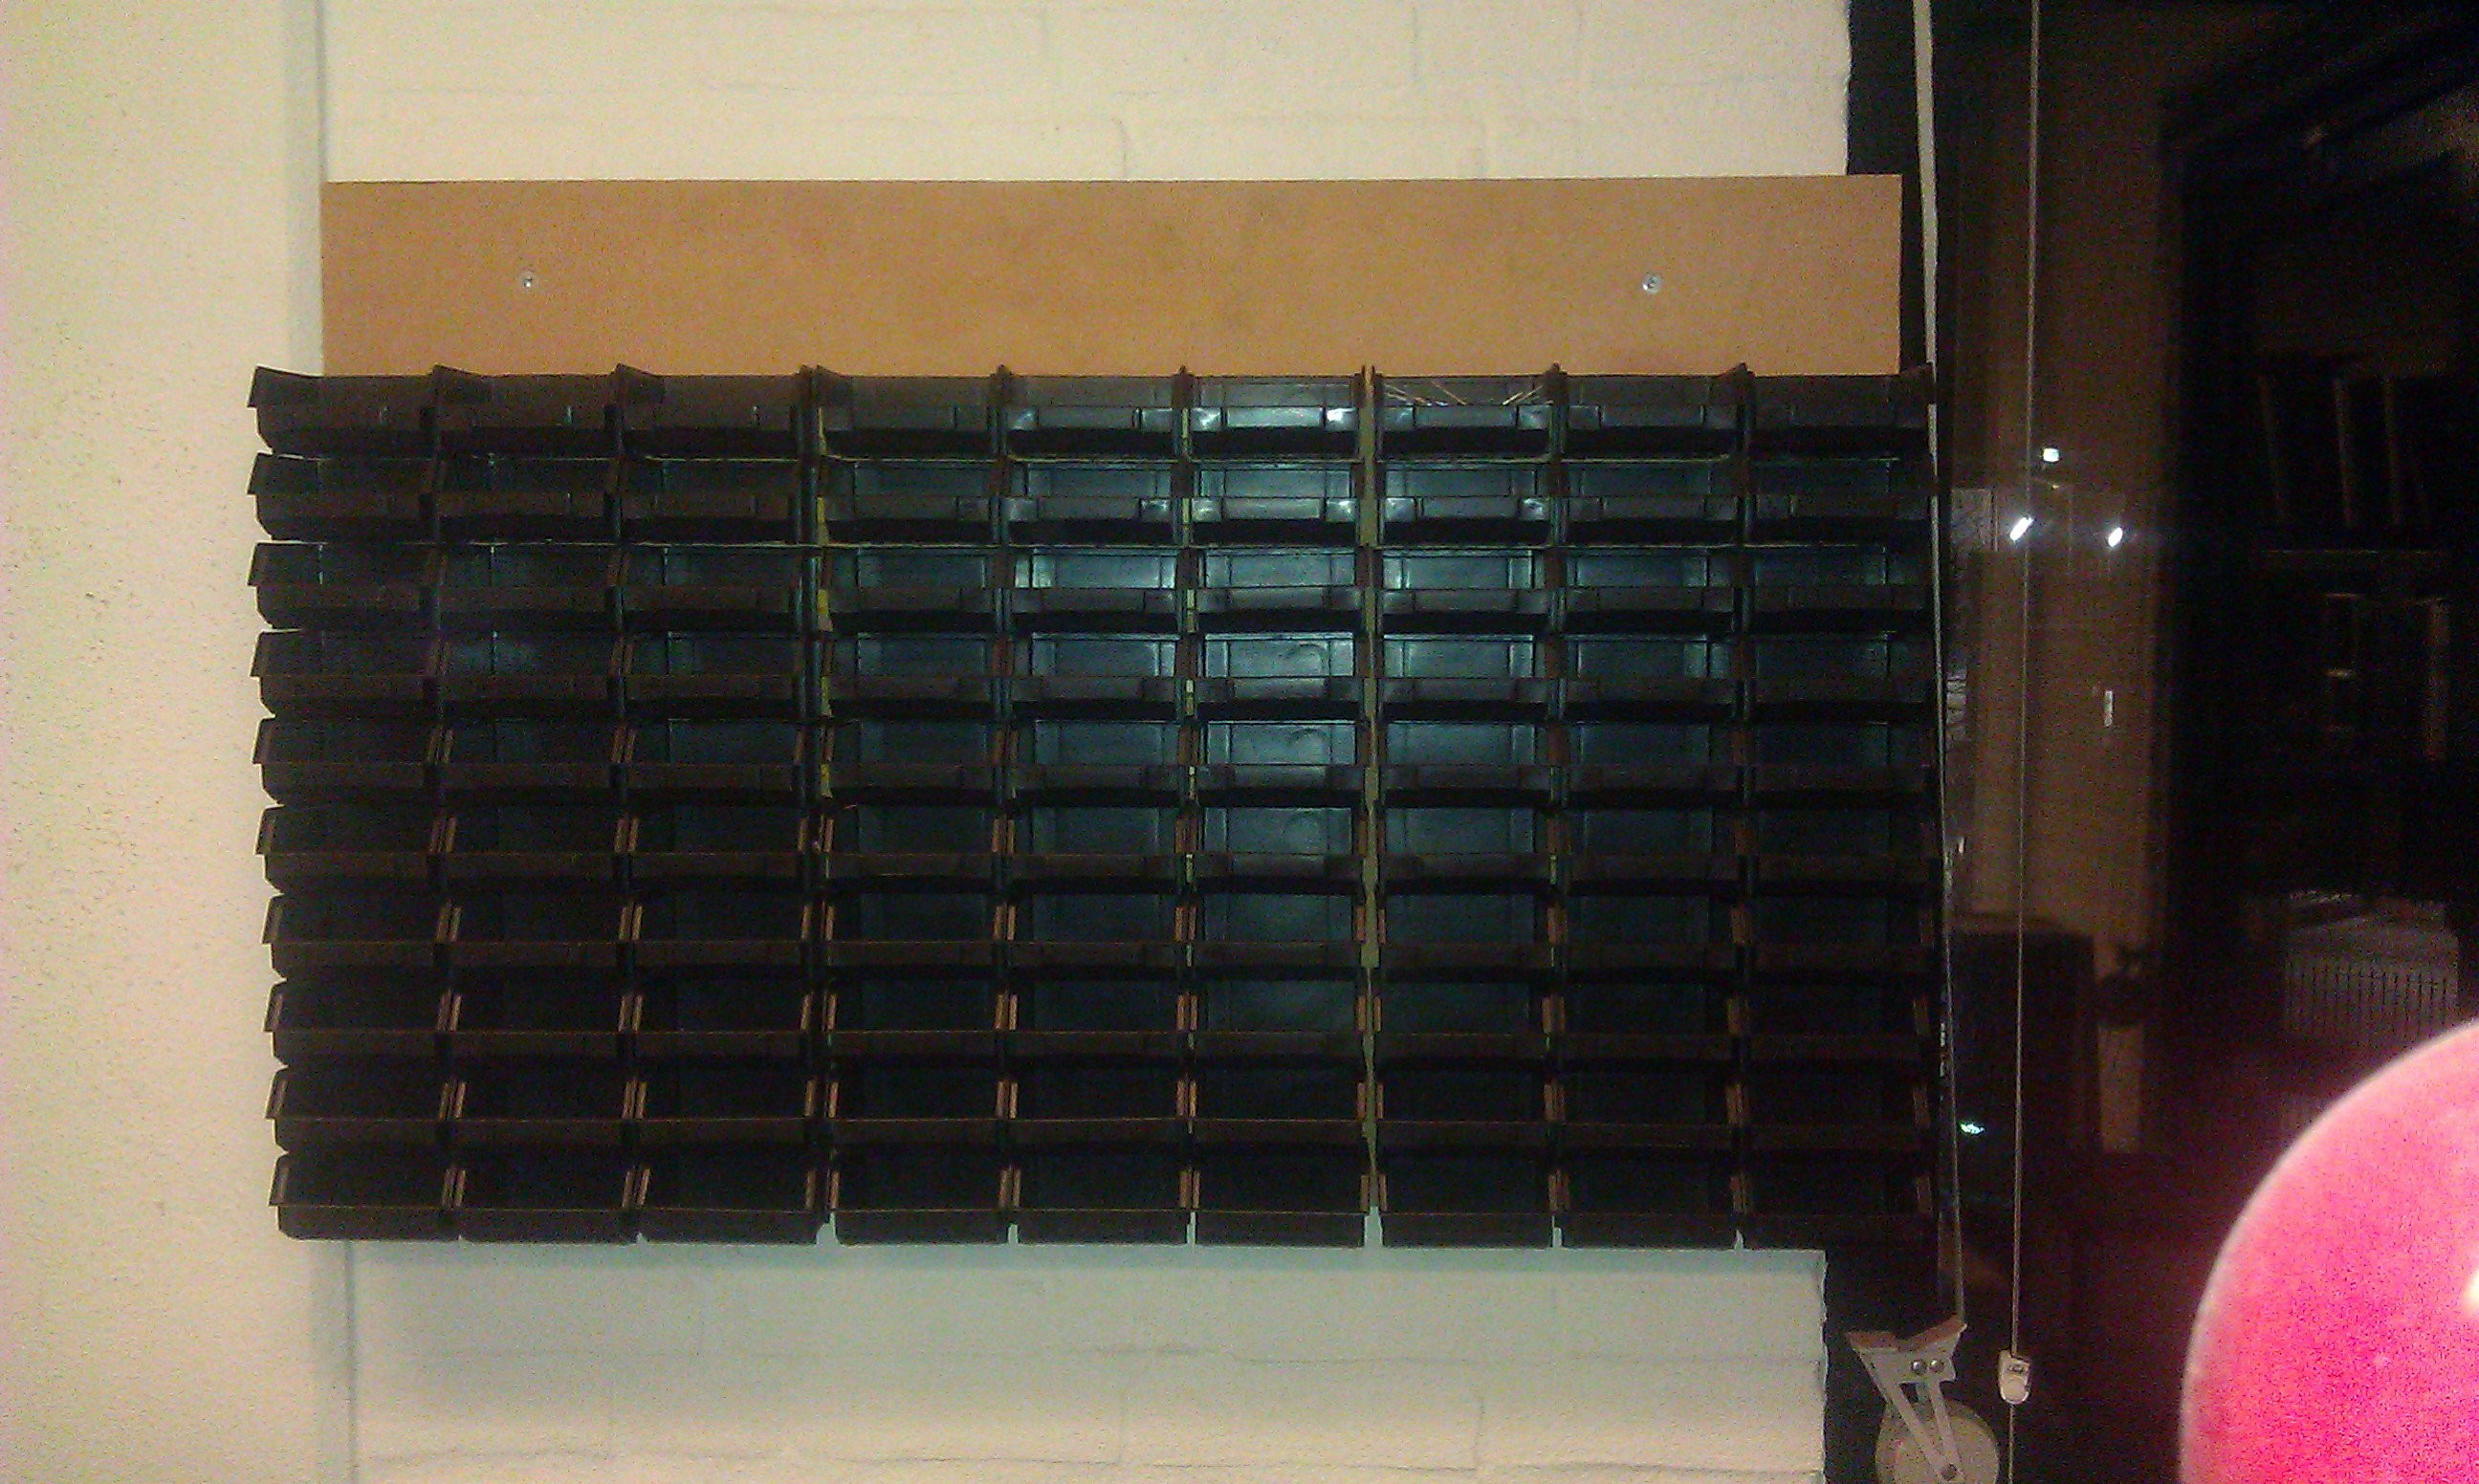
| 22:19, 4 February 2014 | Frack storage array.jpg (file) |  |
885 KB | Now wall-mounted. | 2 |
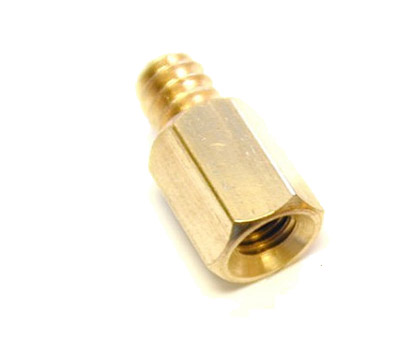
| 18:21, 12 December 2013 | M3 pc mount jack.jpg (file) |  |
28 KB | Moederbord bevestigings busje, M3 schroef en moer gedeelte. | 1 |
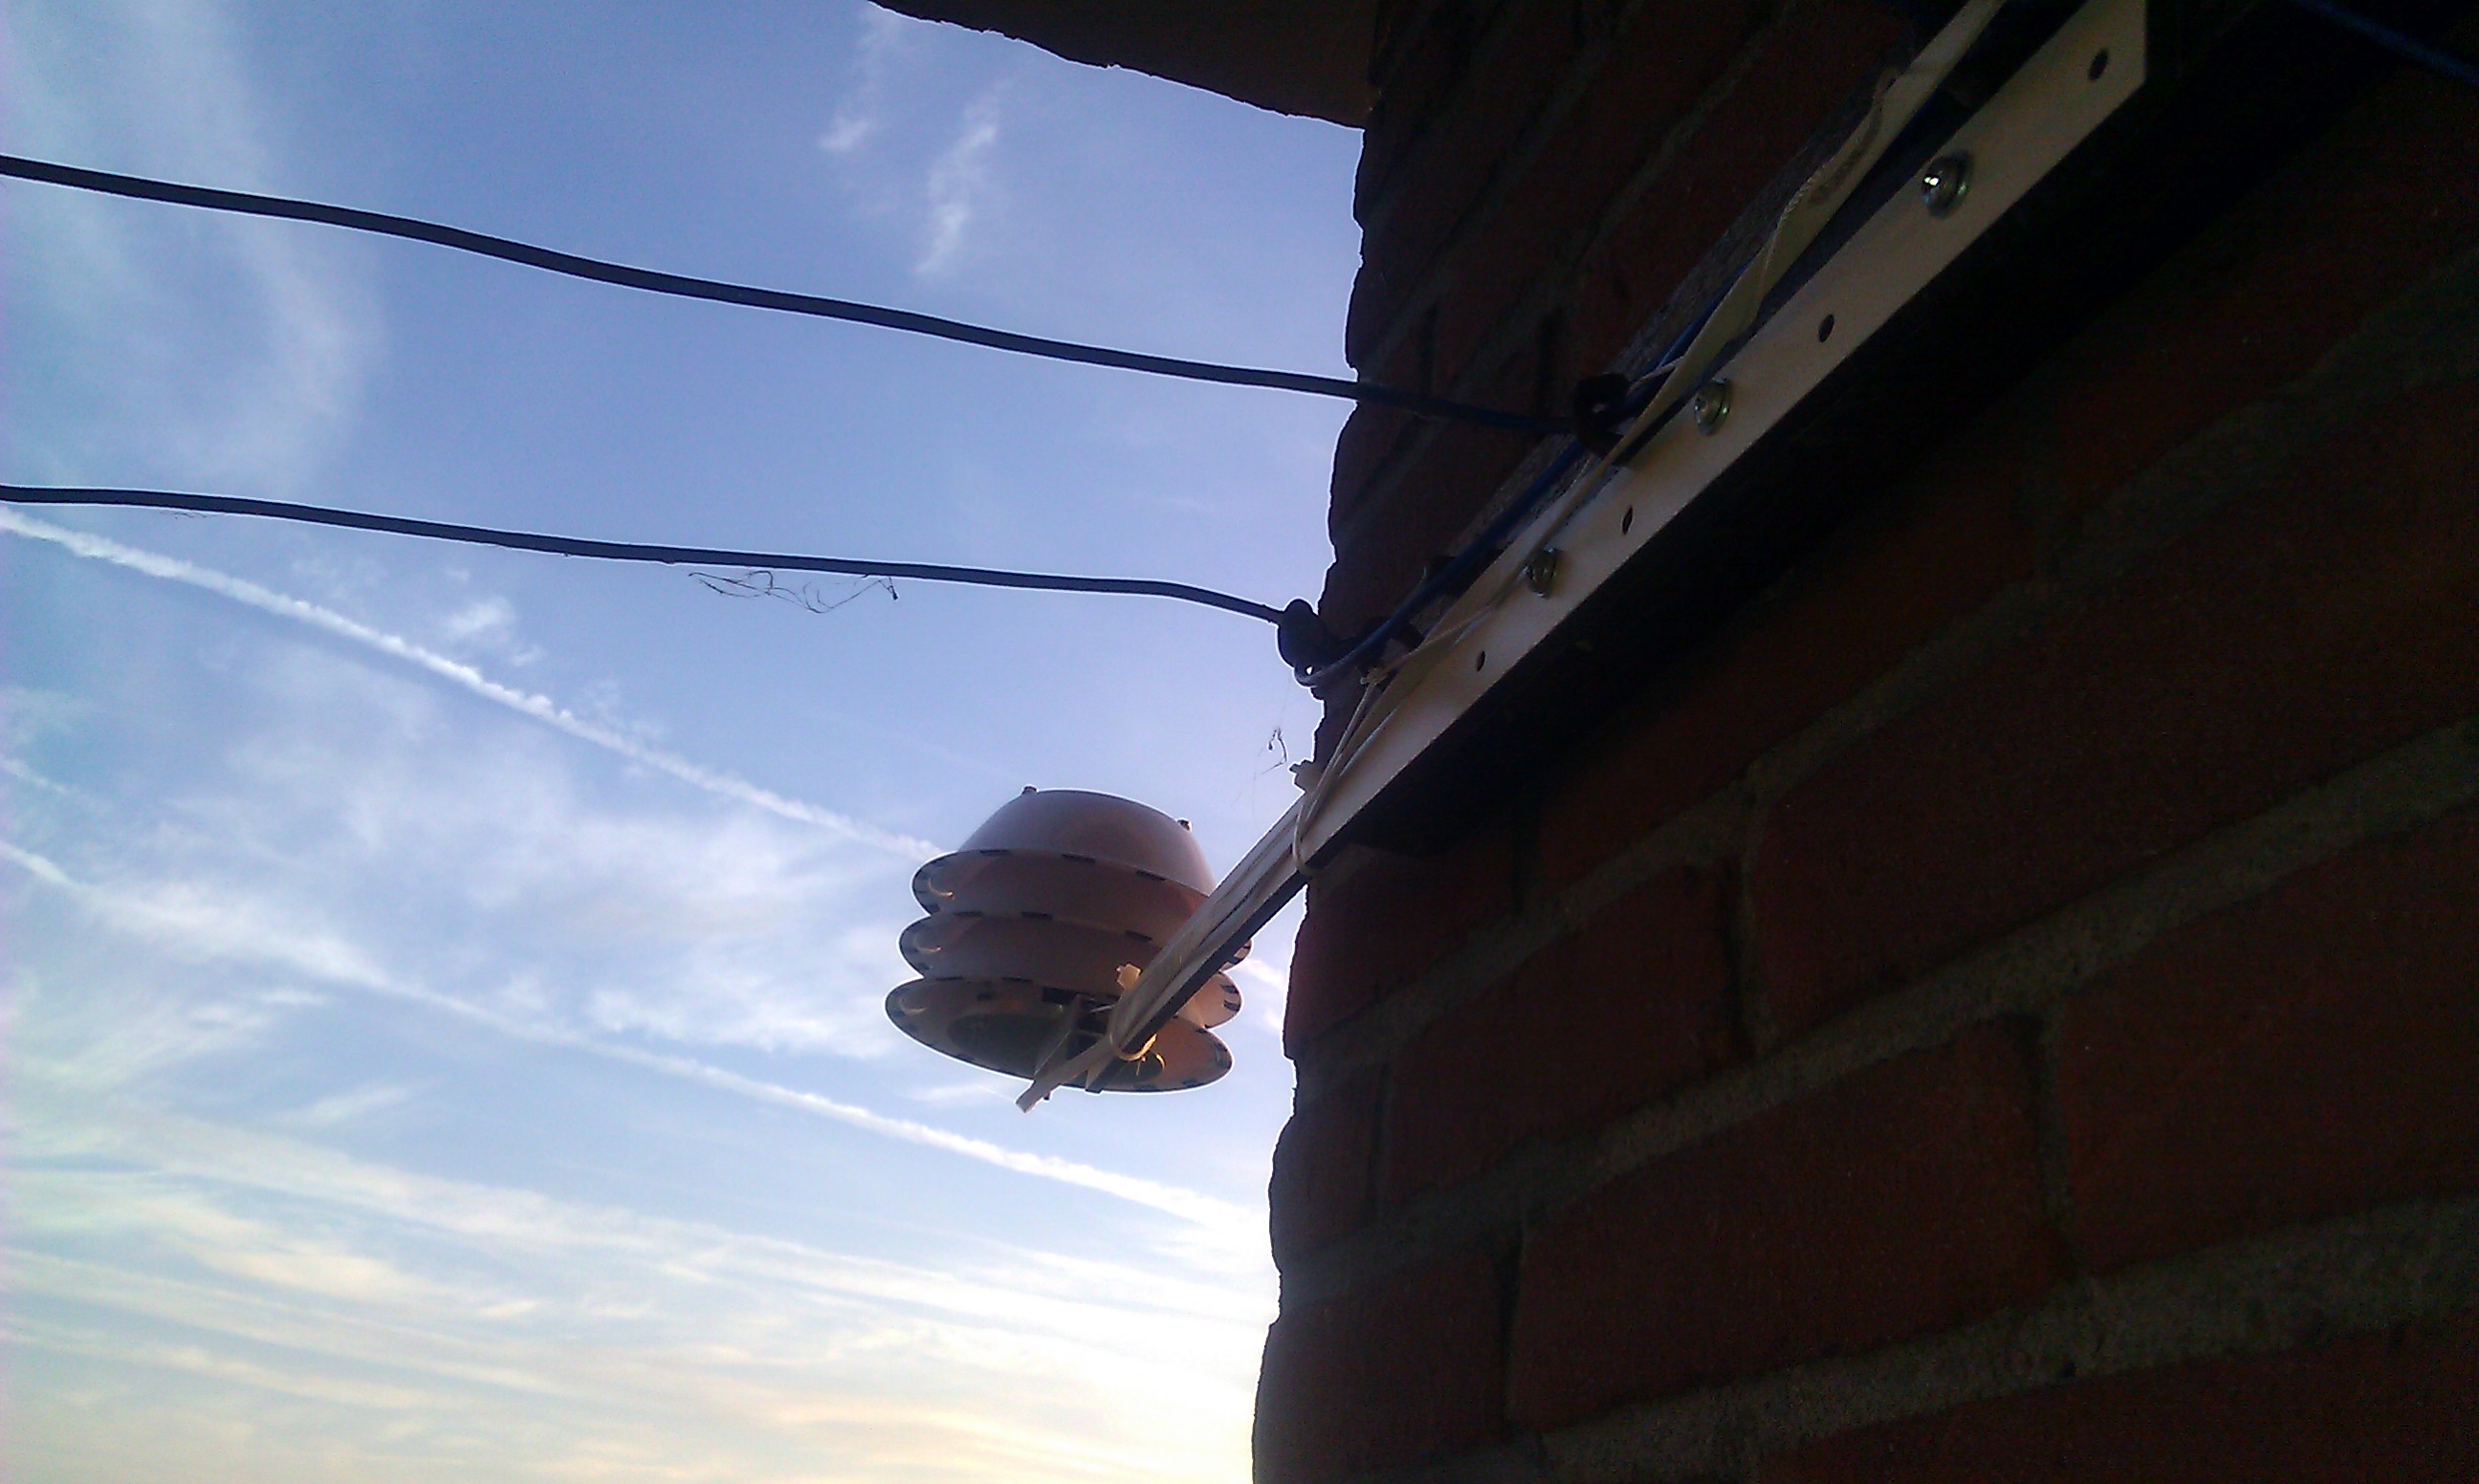
| 17:34, 12 December 2013 | WeatherDuino Probe Stevensonscreen06.jpg (file) |  |
492 KB | The DIY 'Stevenson Screen' with probe mounted on a wall. Cable not yet tidy. The little rope is there in case something breaks to make sure we don't loose the probe! | 1 |
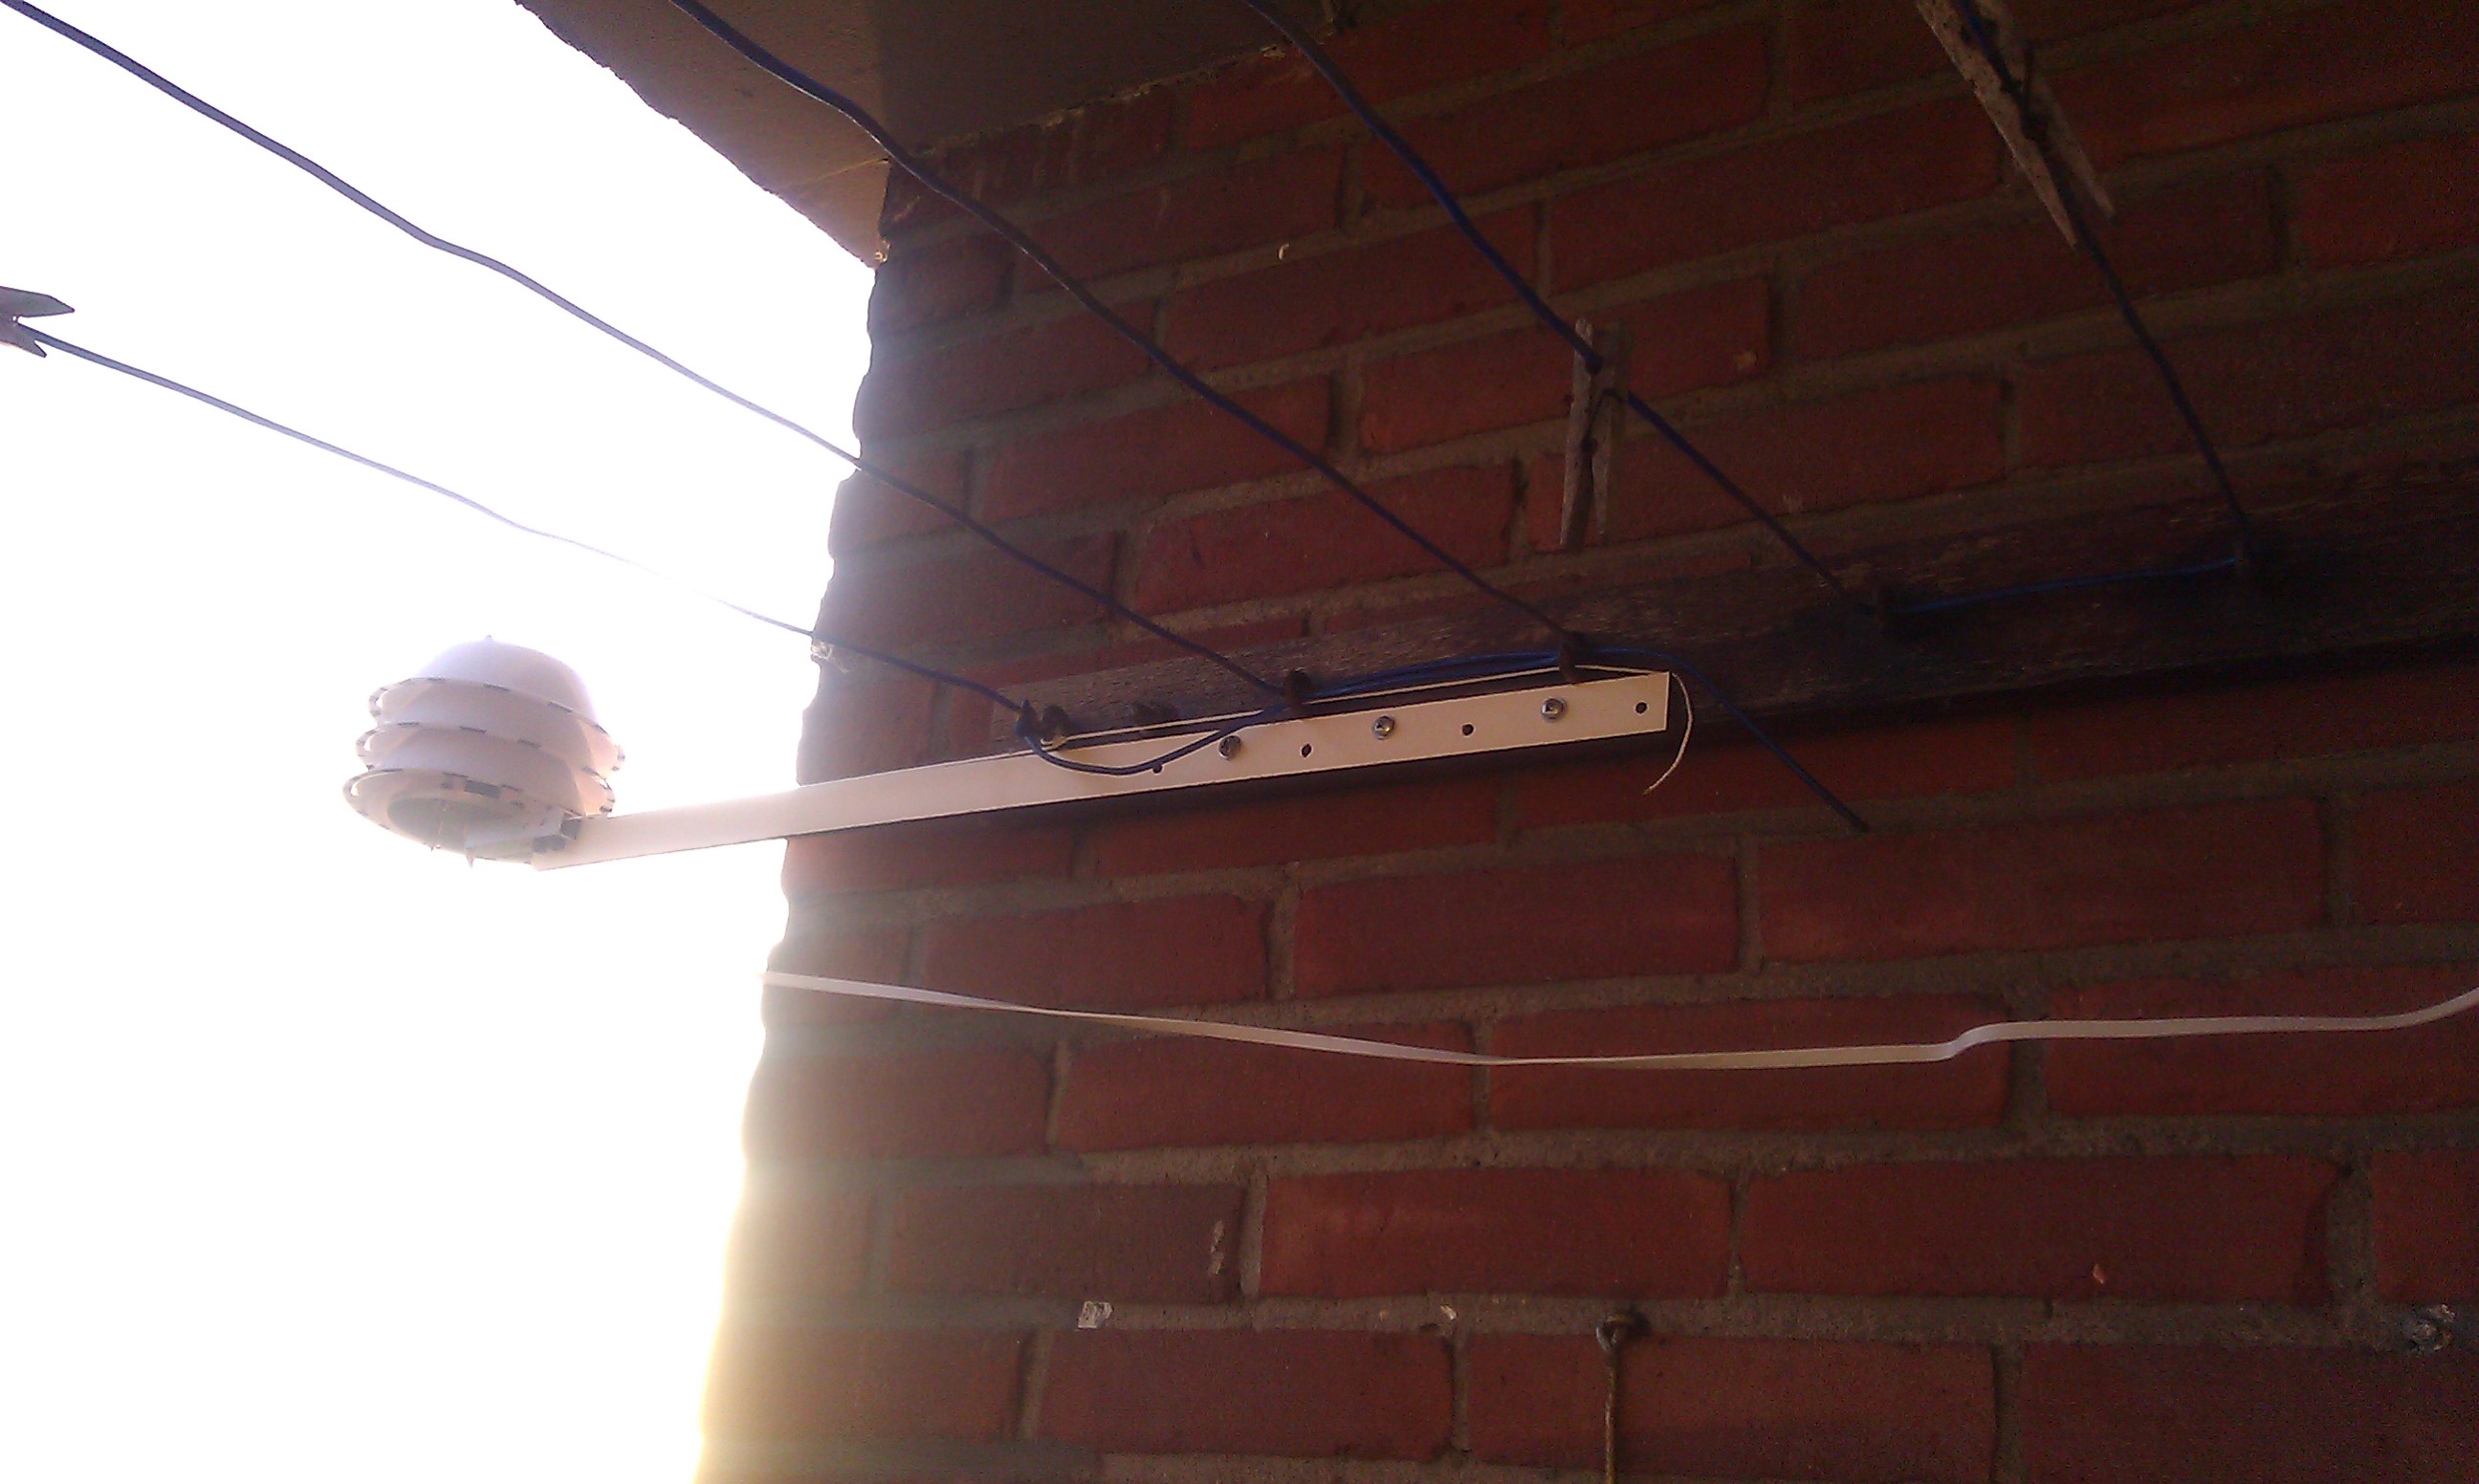
| 17:34, 12 December 2013 | WeatherDuino Probe Stevensonscreen07.jpg (file) |  |
525 KB | Final mounting, cables connected and the WeatherDuino probe is now running! | 1 |
| 17:31, 12 December 2013 | WeatherDuino Probe Stevensonscreen05.jpg (file) |  |
813 KB | The Ethernet cable inserted through the bottom hole into the probe. | 1 |
| 17:31, 12 December 2013 | WeatherDuino Probe Stevensonscreen03.jpg (file) |  |
720 KB | The DIY 'Stevenson Screen' assembled with the WeatherDuino probe visible between in the center. | 1 |
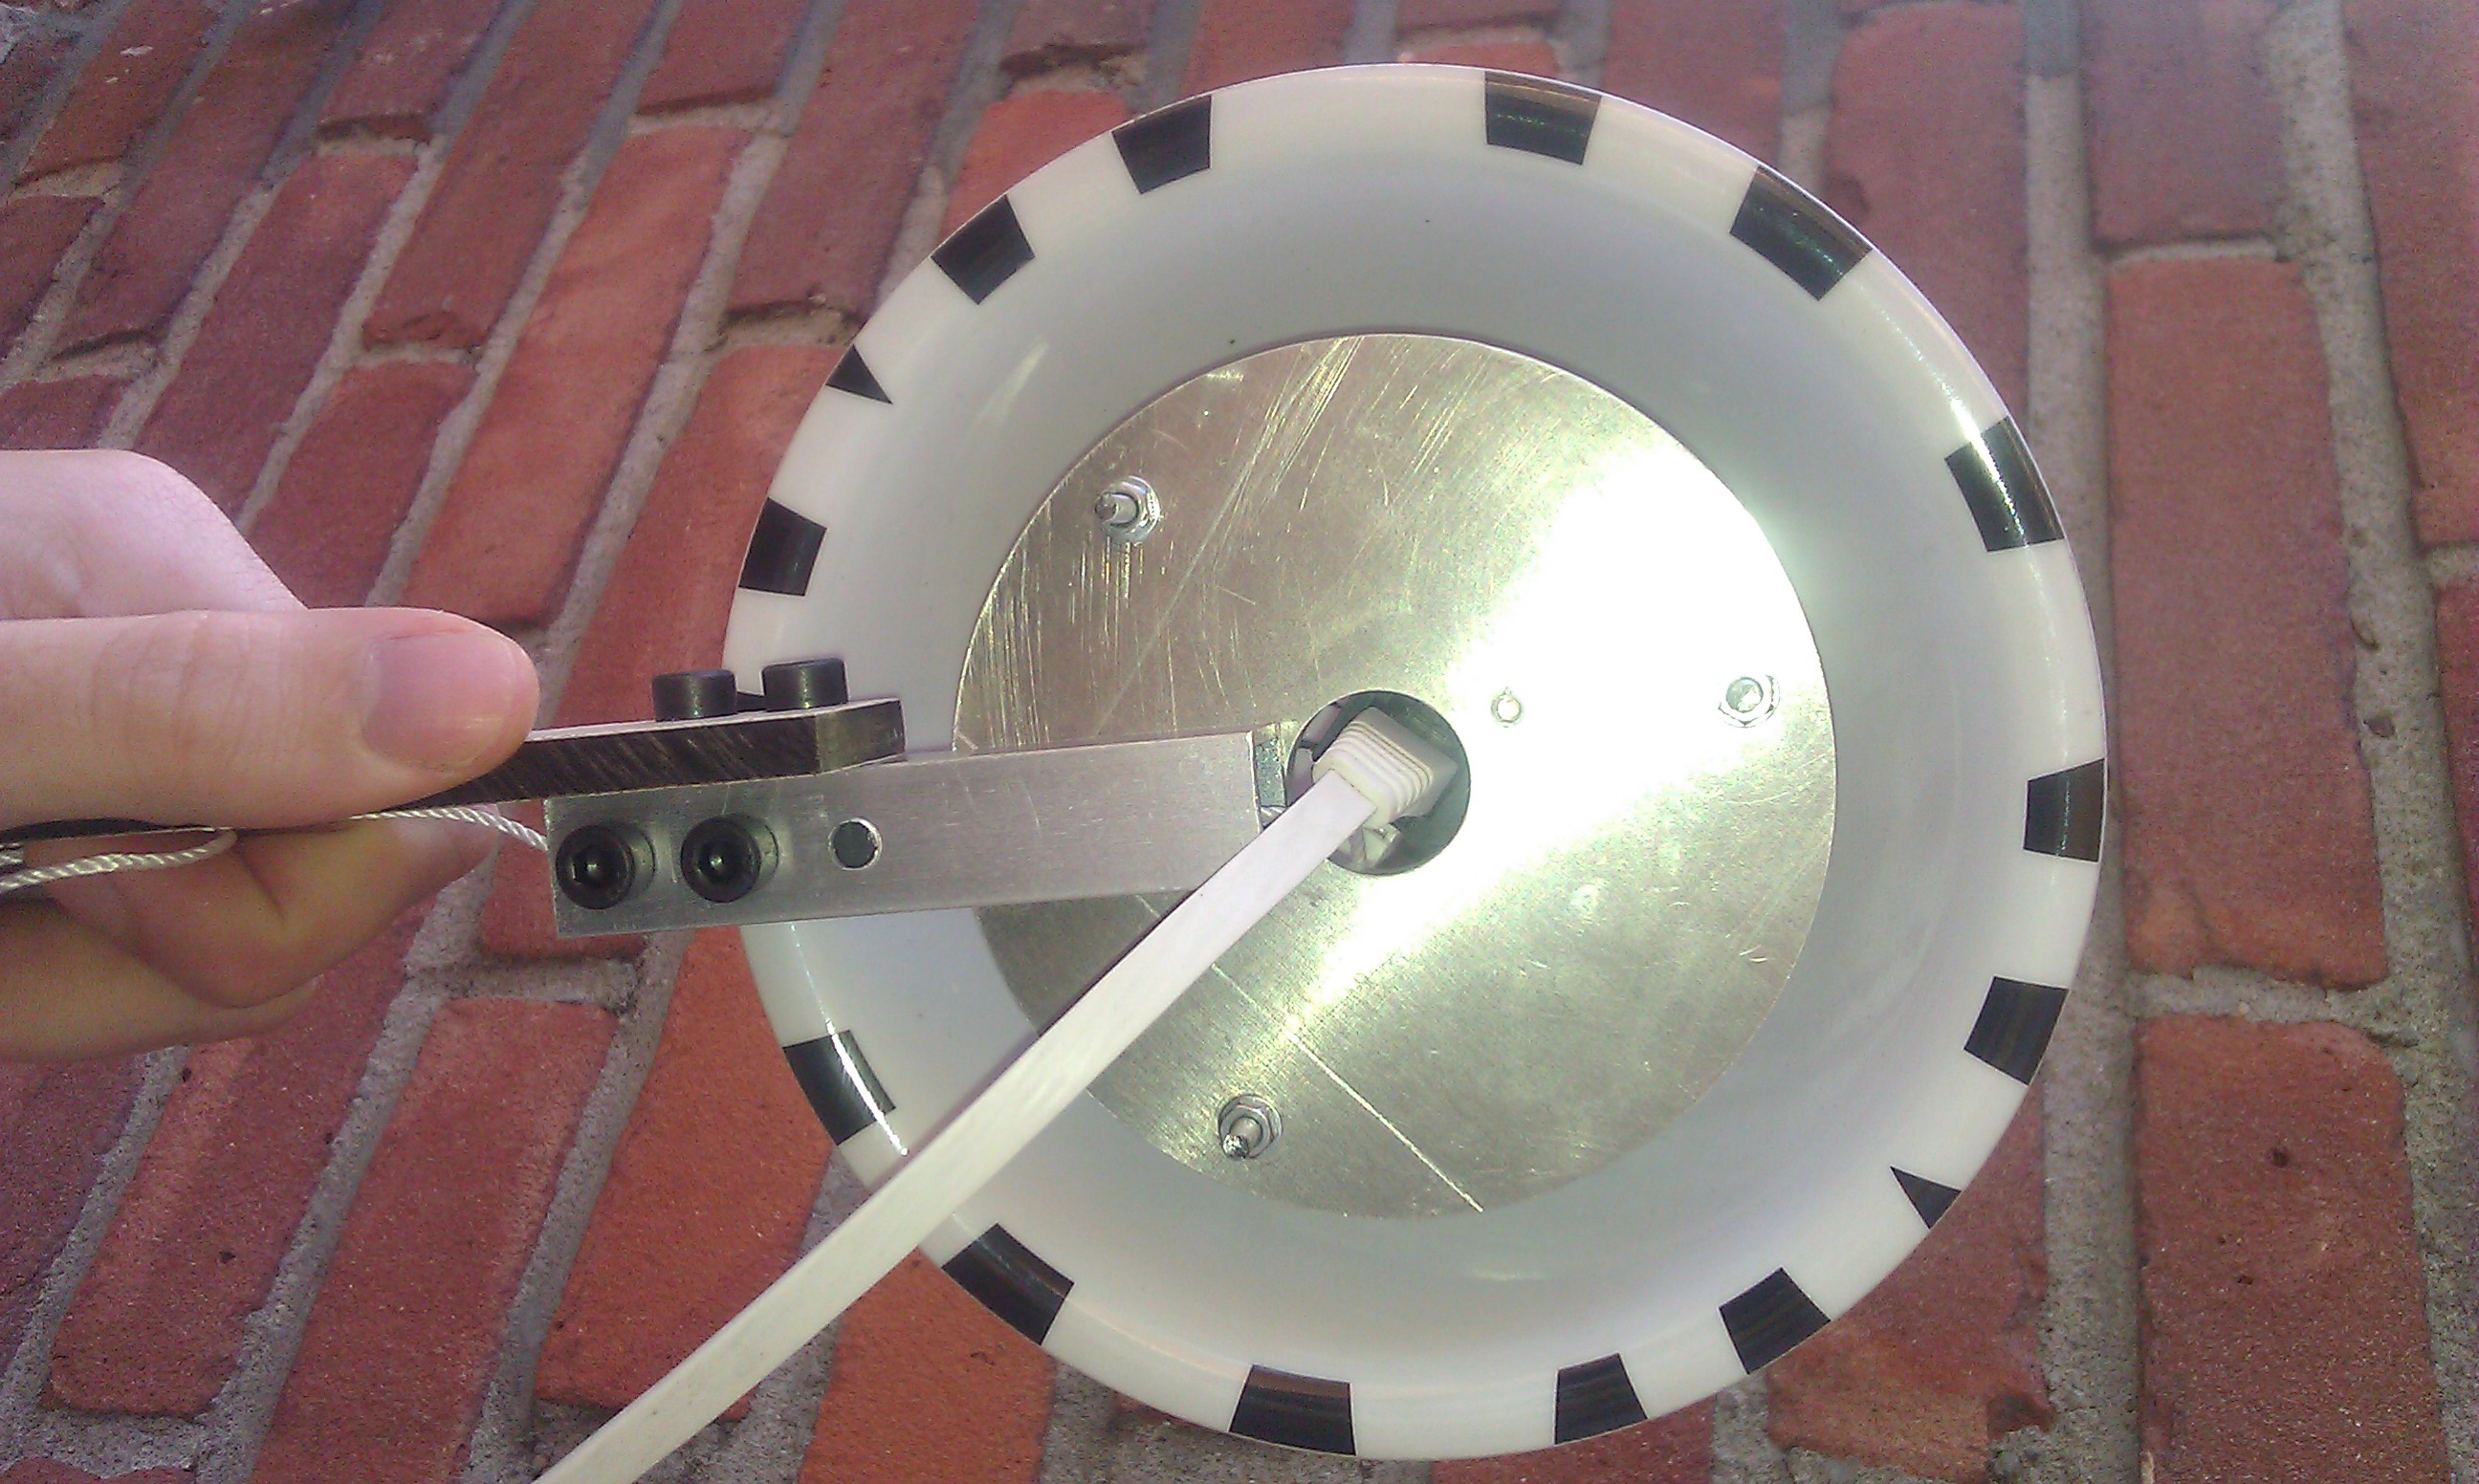
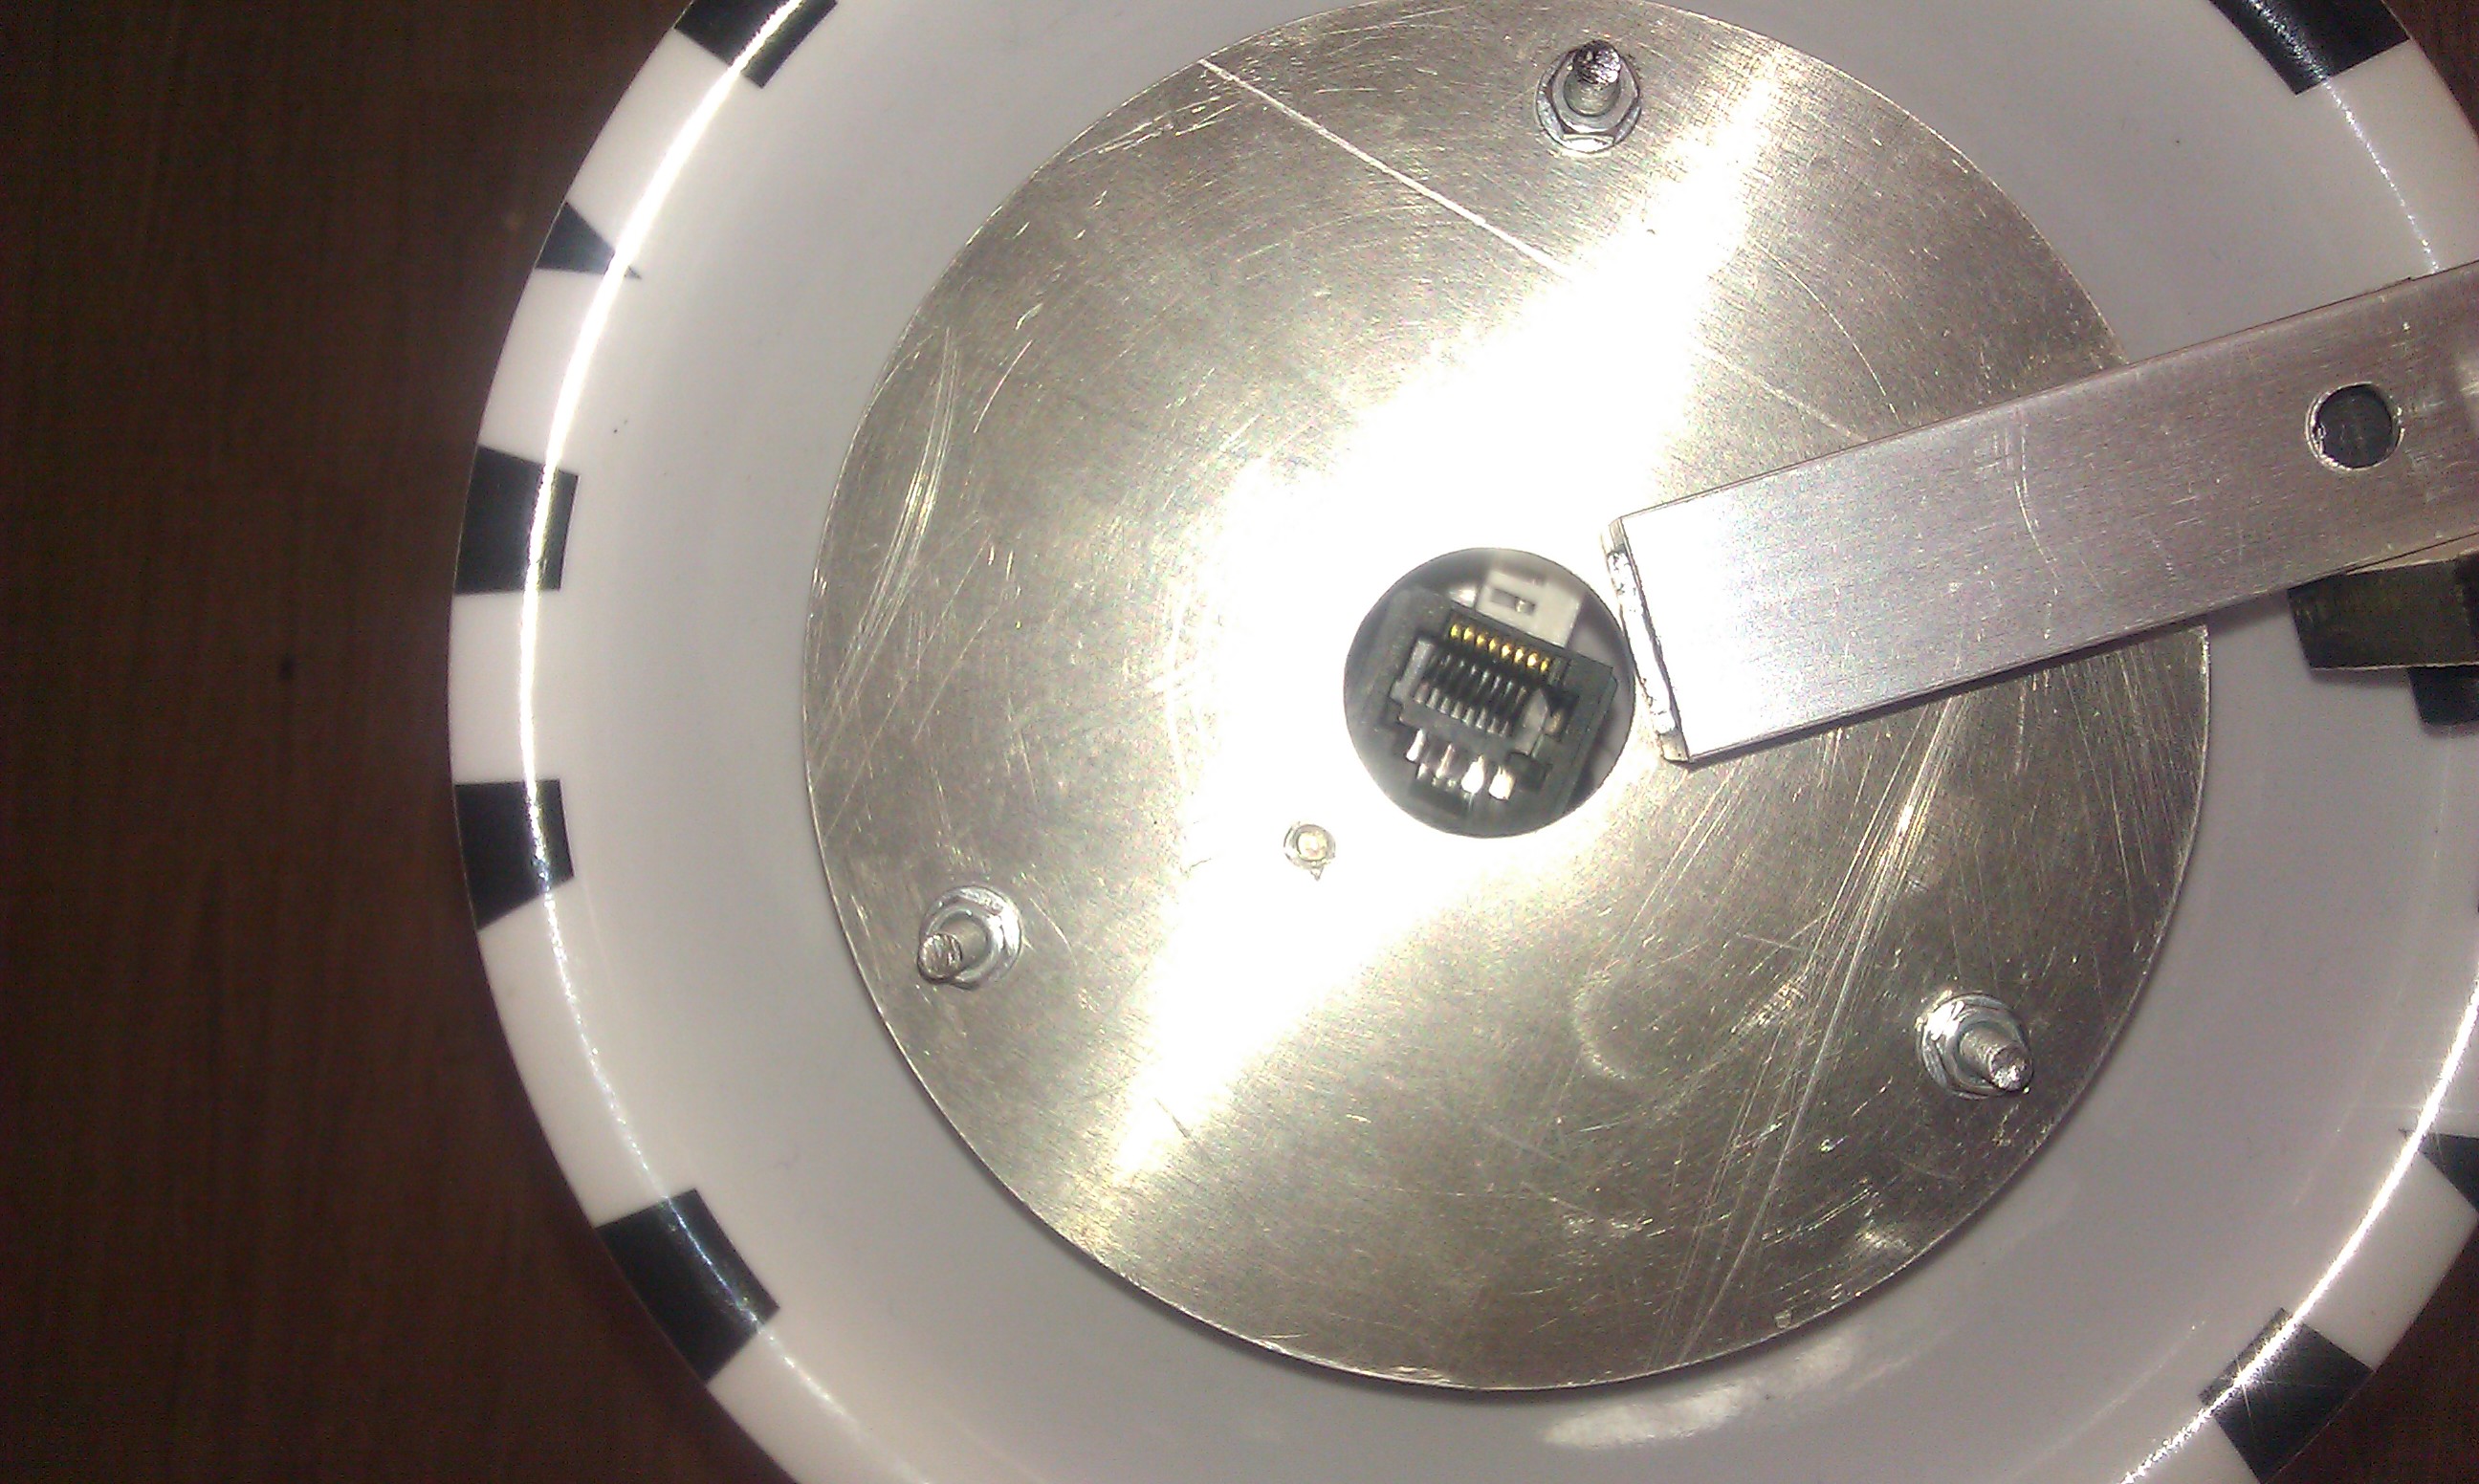
| 17:31, 12 December 2013 | WeatherDuino Probe Stevensonscreen04.jpg (file) |  |
799 KB | The bottom view of the DIY 'Stevenson Screen'. You can see the RJ45 socket of the Remote Probe. | 1 |
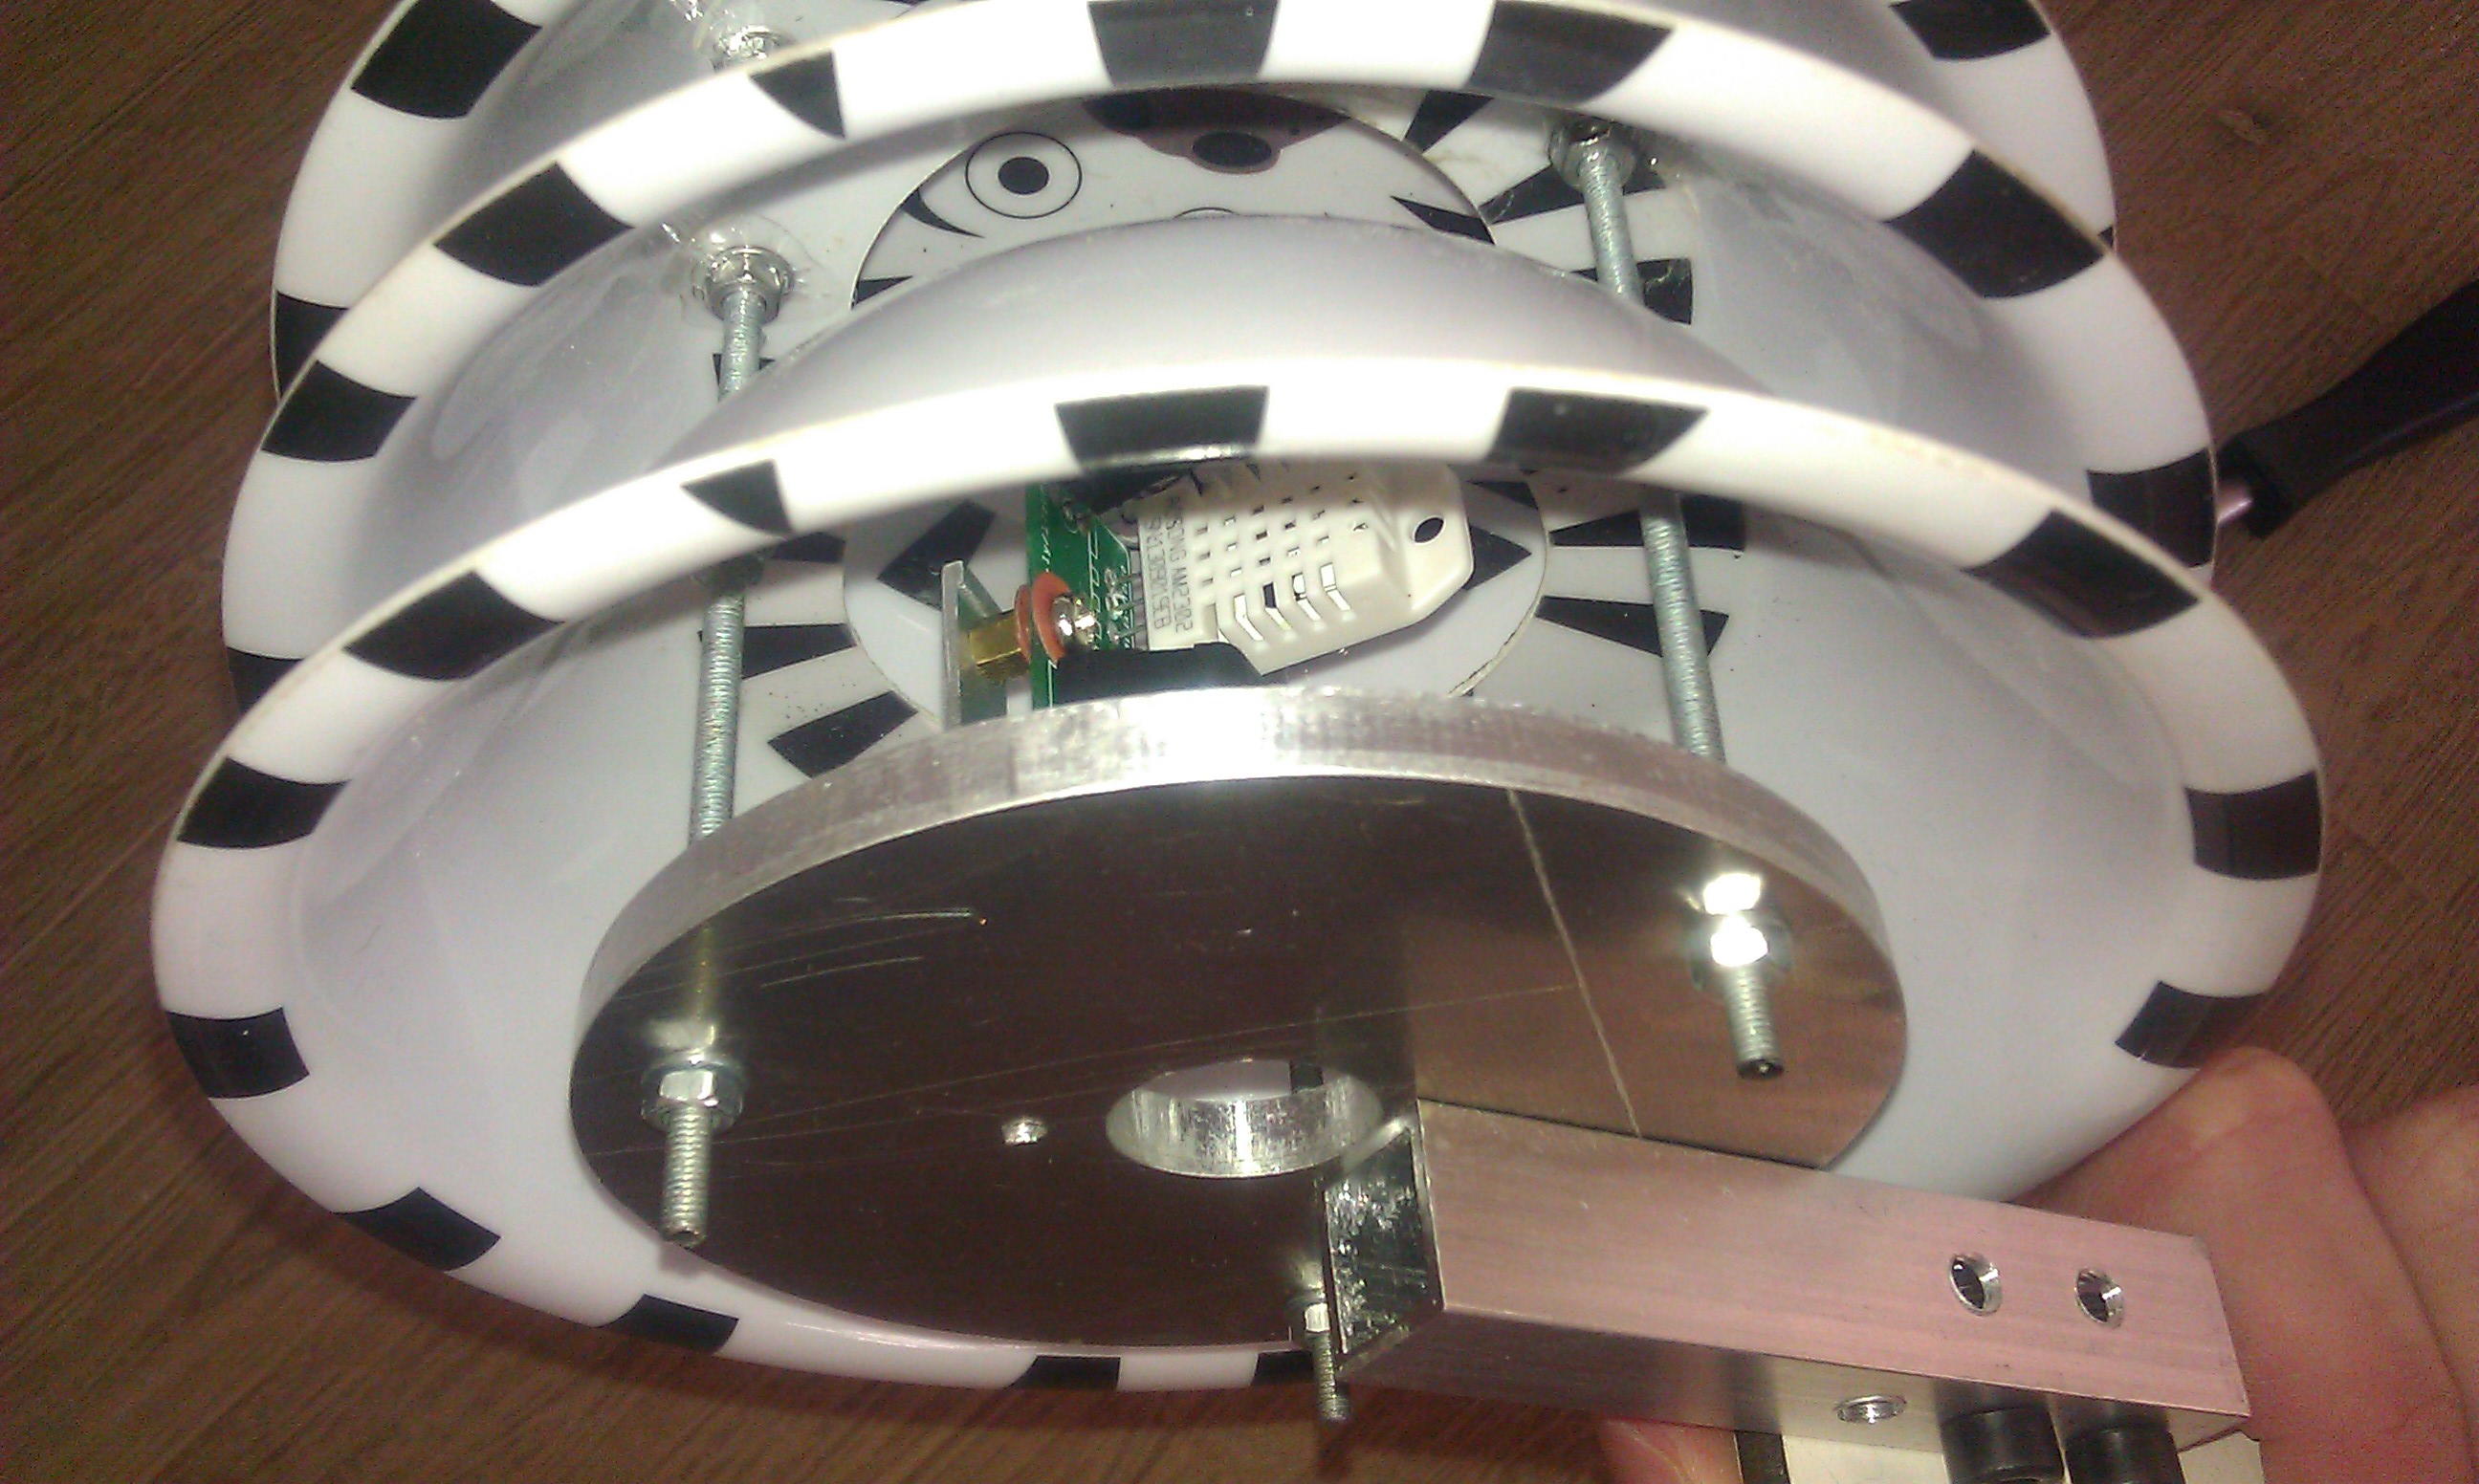
| 17:31, 12 December 2013 | WeatherDuino Probe Stevensonscreen02.jpg (file) |  |
1.08 MB | WeatherDuino Remote Probe mounted on the bottom plate of the DIY 'Stevenson Screen'. | 1 |
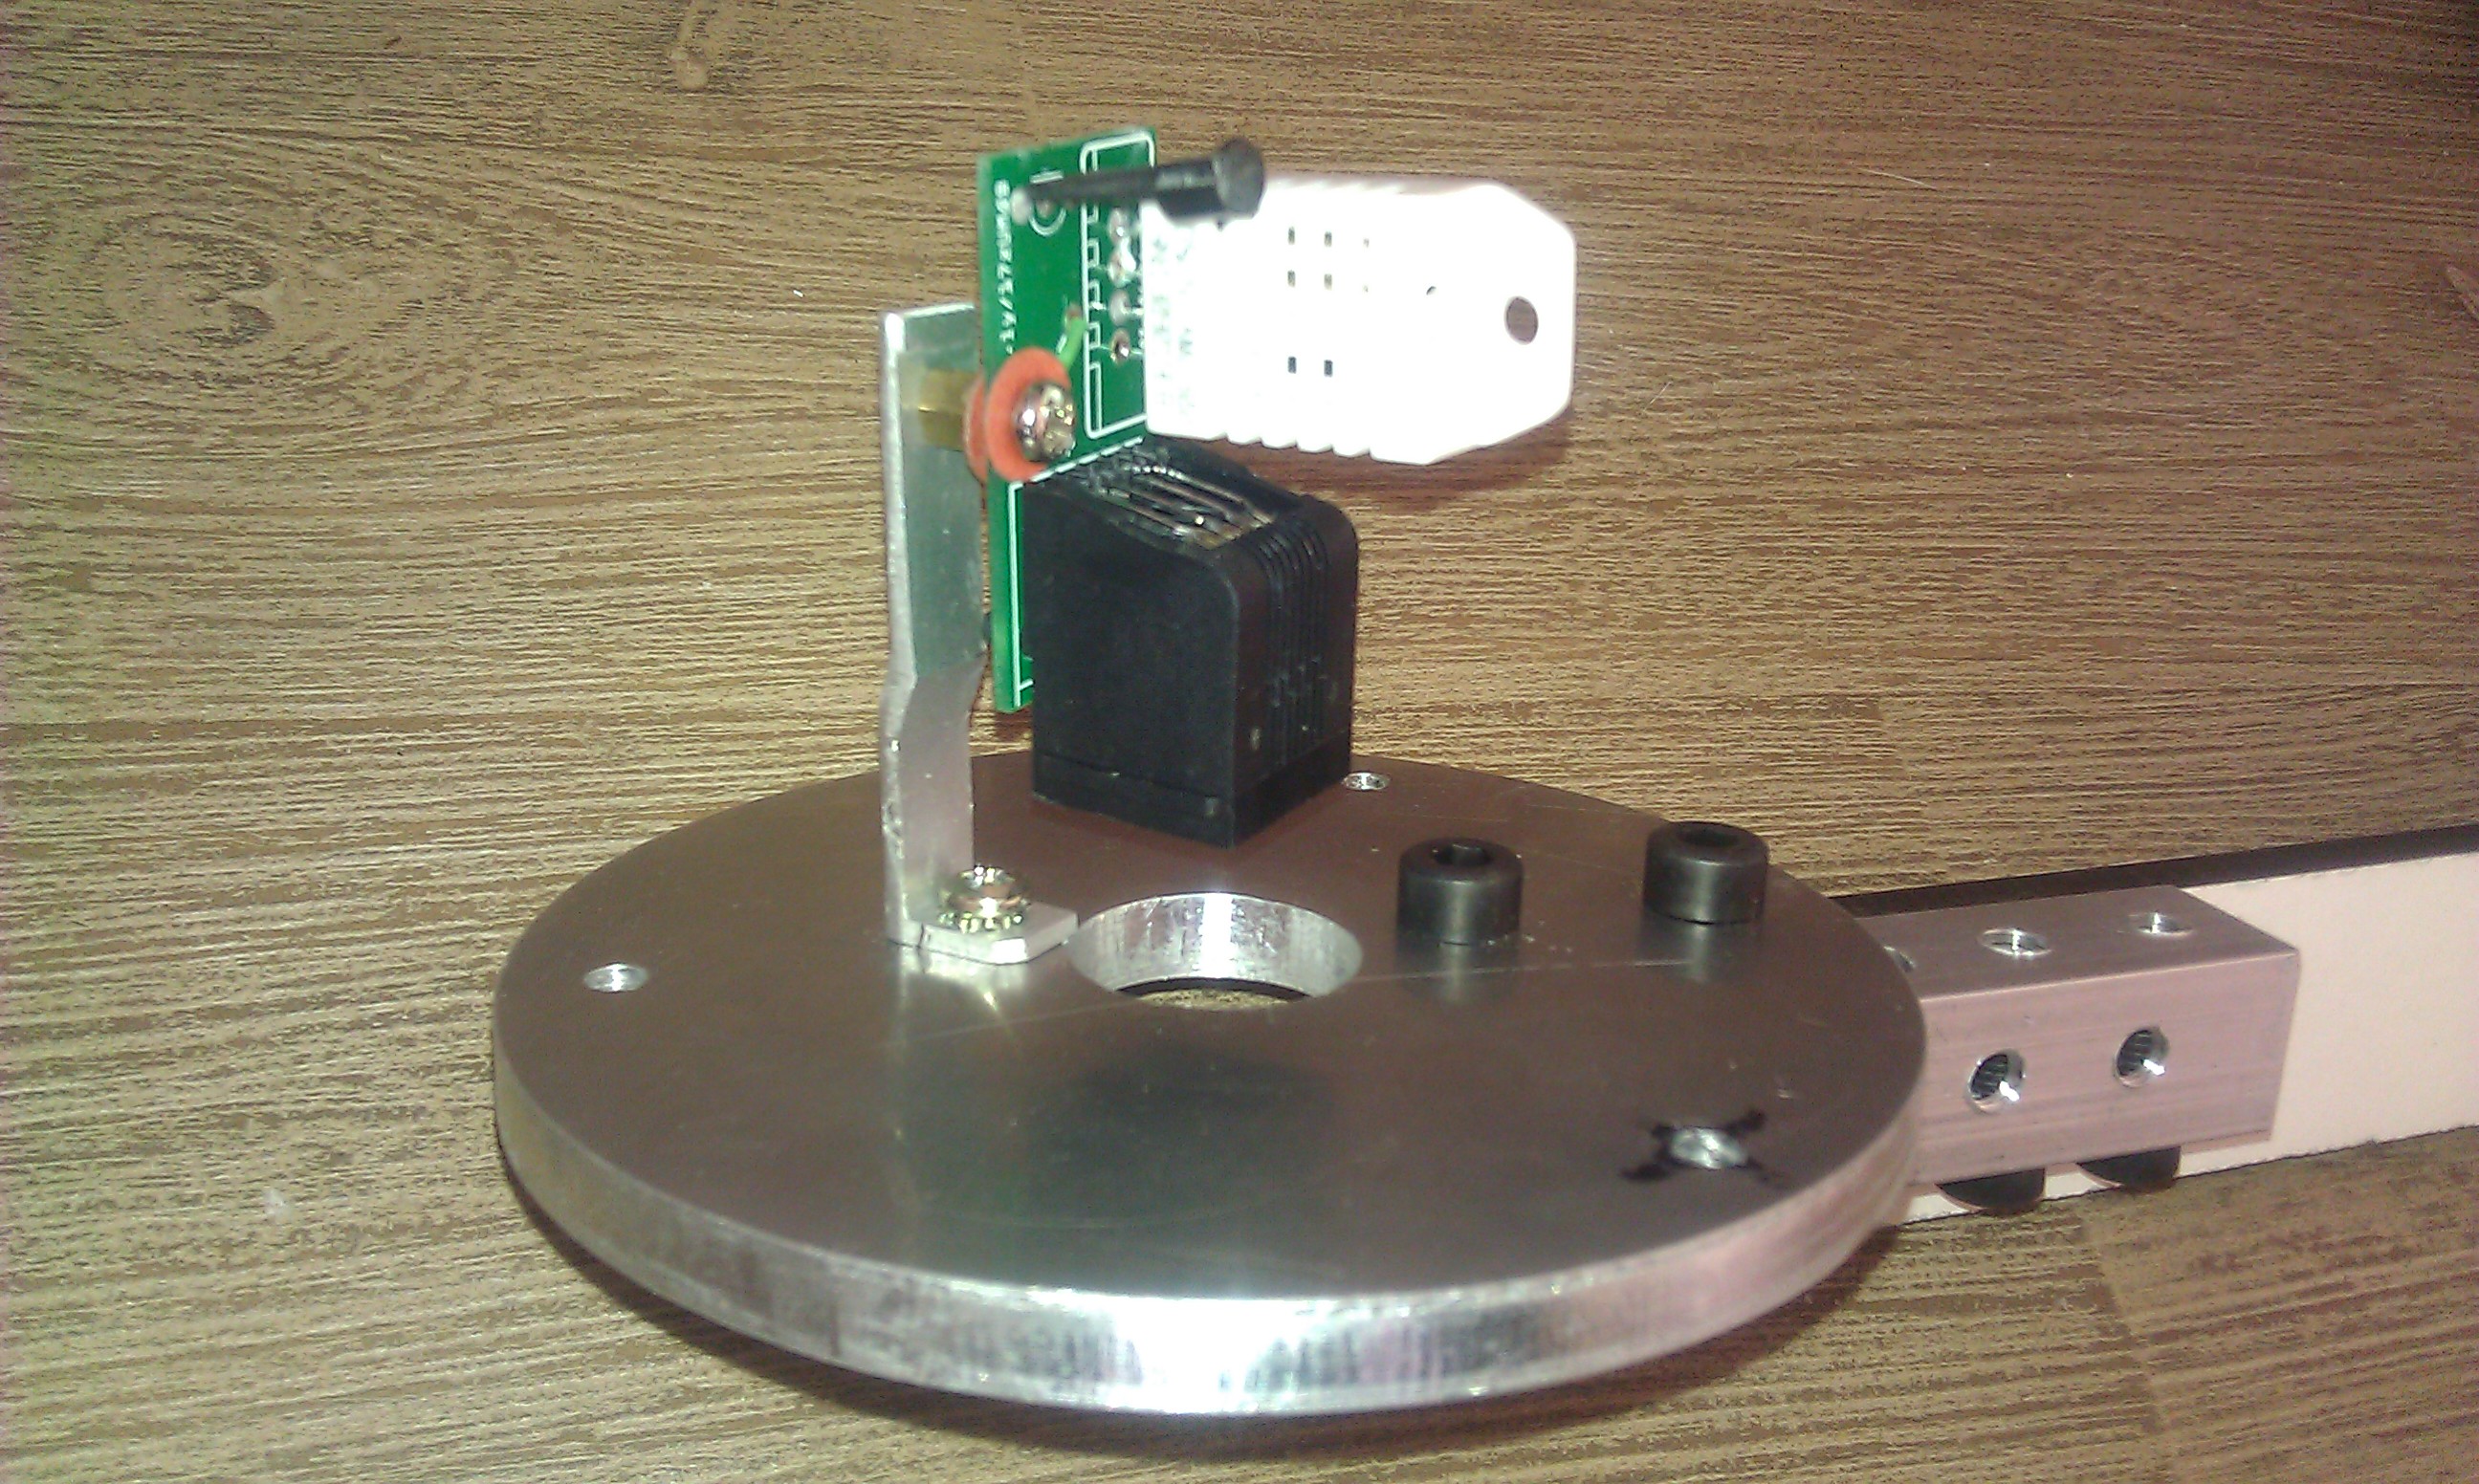
| 17:31, 12 December 2013 | WeatherDuino Probe Stevensonscreen01.jpg (file) |  |
936 KB | A WeatherDuino Remote Probe (equiped with DHT22 instead of DHT11) and the parts of the DIY 'Stevenson Screen'. | 1 |
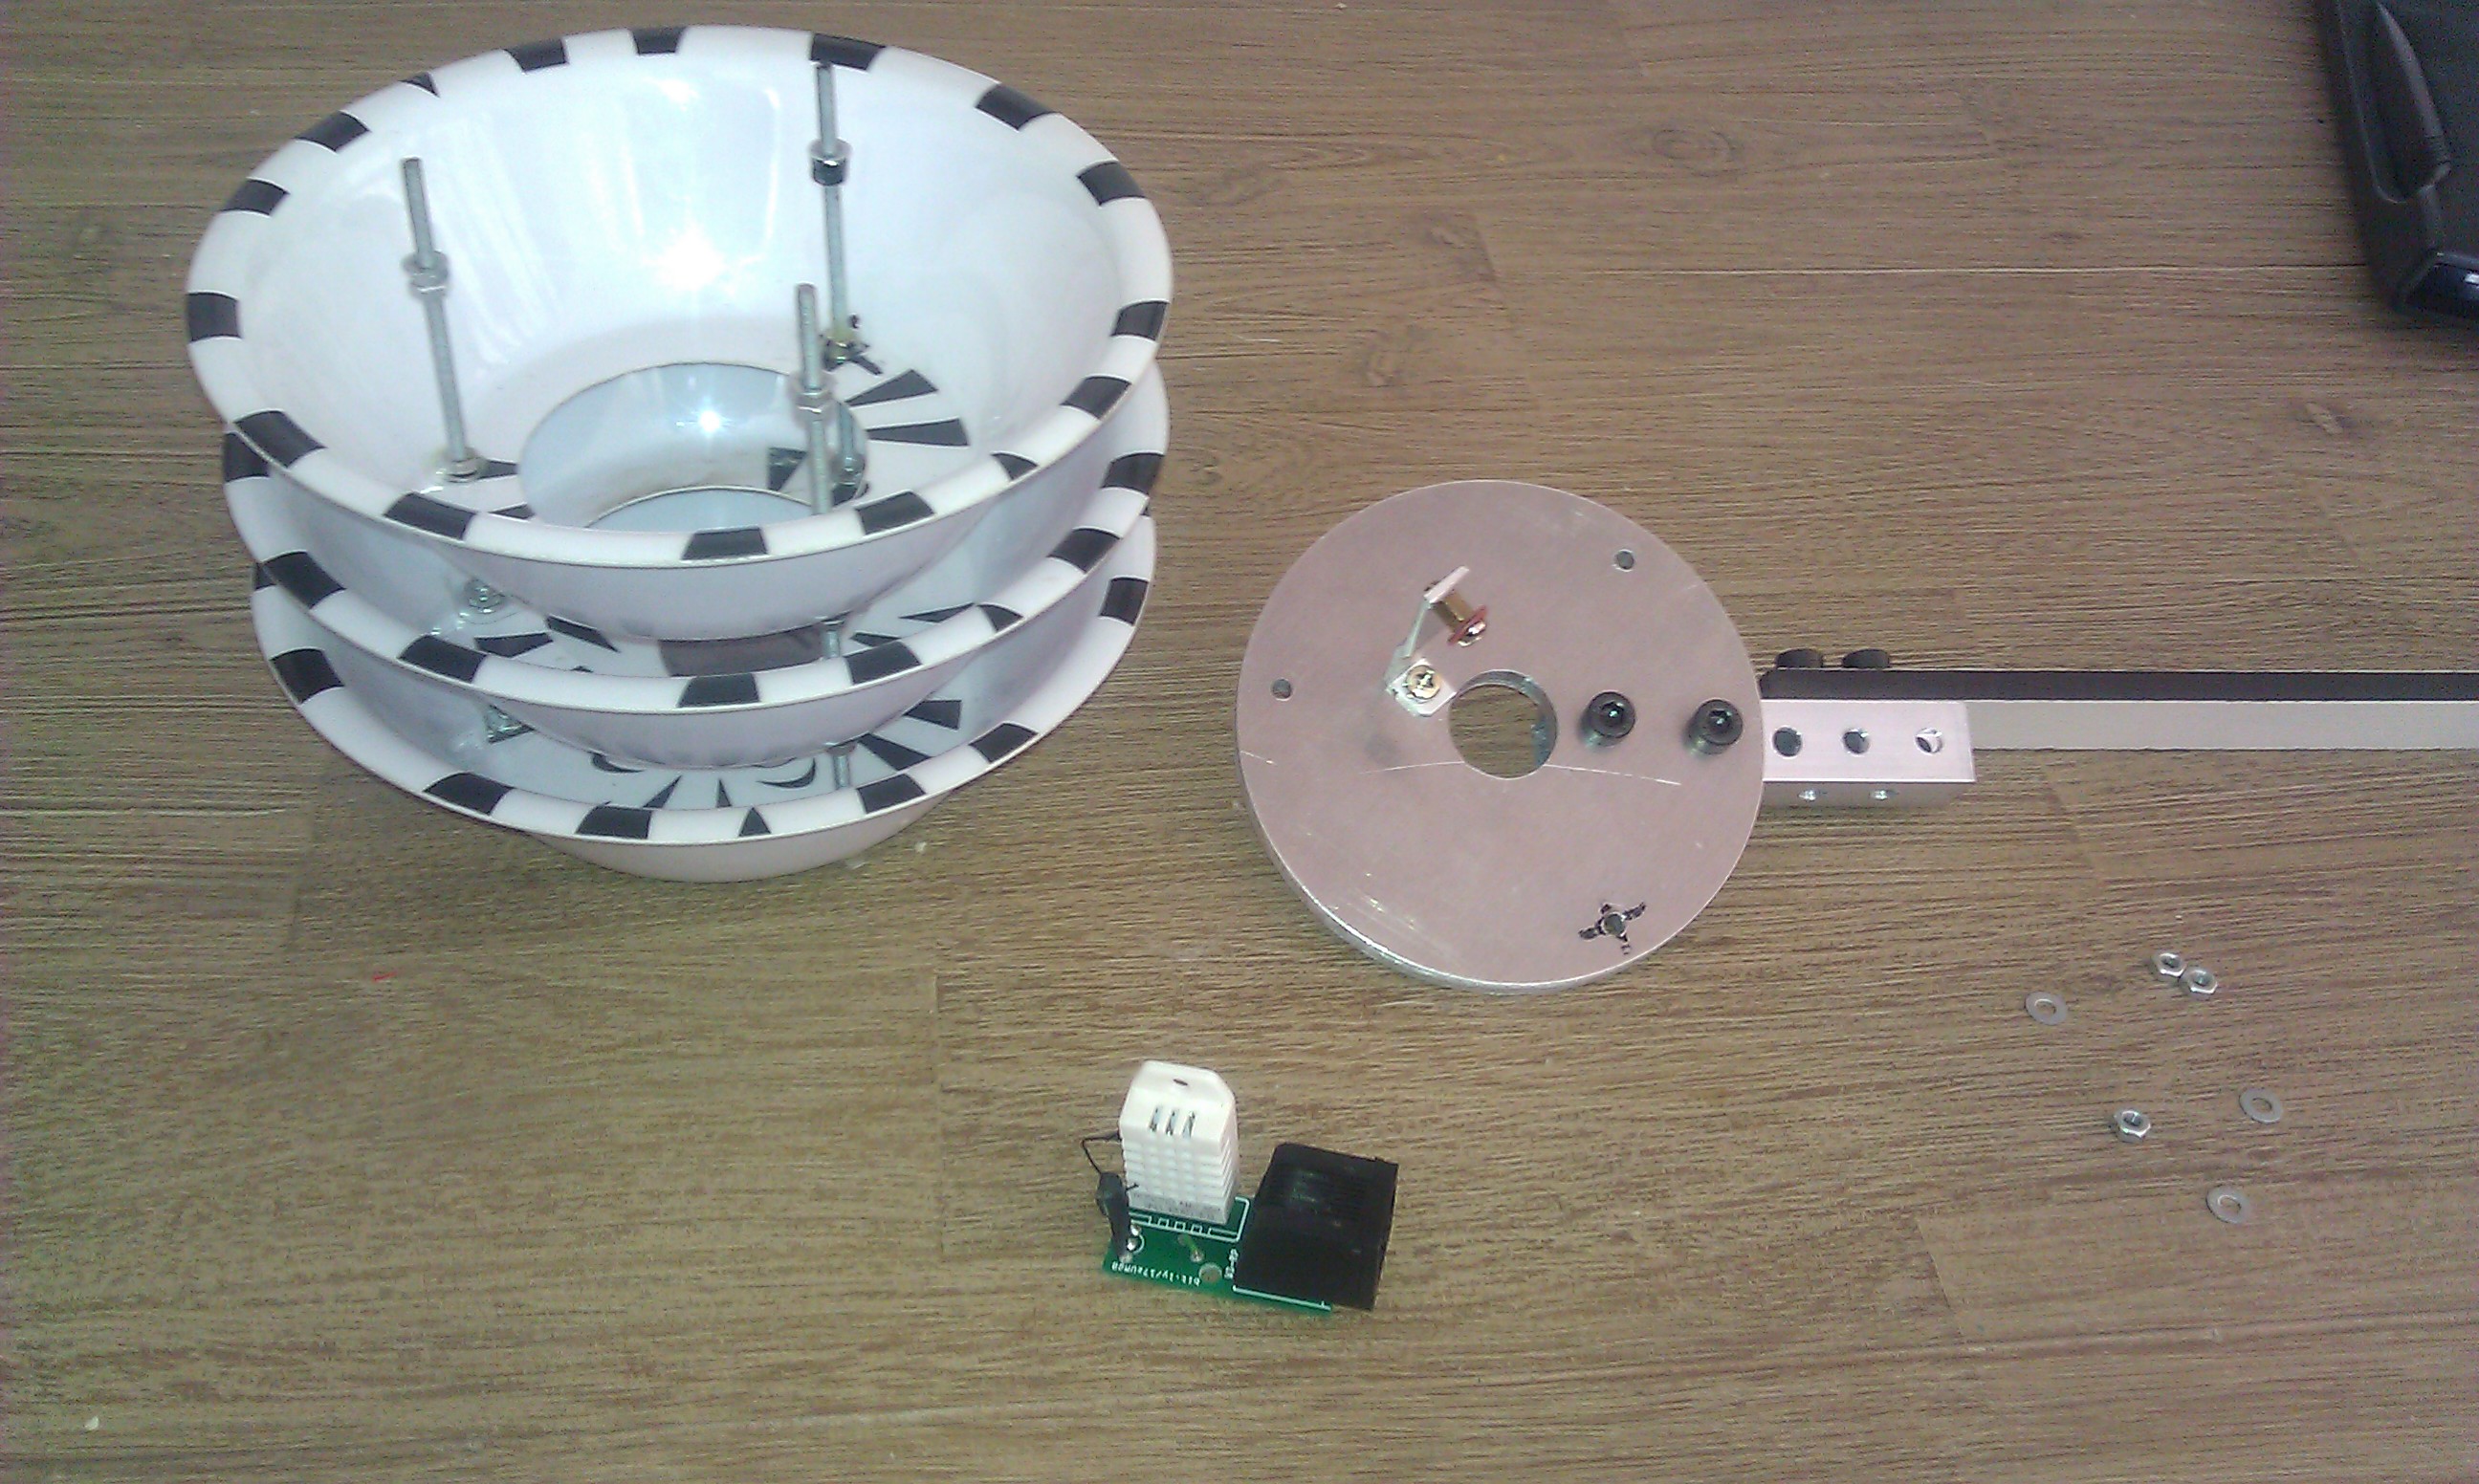
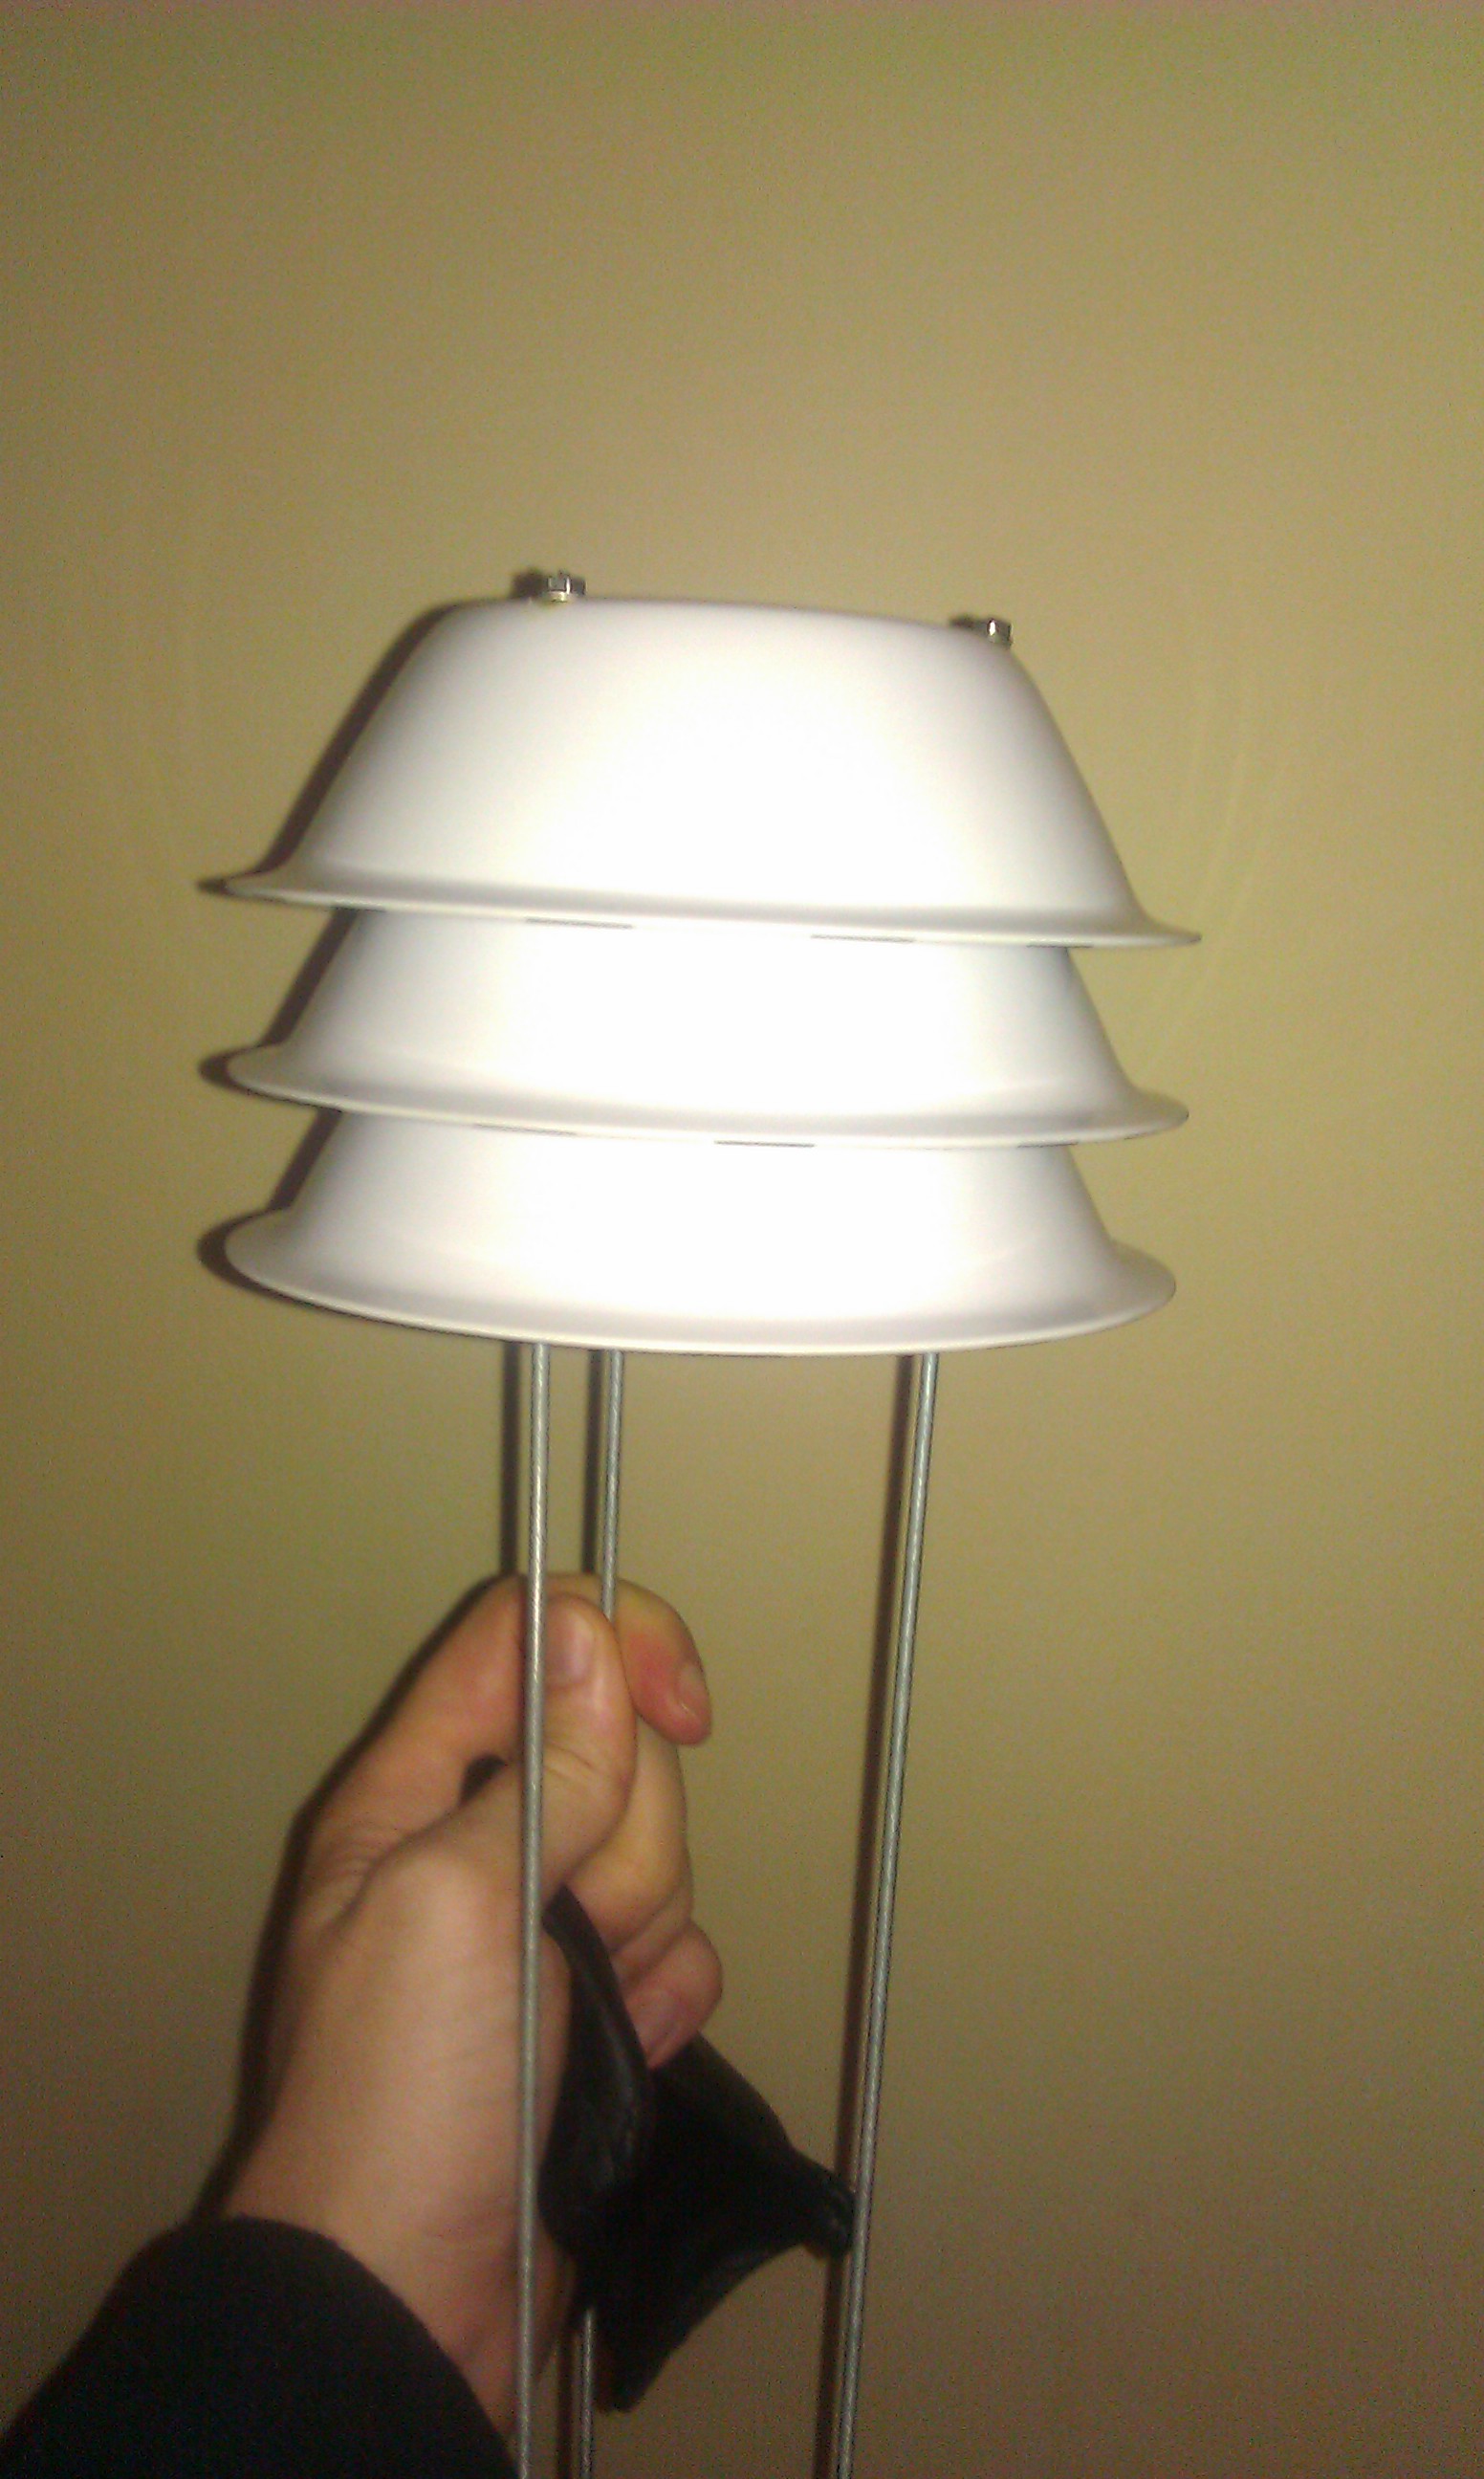
| 00:28, 9 December 2013 | Stevenson screen.jpg (file) |  |
561 KB | Stevenson screen, build using three plastic bowls. The lower two bowls have a big hole in the bottom to make room for the outdoor sensors. | 1 |
| 19:34, 8 December 2013 | WeatherDuino lcd components03.jpg (file) |  |
817 KB | WeatherDuino board, populated with all components except the enc28j60 header, three remote probes (2x DHT11 and 1x DHT22). | 1 |
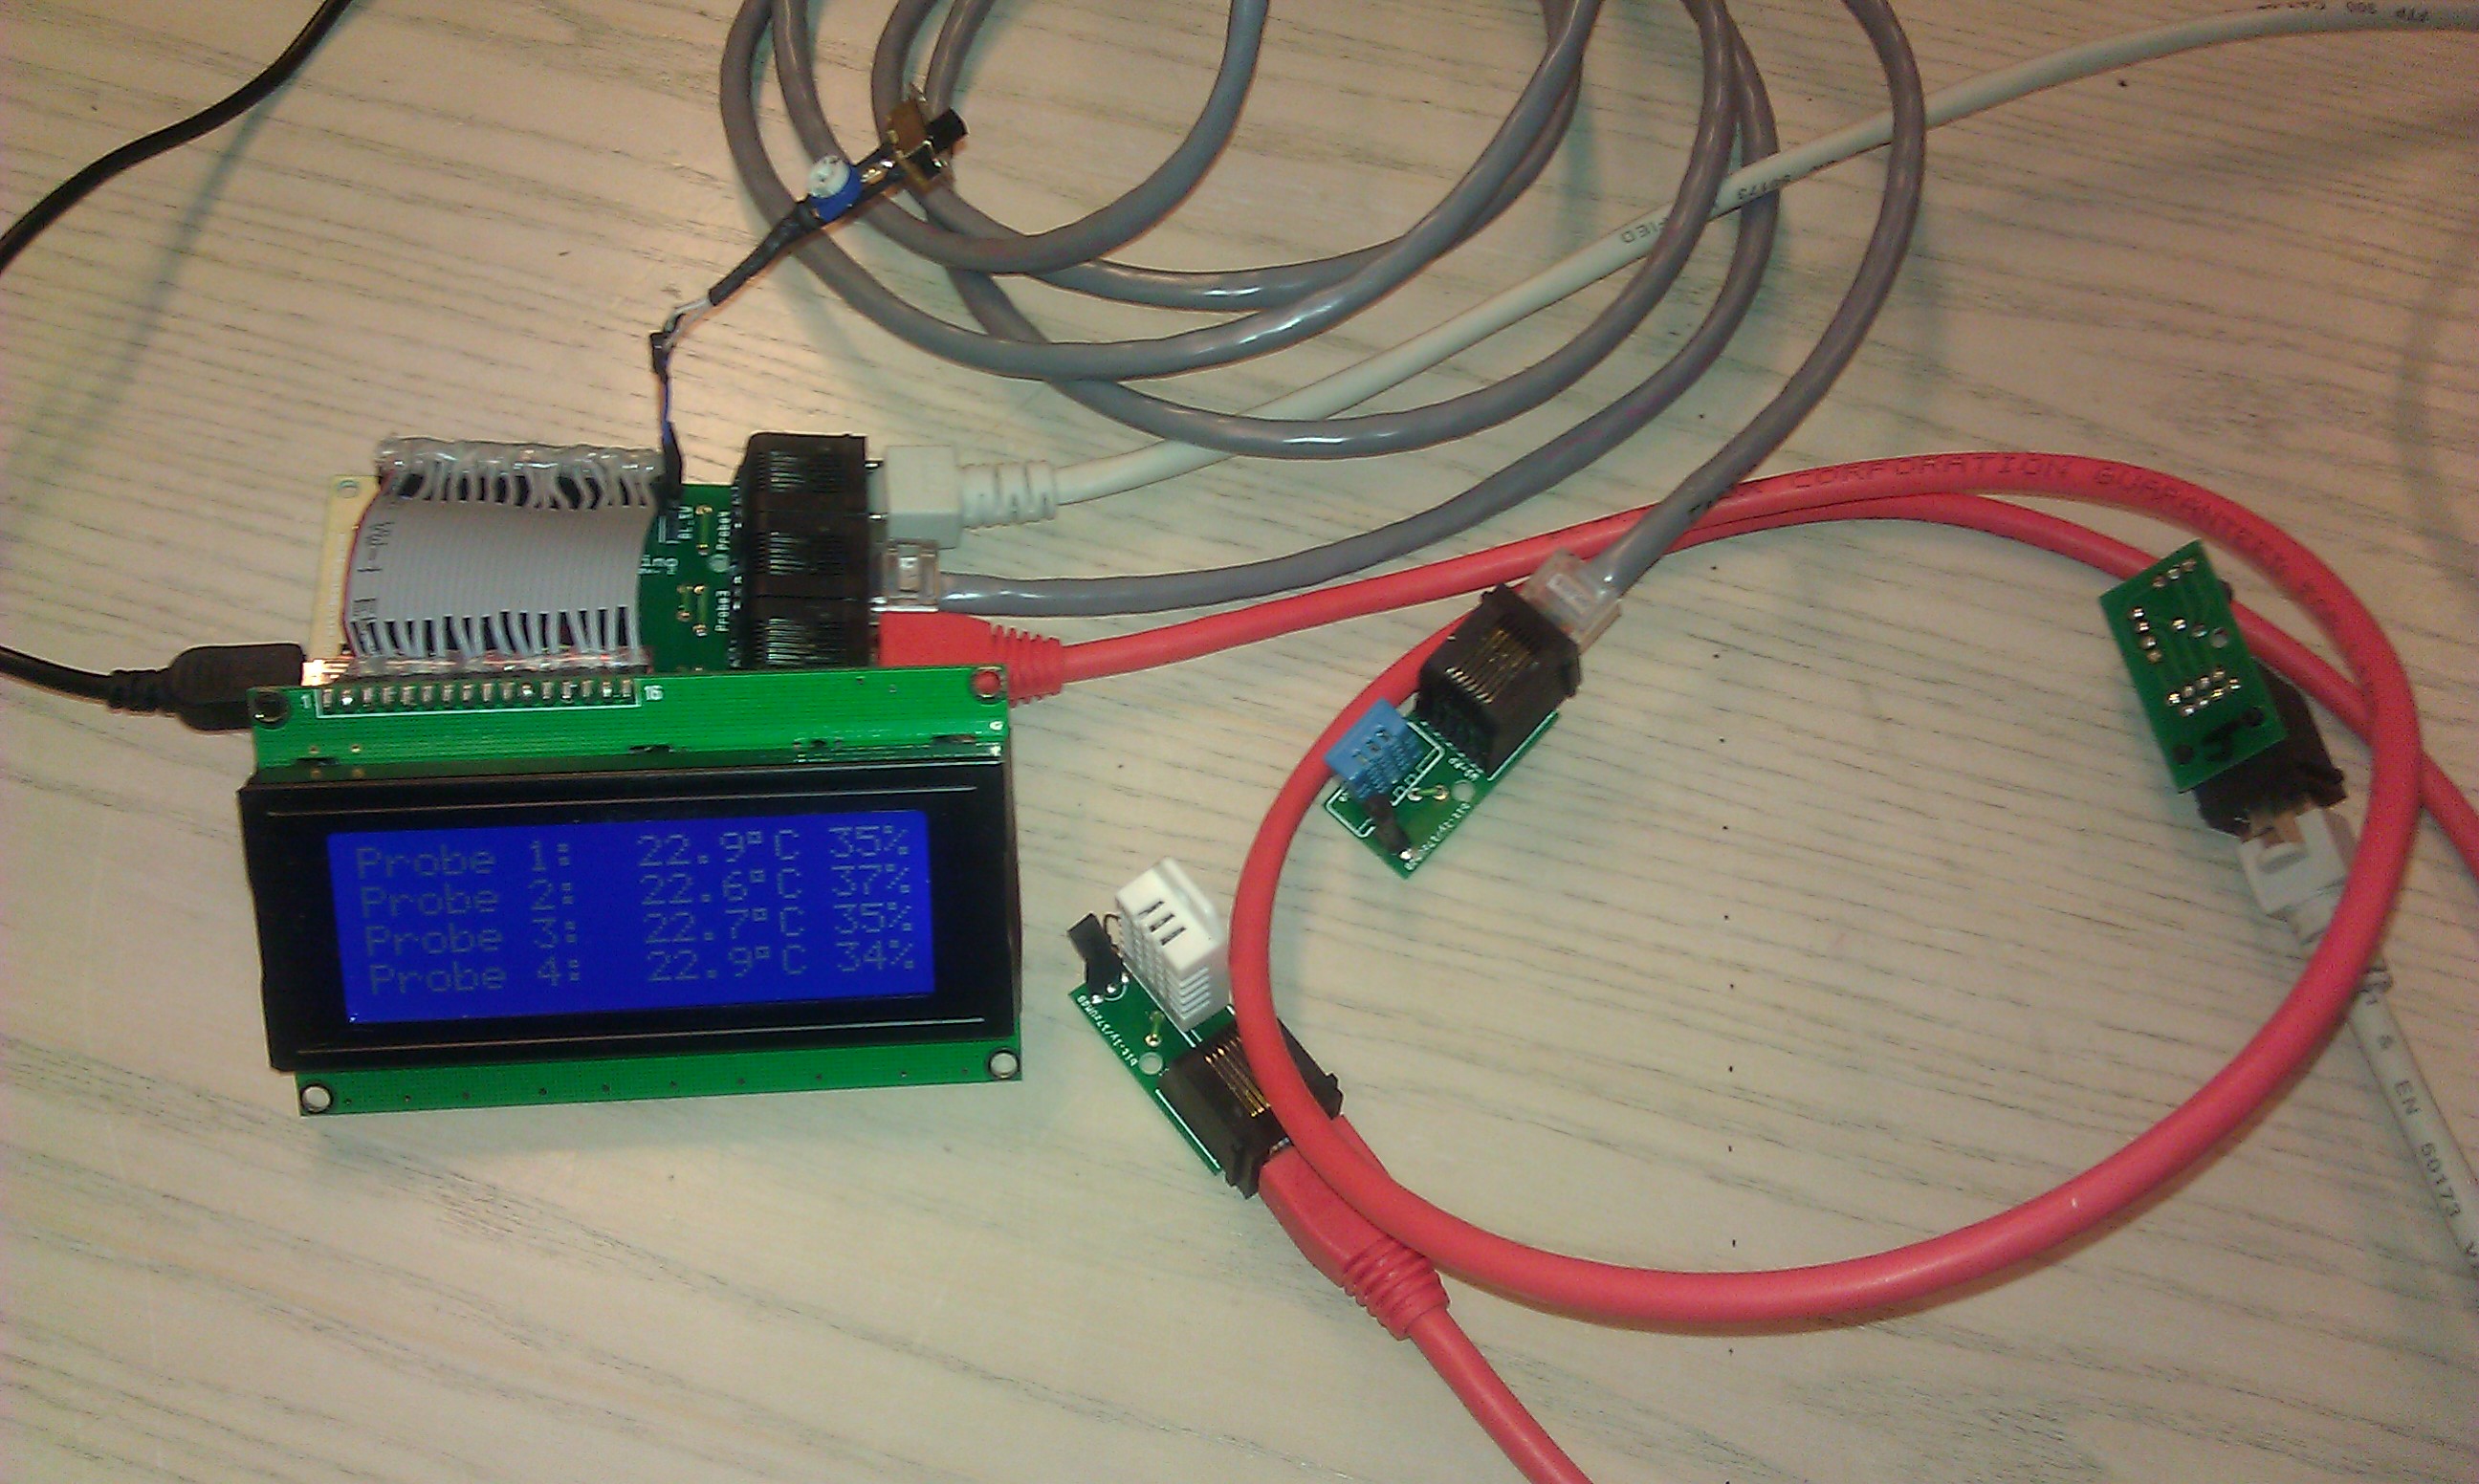
| 19:34, 8 December 2013 | WeatherDuino lcd components04.jpg (file) |  |
747 KB | All components attached together and the system powered up. | 1 |
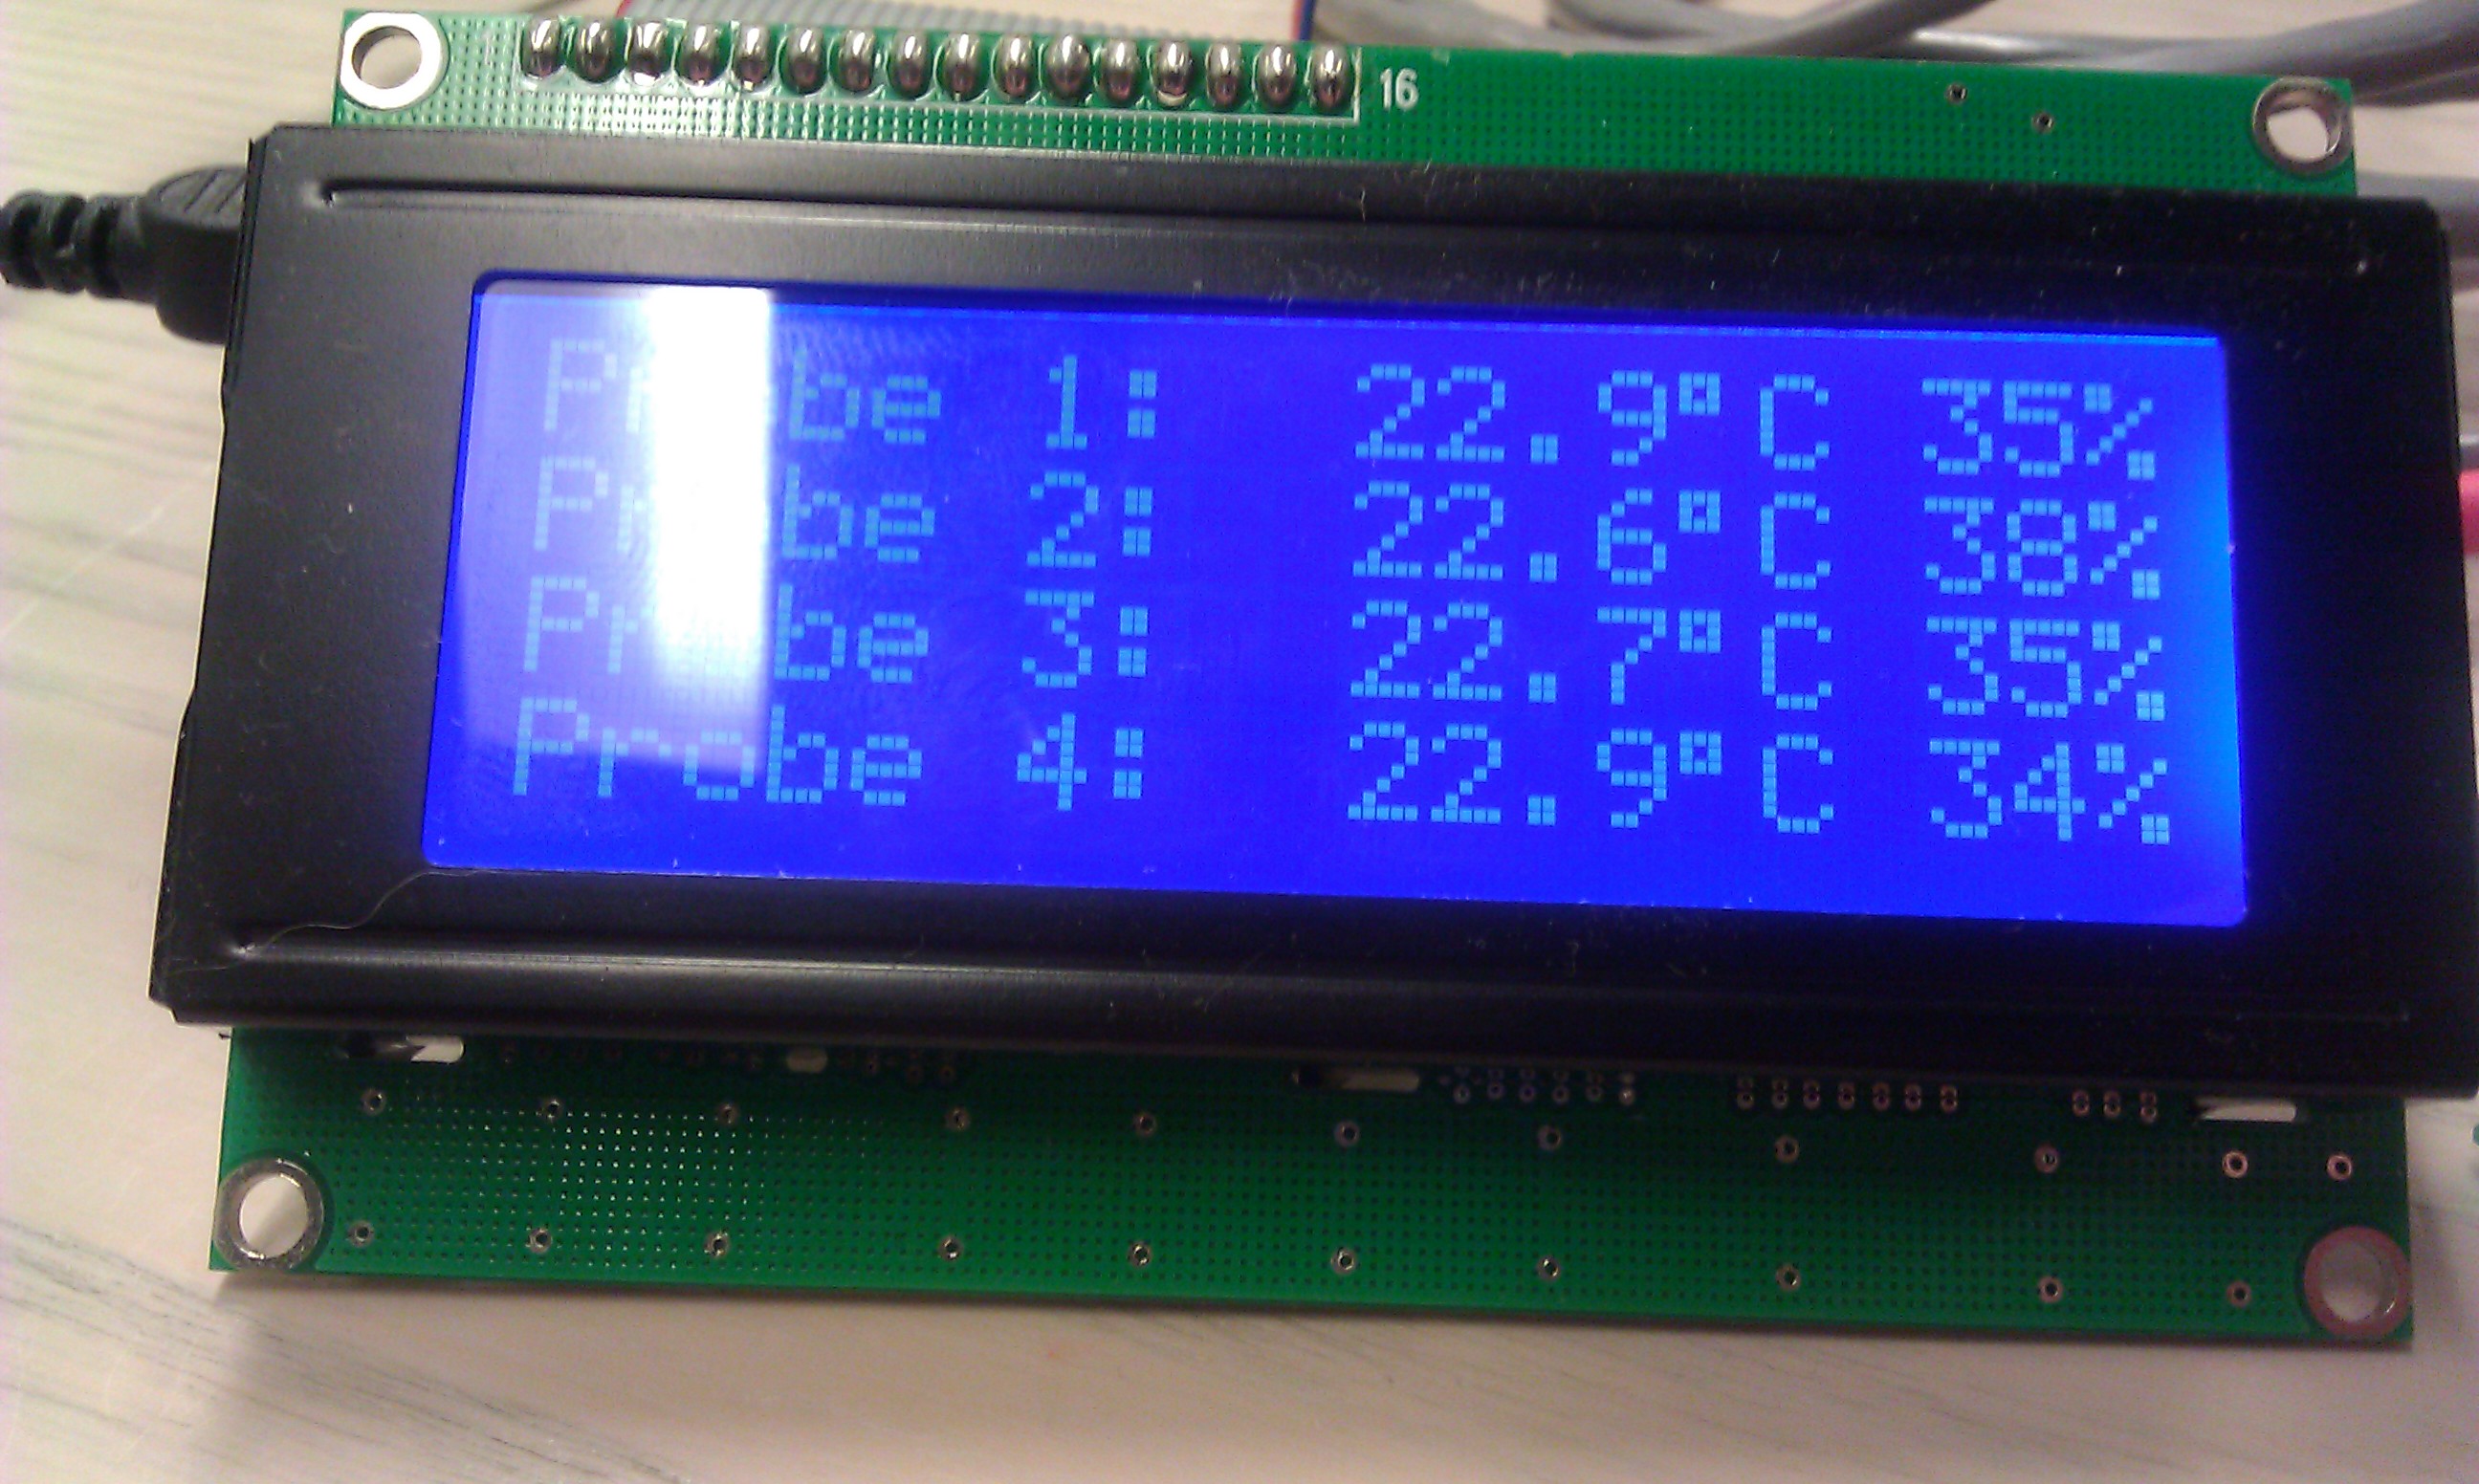
| 19:34, 8 December 2013 | WeatherDuino lcd components05.jpg (file) |  |
708 KB | Close-up of the LCD with all 4 probes attached. | 1 |
| 19:34, 8 December 2013 | WeatherDuino lcd components02.jpg (file) |  |
717 KB | Closeup of the LCD, it's connecting wire, an Arudino Nano and the Backlight switch with Dimming Potmeter. | 1 |
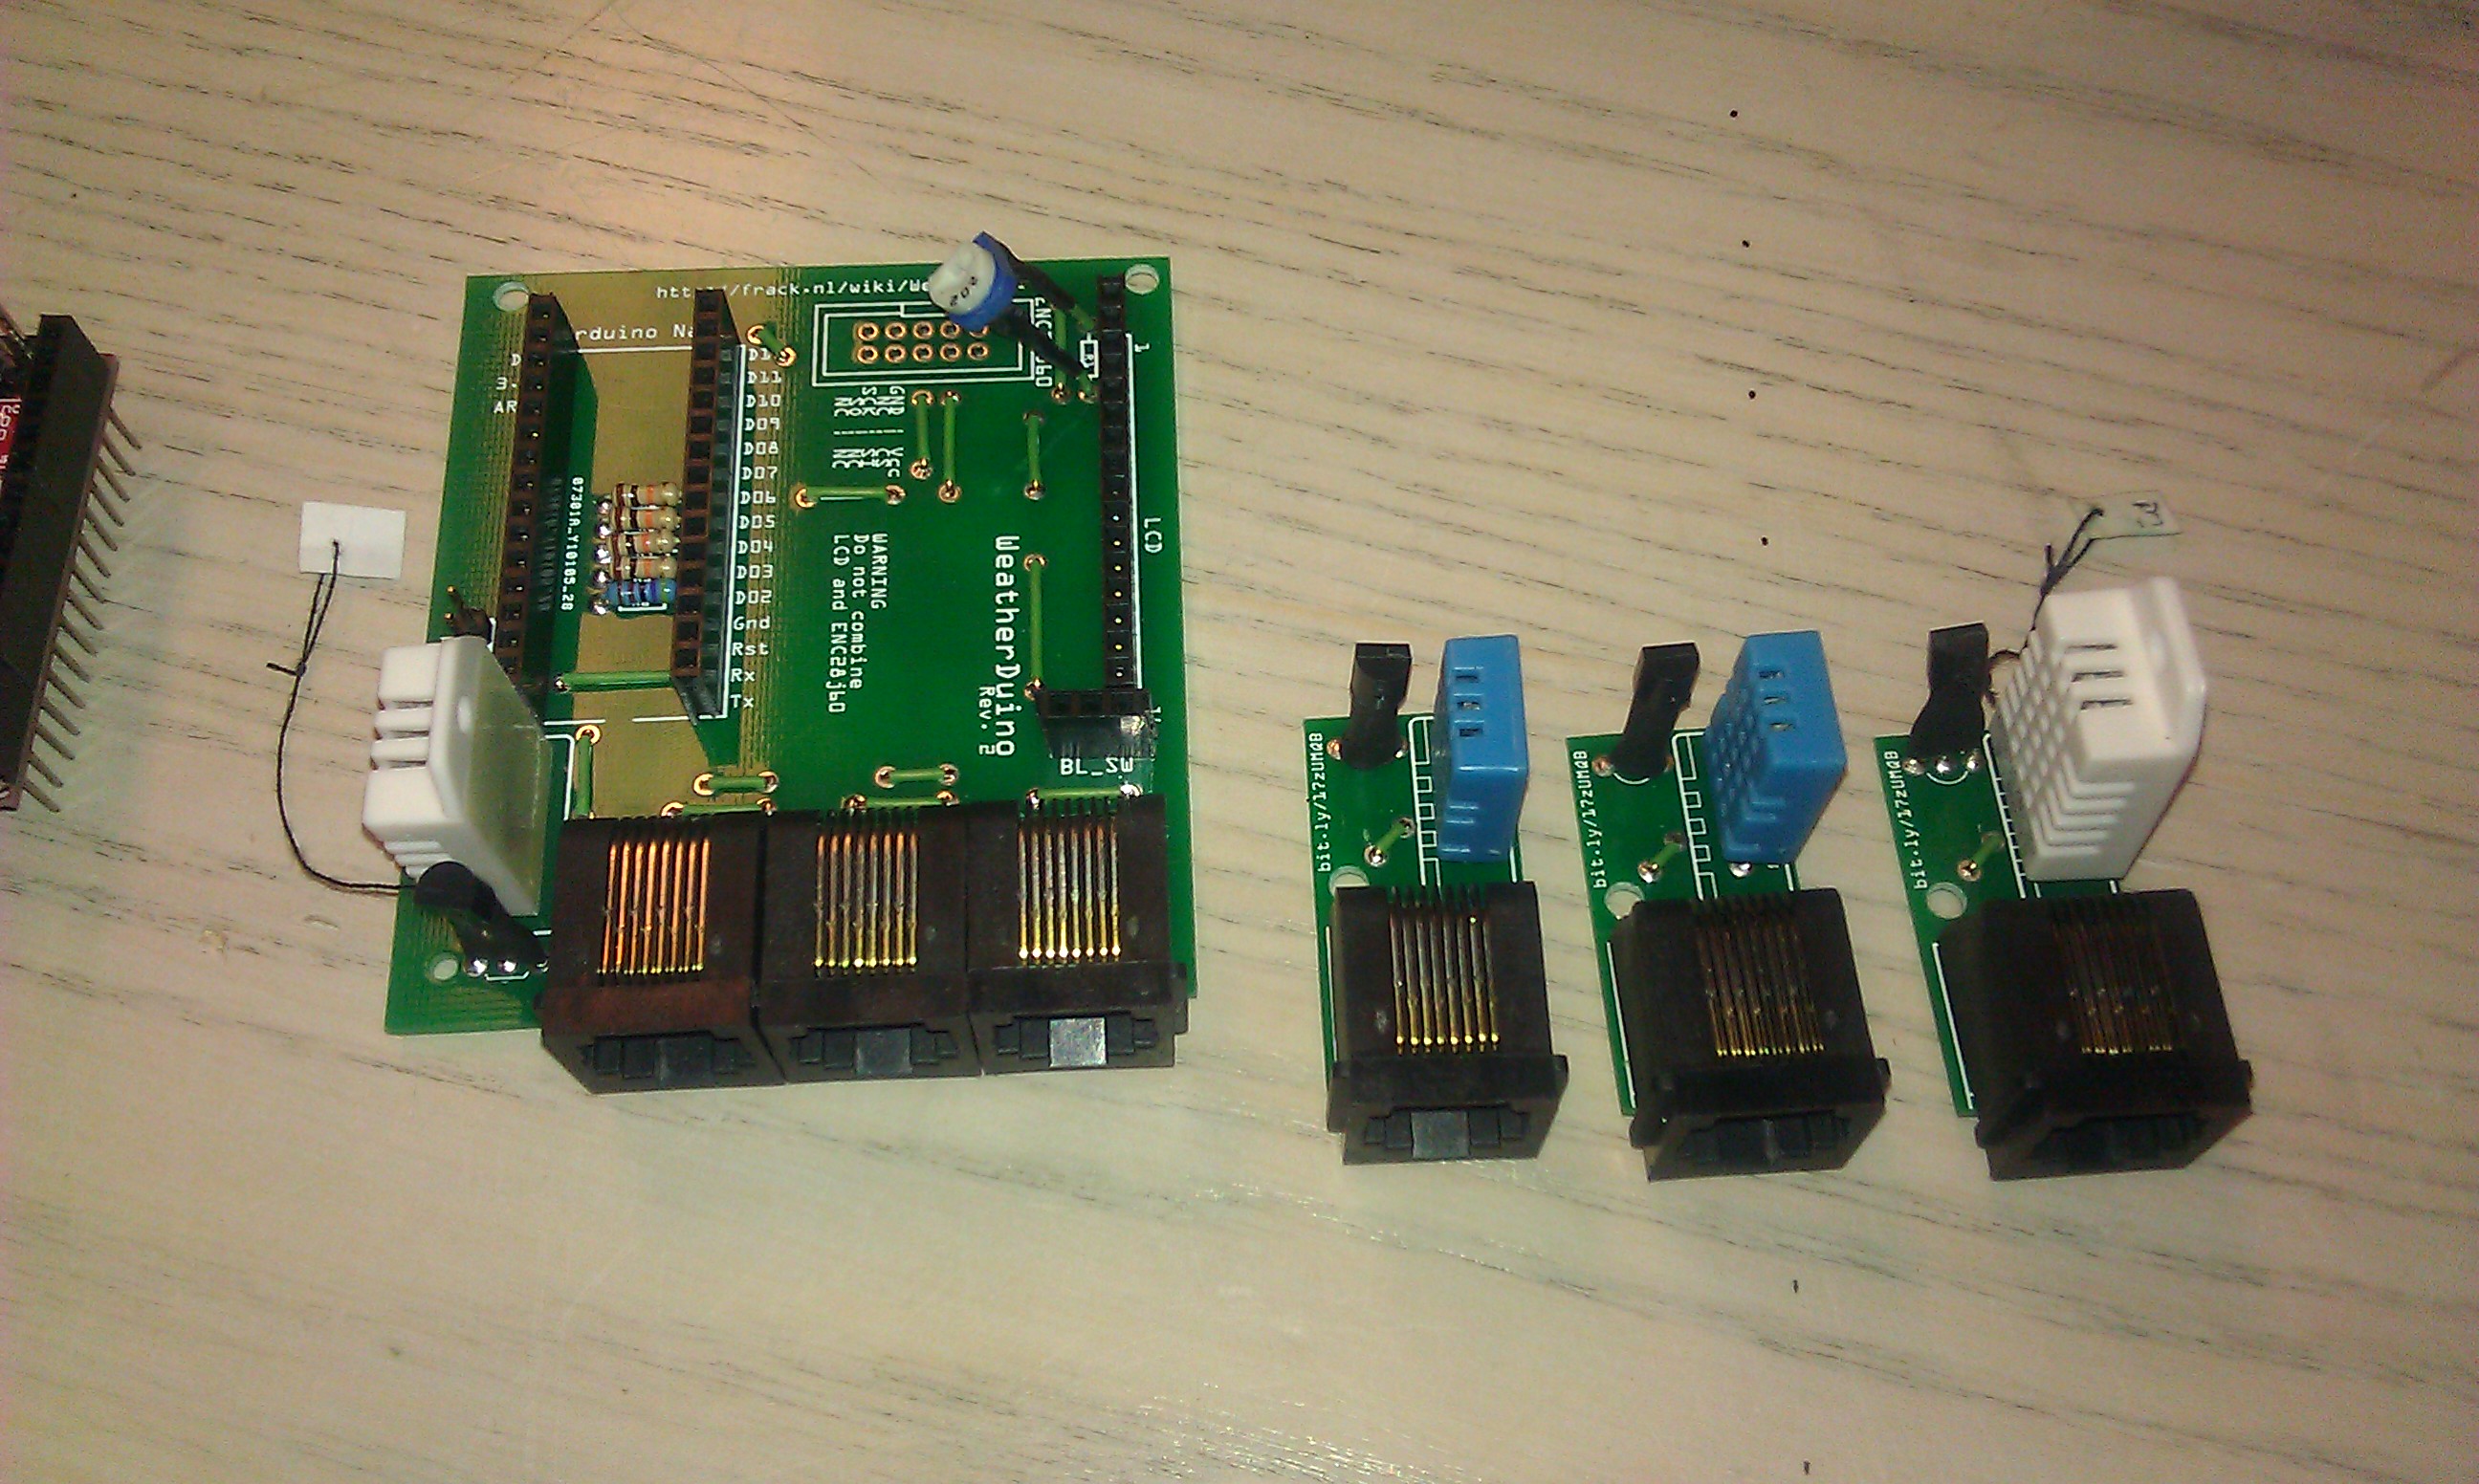
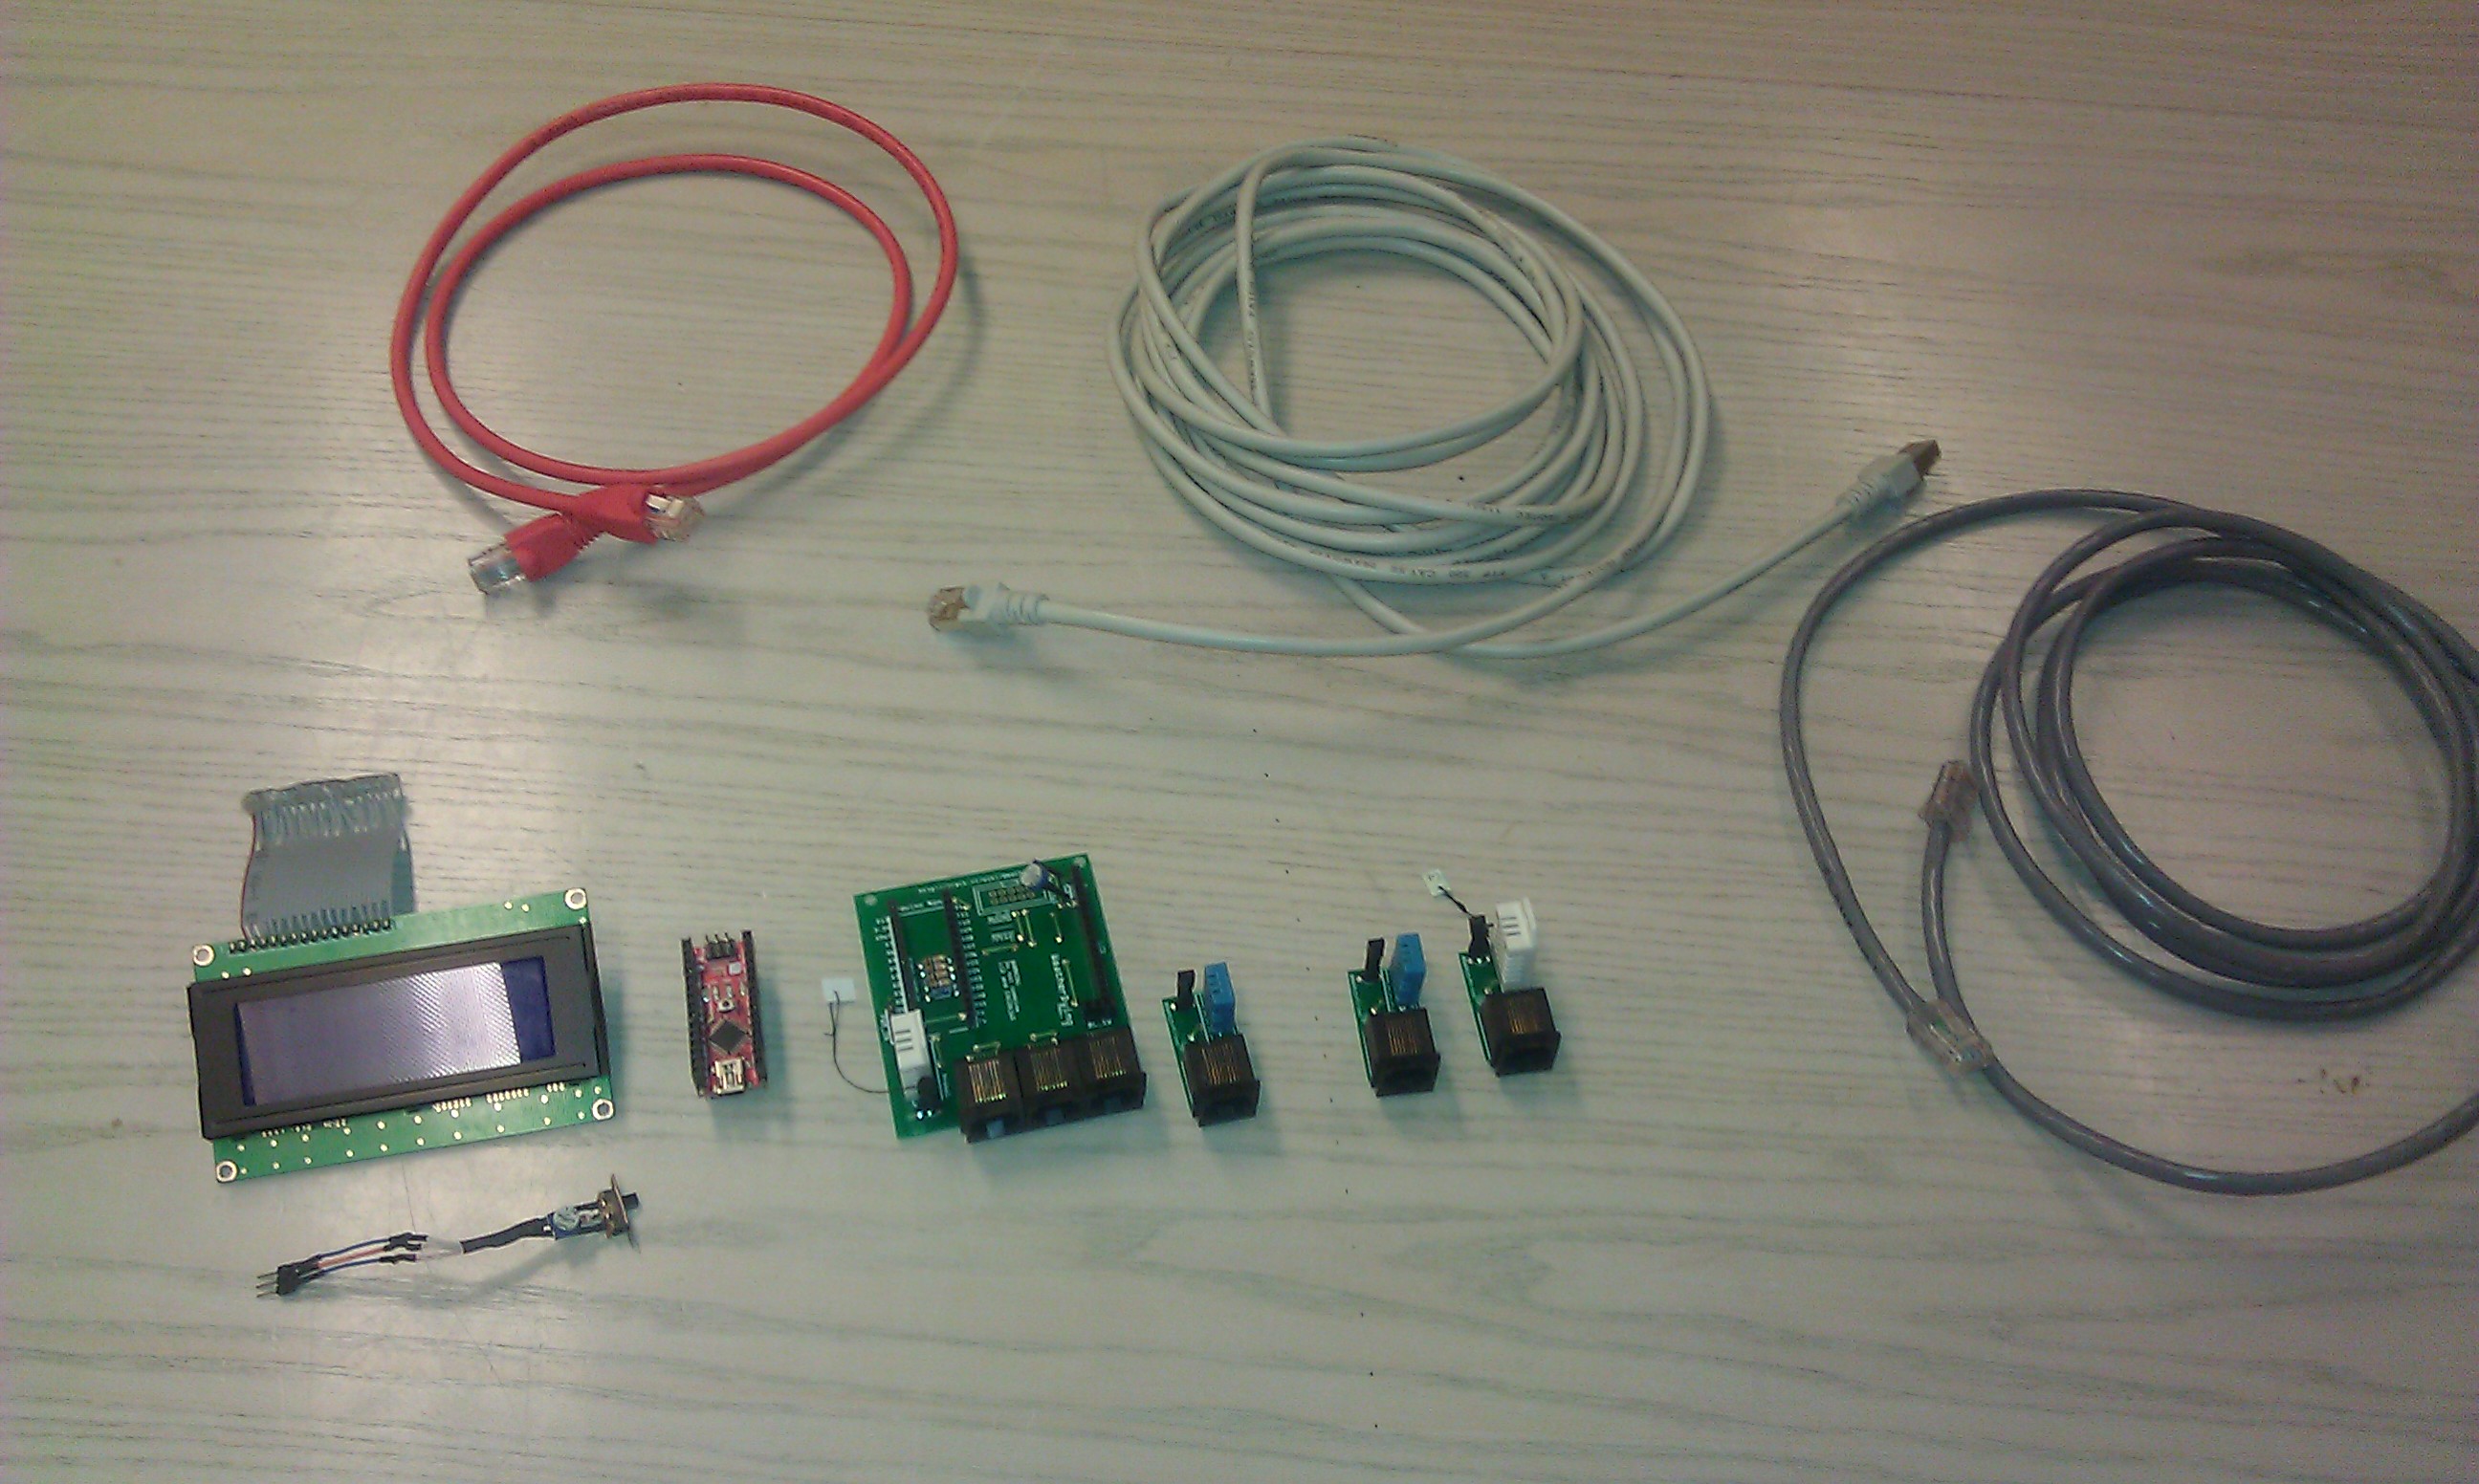
| 19:33, 8 December 2013 | WeatherDuino lcd components01.jpg (file) |  |
703 KB | Overview of the WeatherDuino Board (With DHT22), 3 remote probes (2x DHT11, 1x DHT22), the LCD, LCD Switch and a couple of ethernet cables to attach the probes. | 1 |
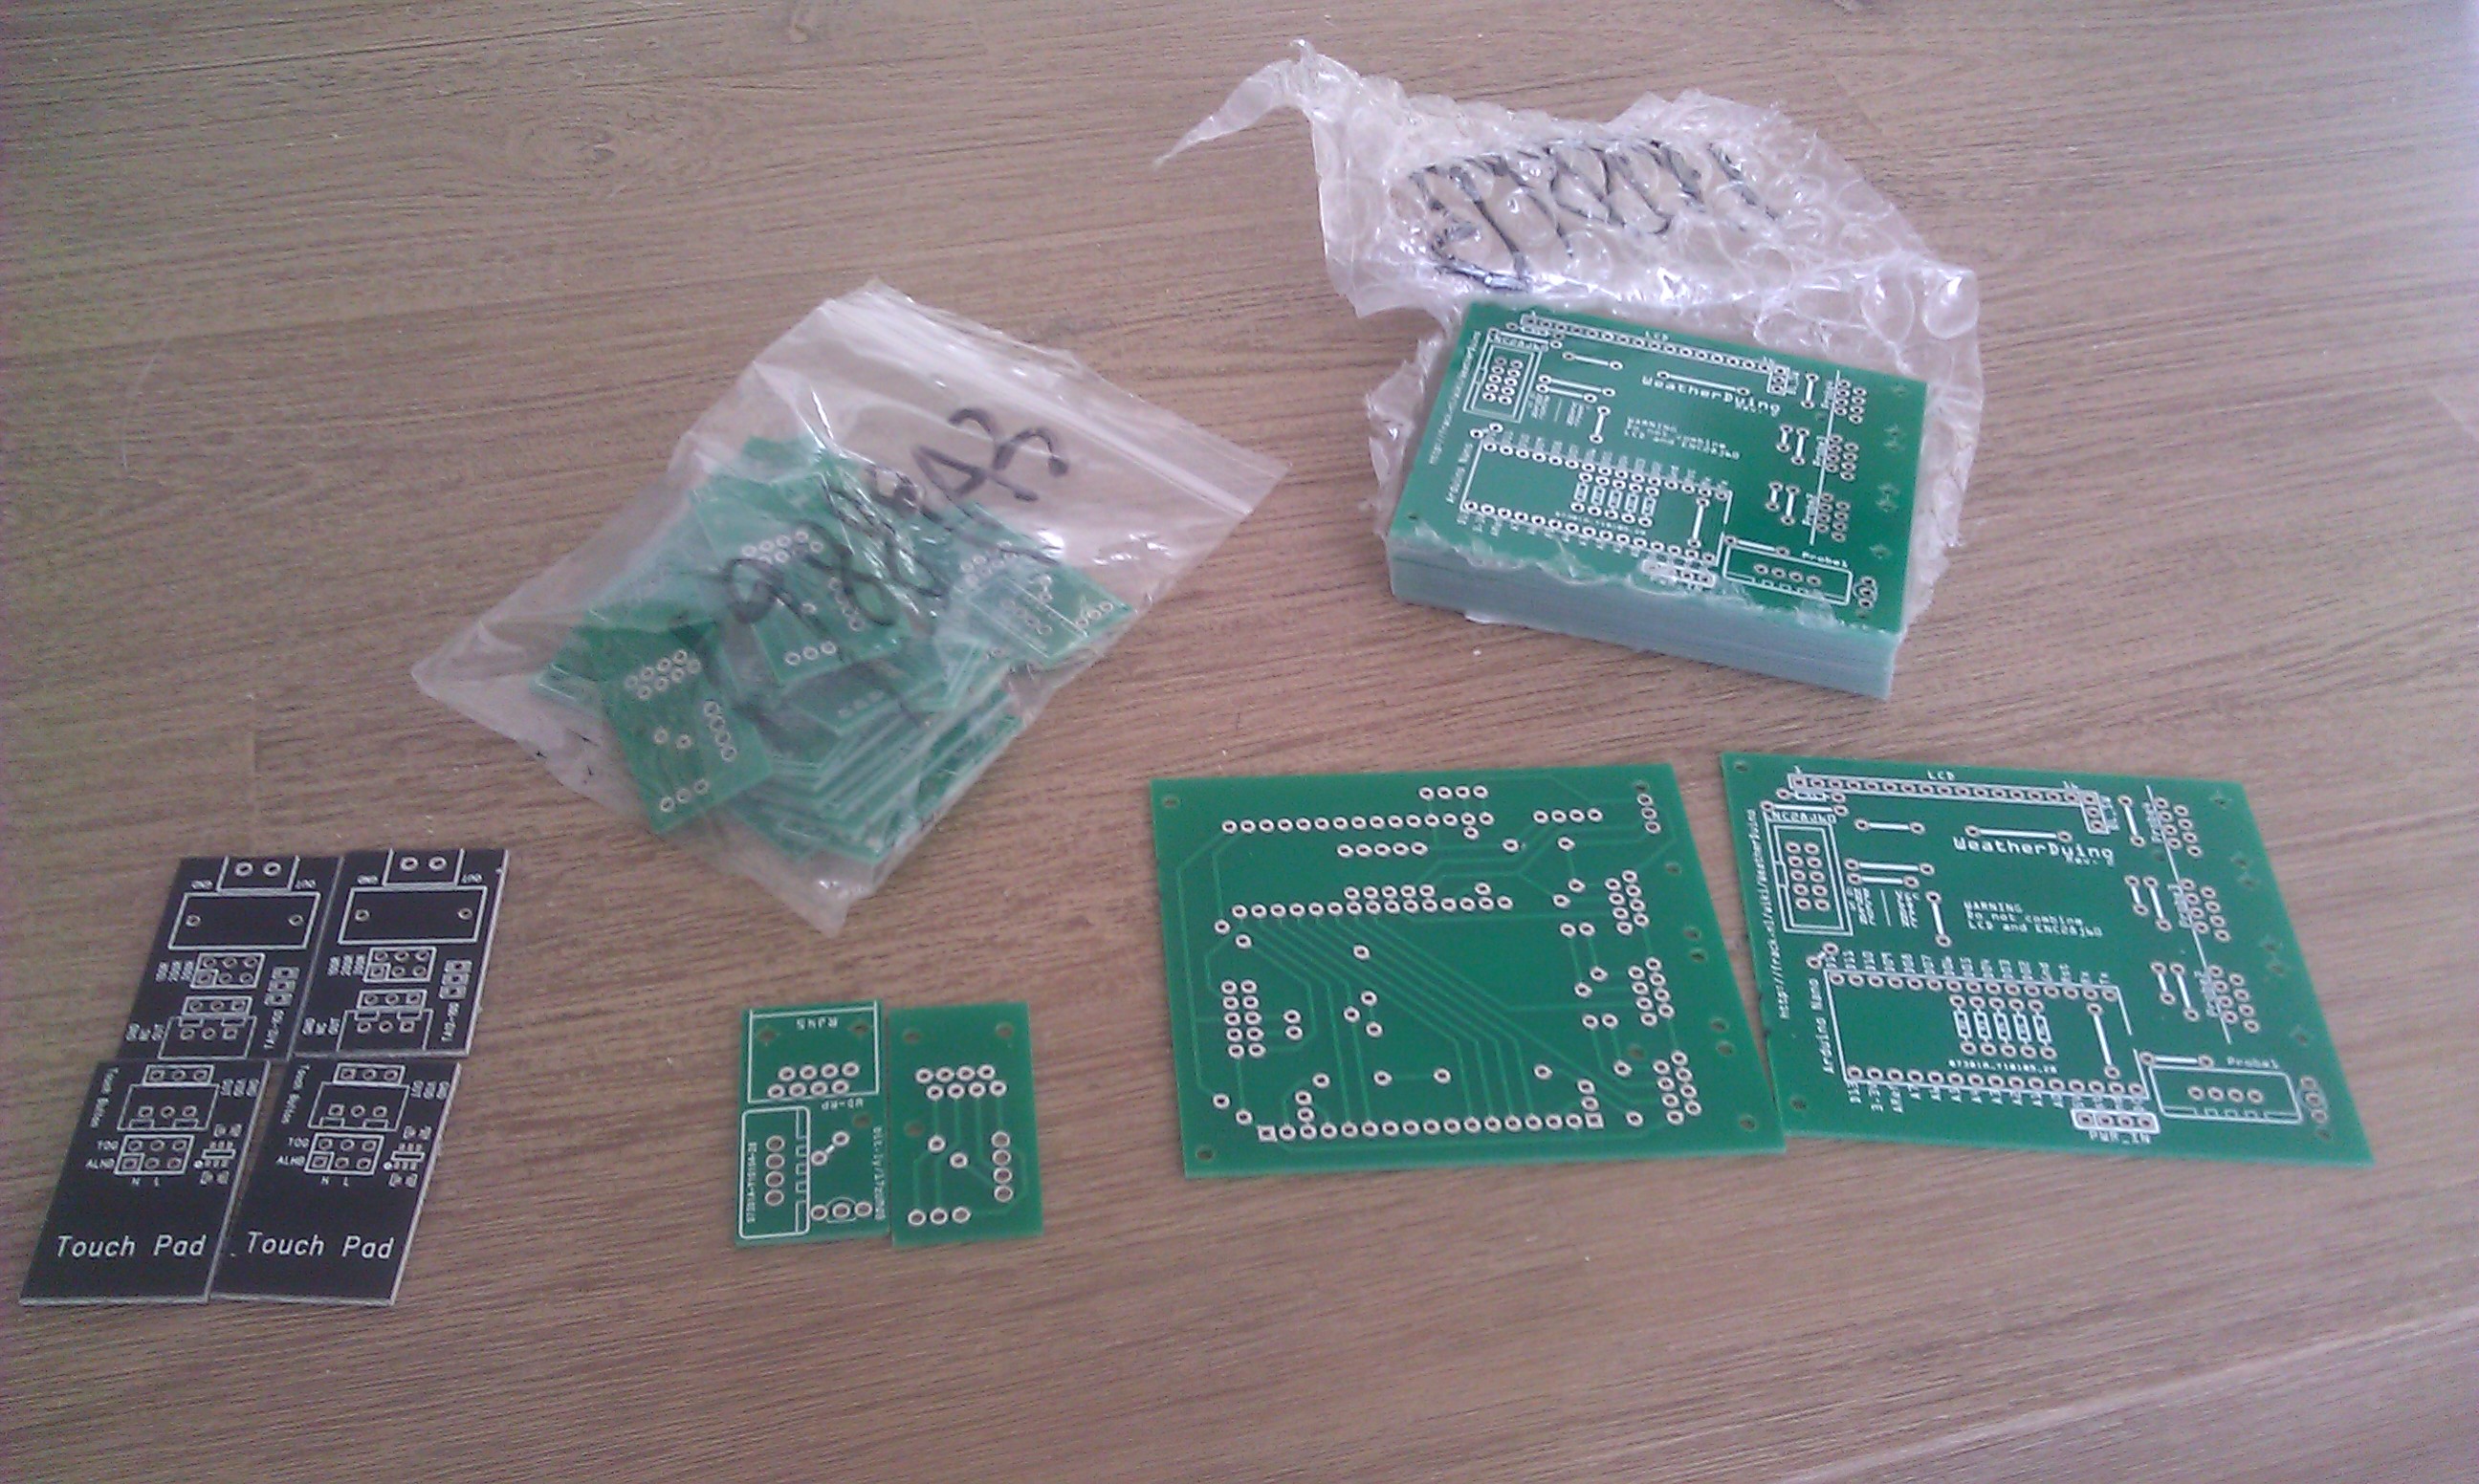
| 14:20, 6 December 2013 | WeatherDuino PCB rev2.jpg (file) |  |
898 KB | The PCB's produced at iteadstudio.com have been delivered! - 32 probe boards - 12 main boards - 4 unknown boards we got for free additionally. | 1 |
| 02:21, 1 November 2013 | WeatherDuino Probe pcb.png (file) |  |
28 KB | Made the PCB even smaller and connected the unused wires to GND to avoid possible interference. | 2 |
| 02:20, 1 November 2013 | WeatherDuino main pcb.png (file) |  |
175 KB | Updated PCB with a 10pin 'normal' header for the ENC28J60 as requested by {{failbaitr}}. | 3 |
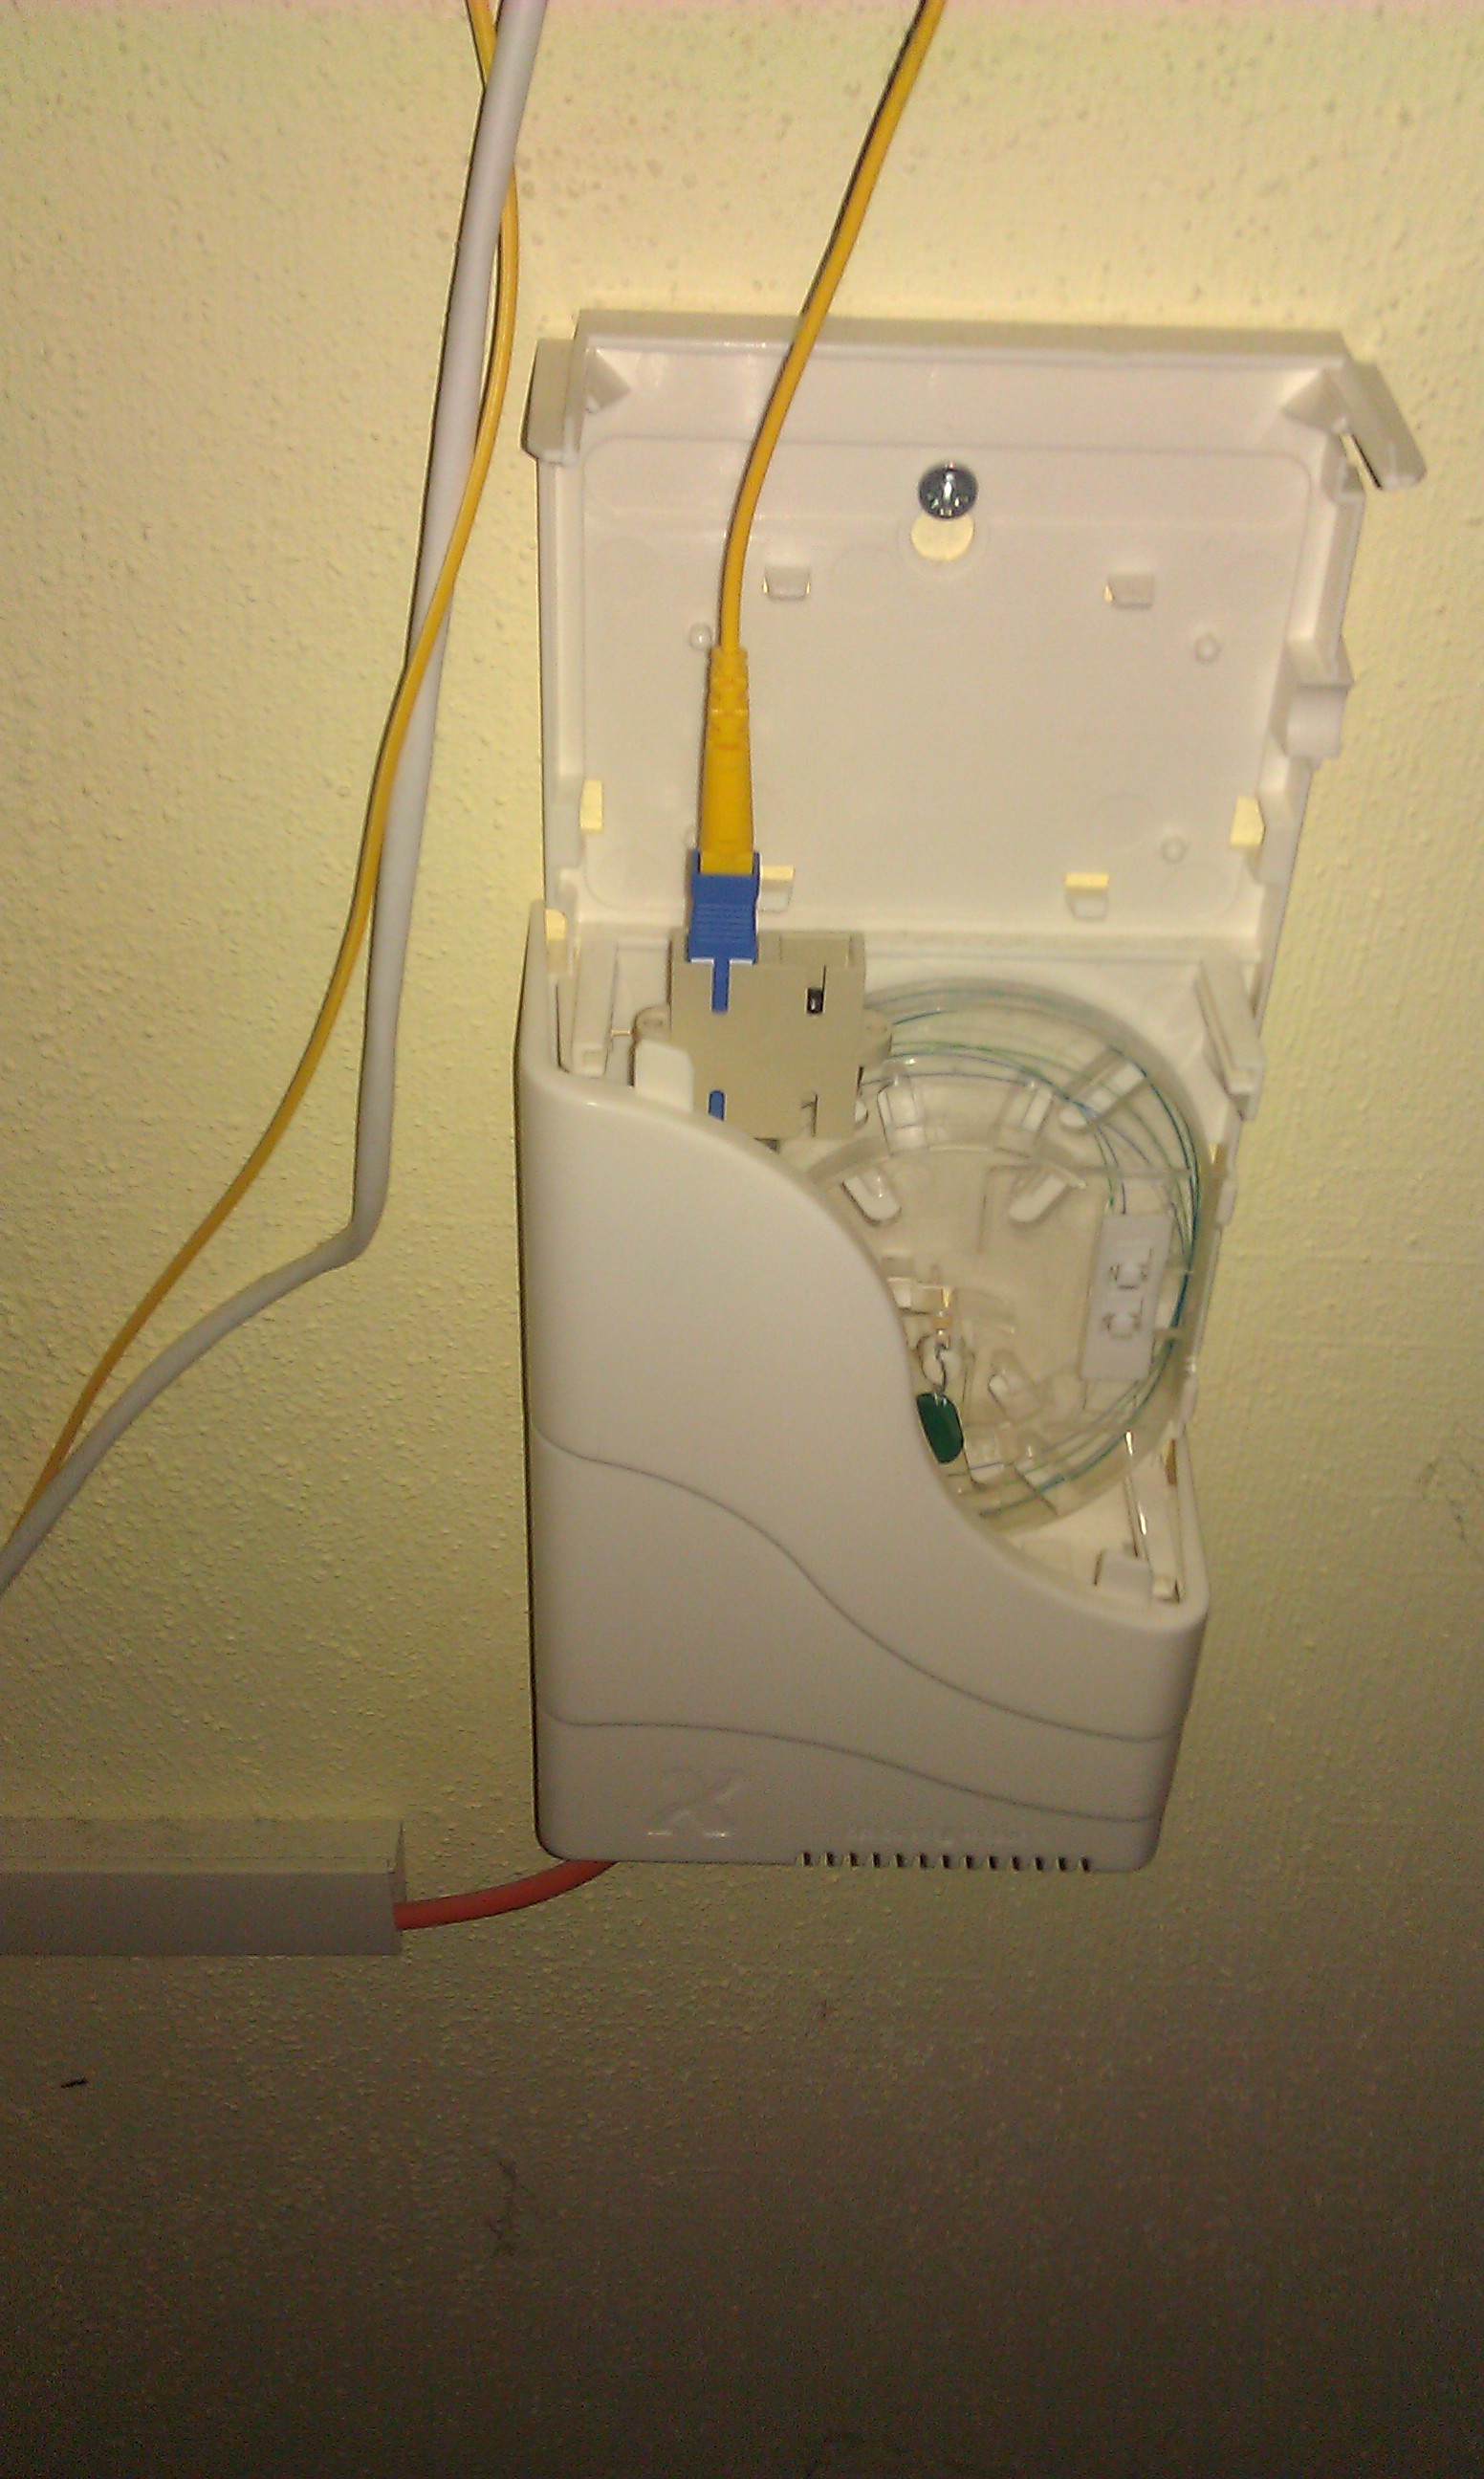
| 19:32, 18 October 2013 | Genexis fiber coupler open.jpg (file) |  |
642 KB | De genexis bij {{Fludizz}} opengehaald en middels een koppelstukje aan een eigen fiber gezet. De fiber word nu afgehandeld in een TP-Link SG3216 met een TP-Link TL-SM221B SFP | 1 |